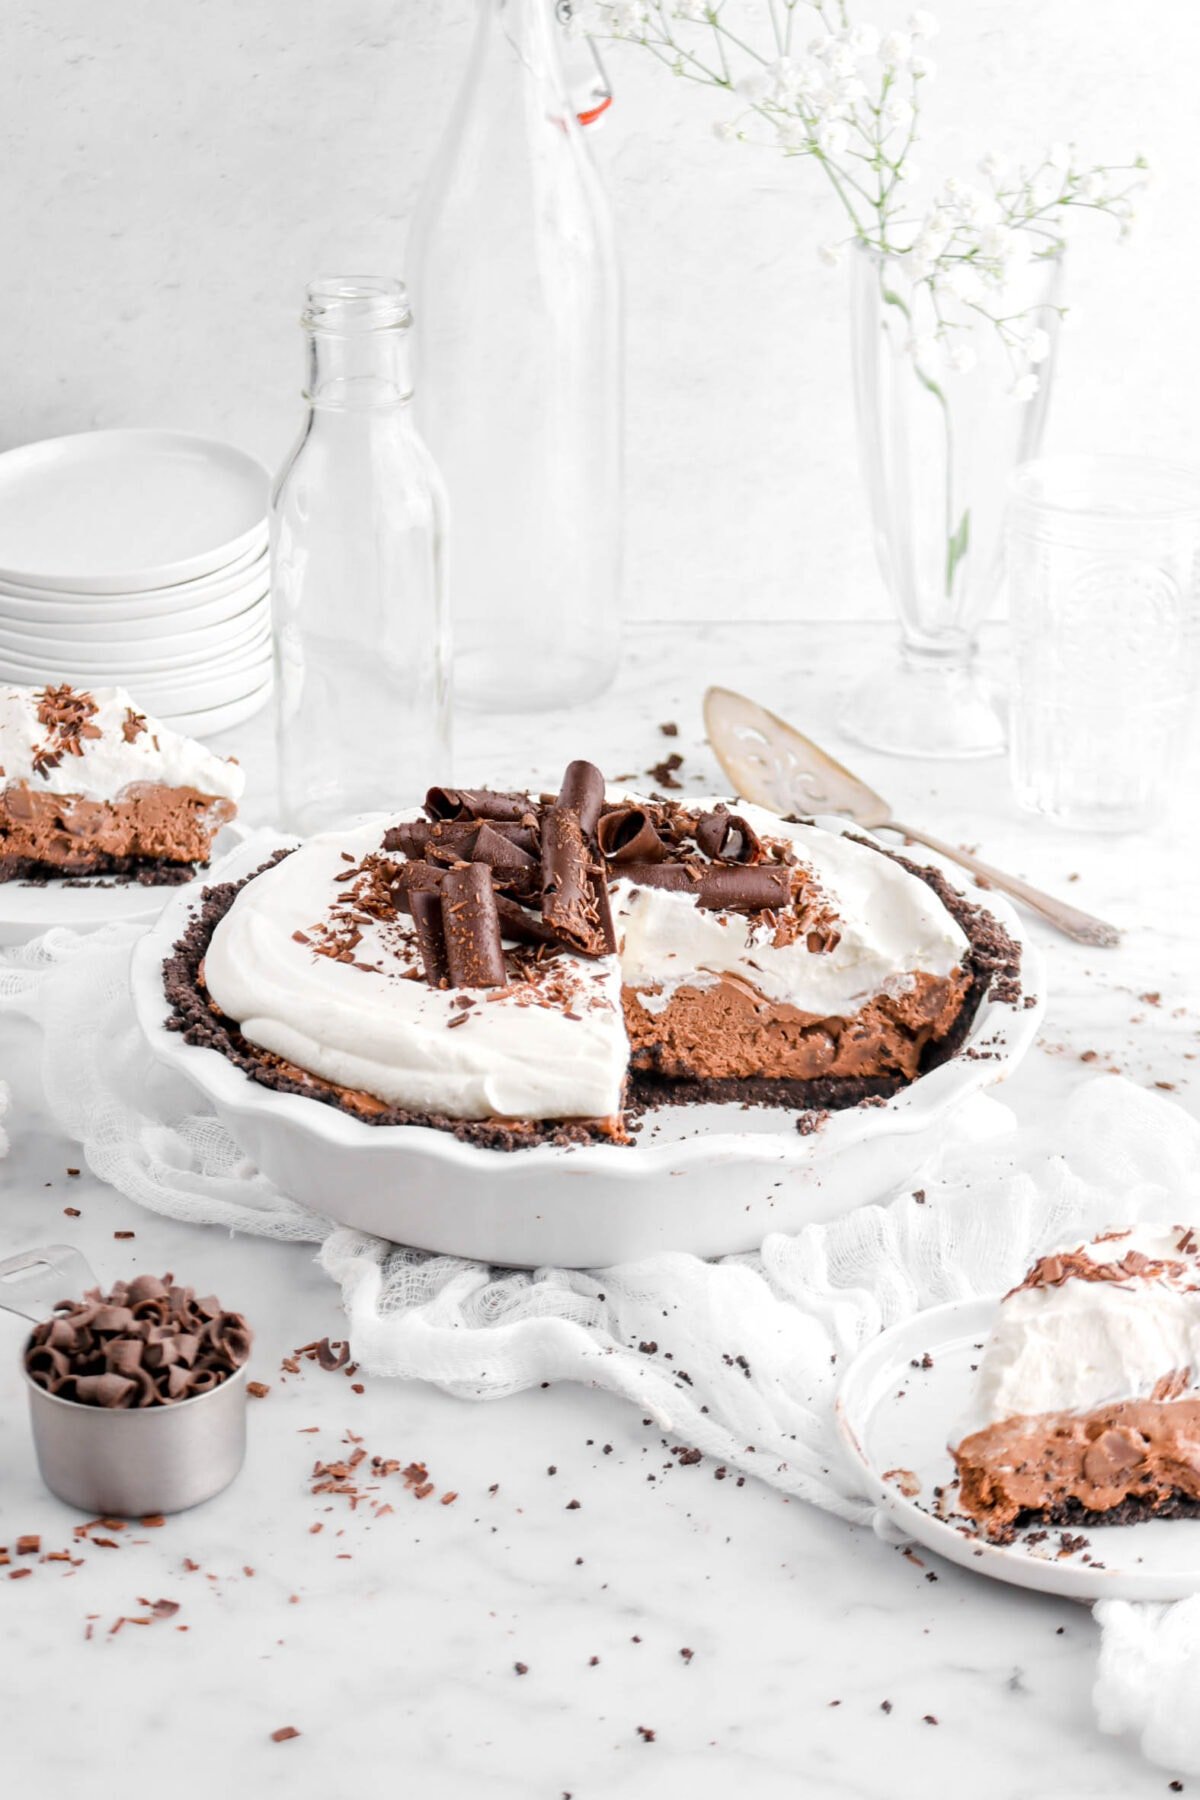
French Silk Pie
This post may contain affiliate links, please visit our privacy policy for details.
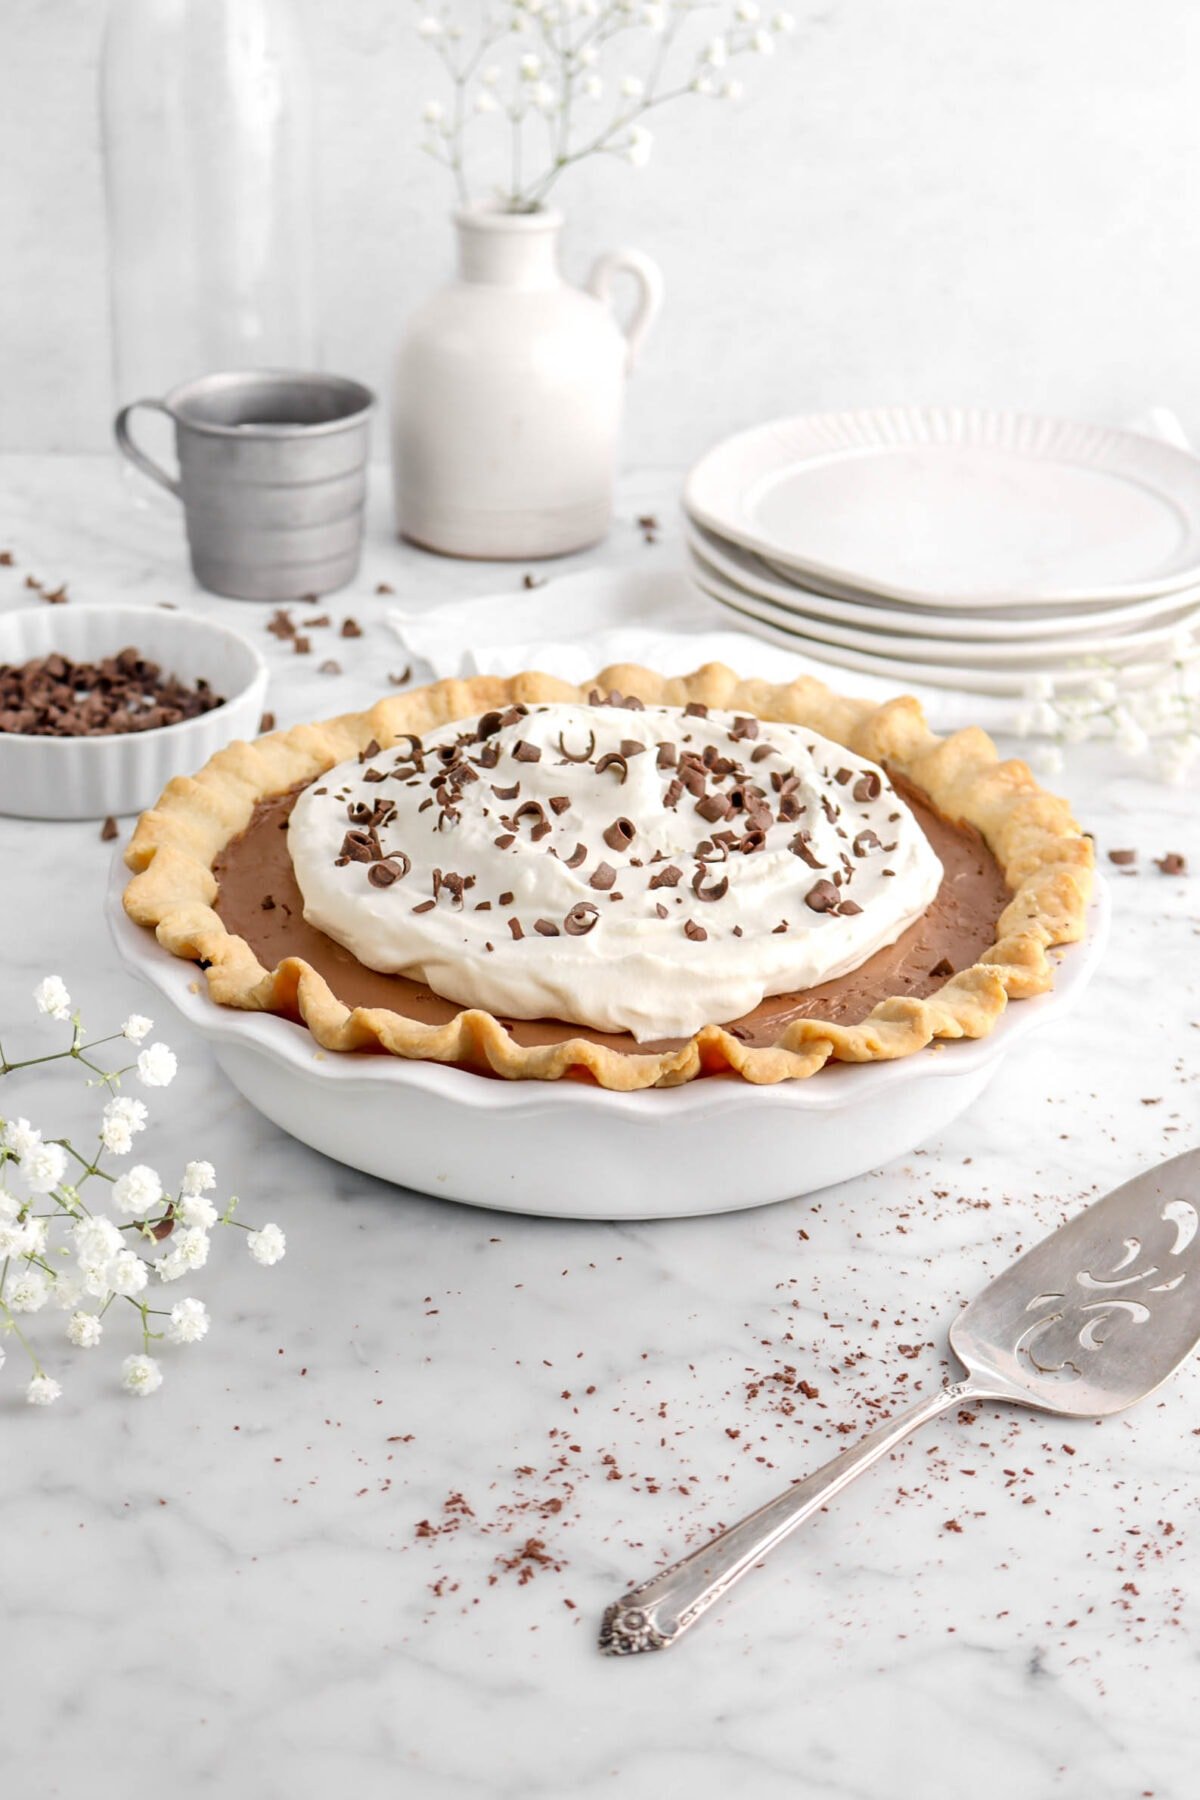
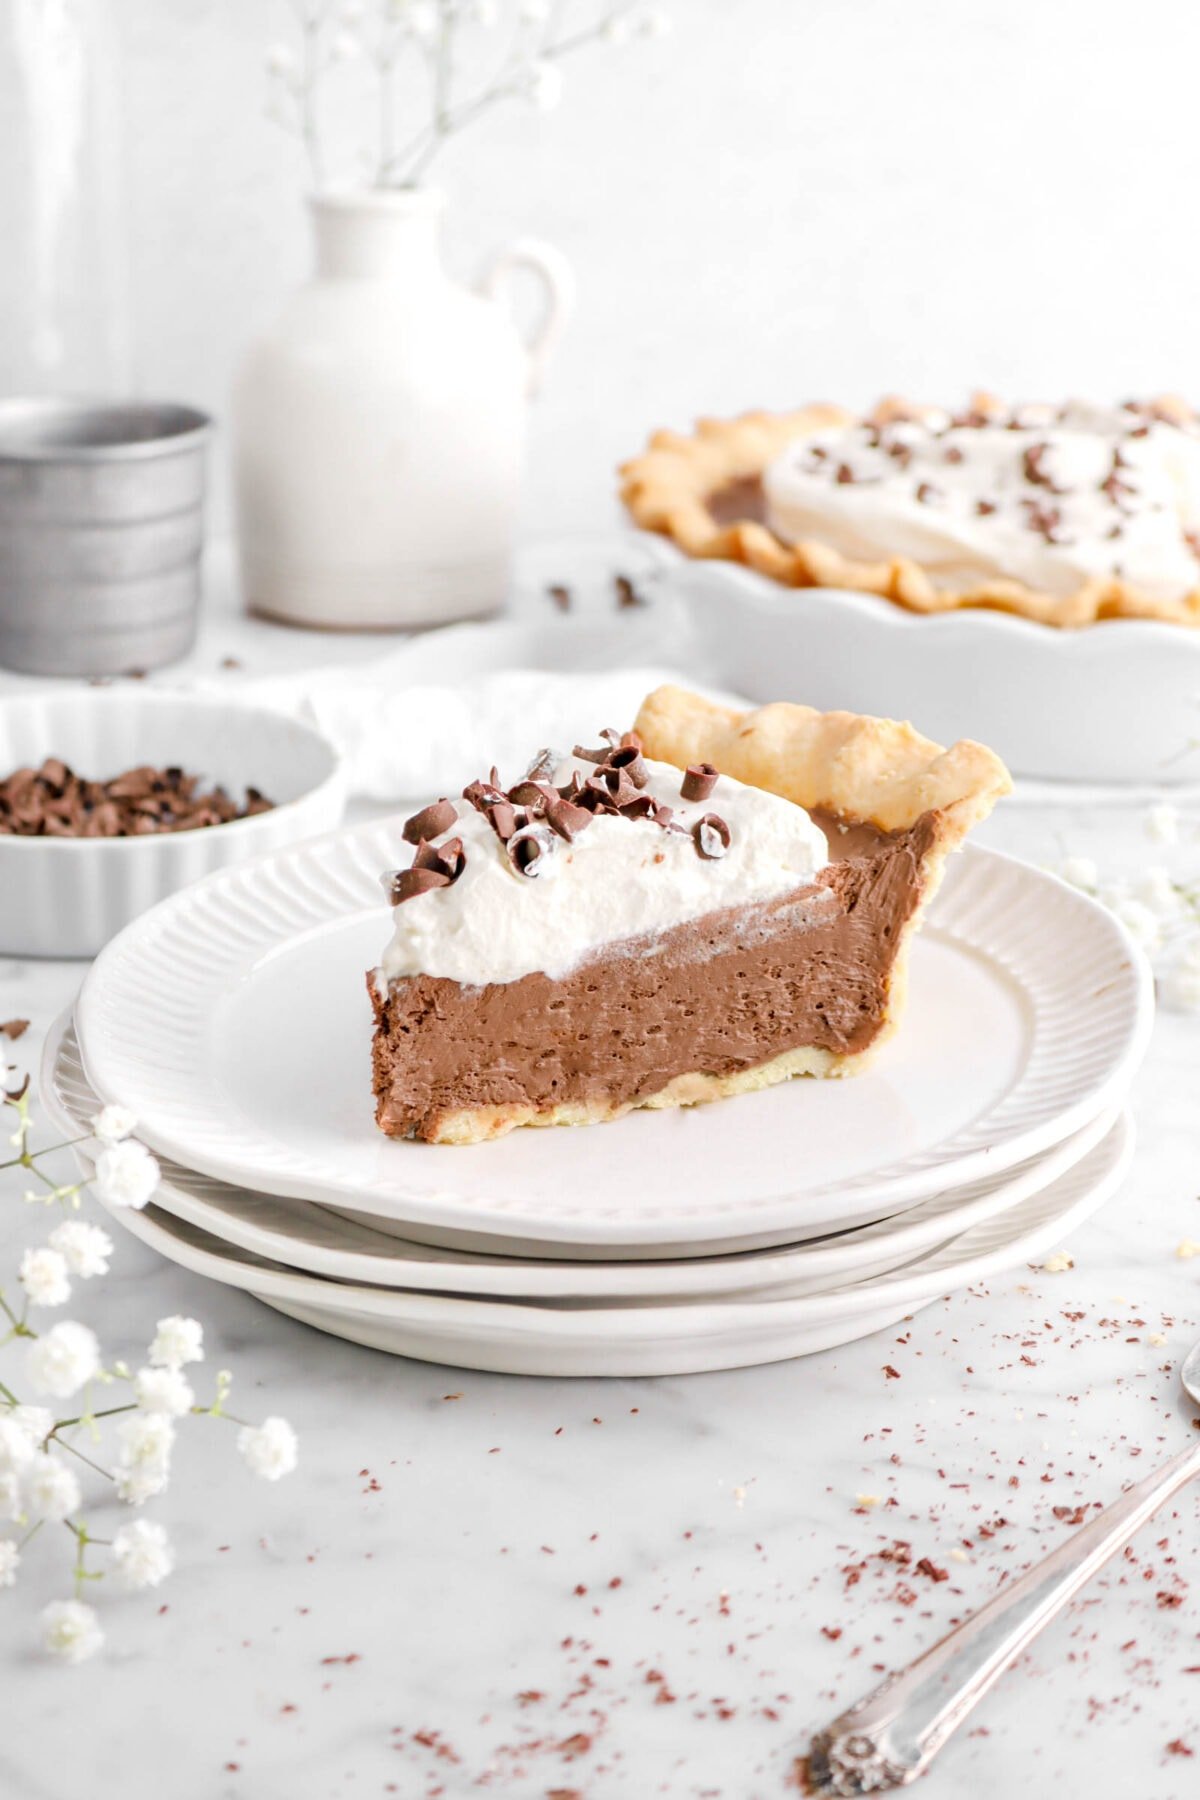
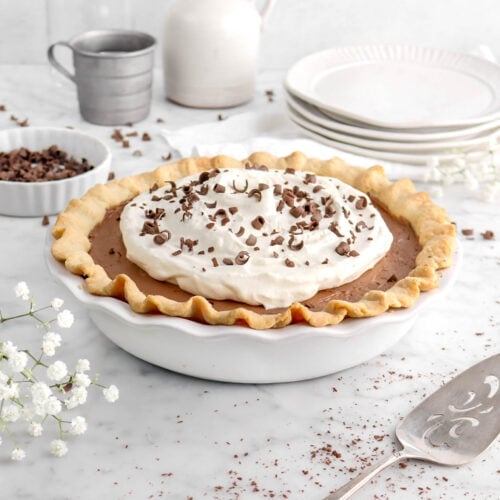
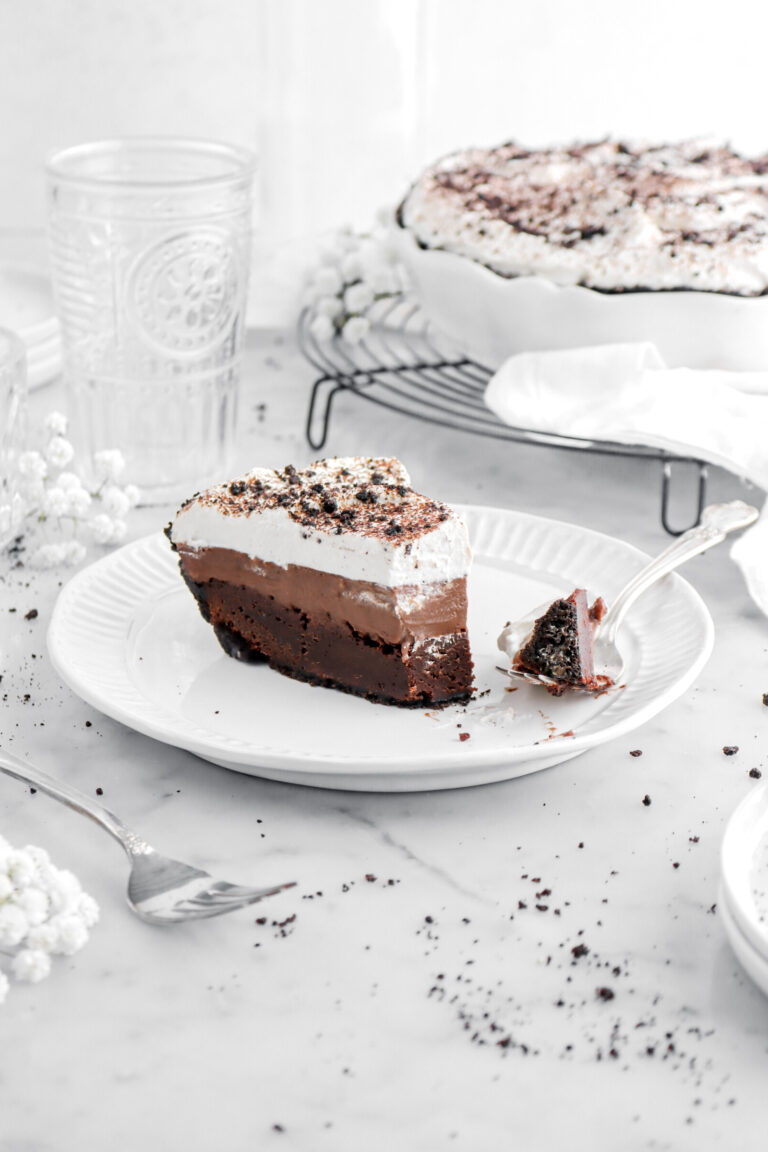
Perfectly sweet and extra chocolate-y French Silk Pie…with a melt-in-your-mouth tender pie crust and lots of whipped cream on top! This pie is a classic, but we’ve made a few updates to make it even BETTER. The filling is made with simple ingredients, but now contains NO raw eggs!
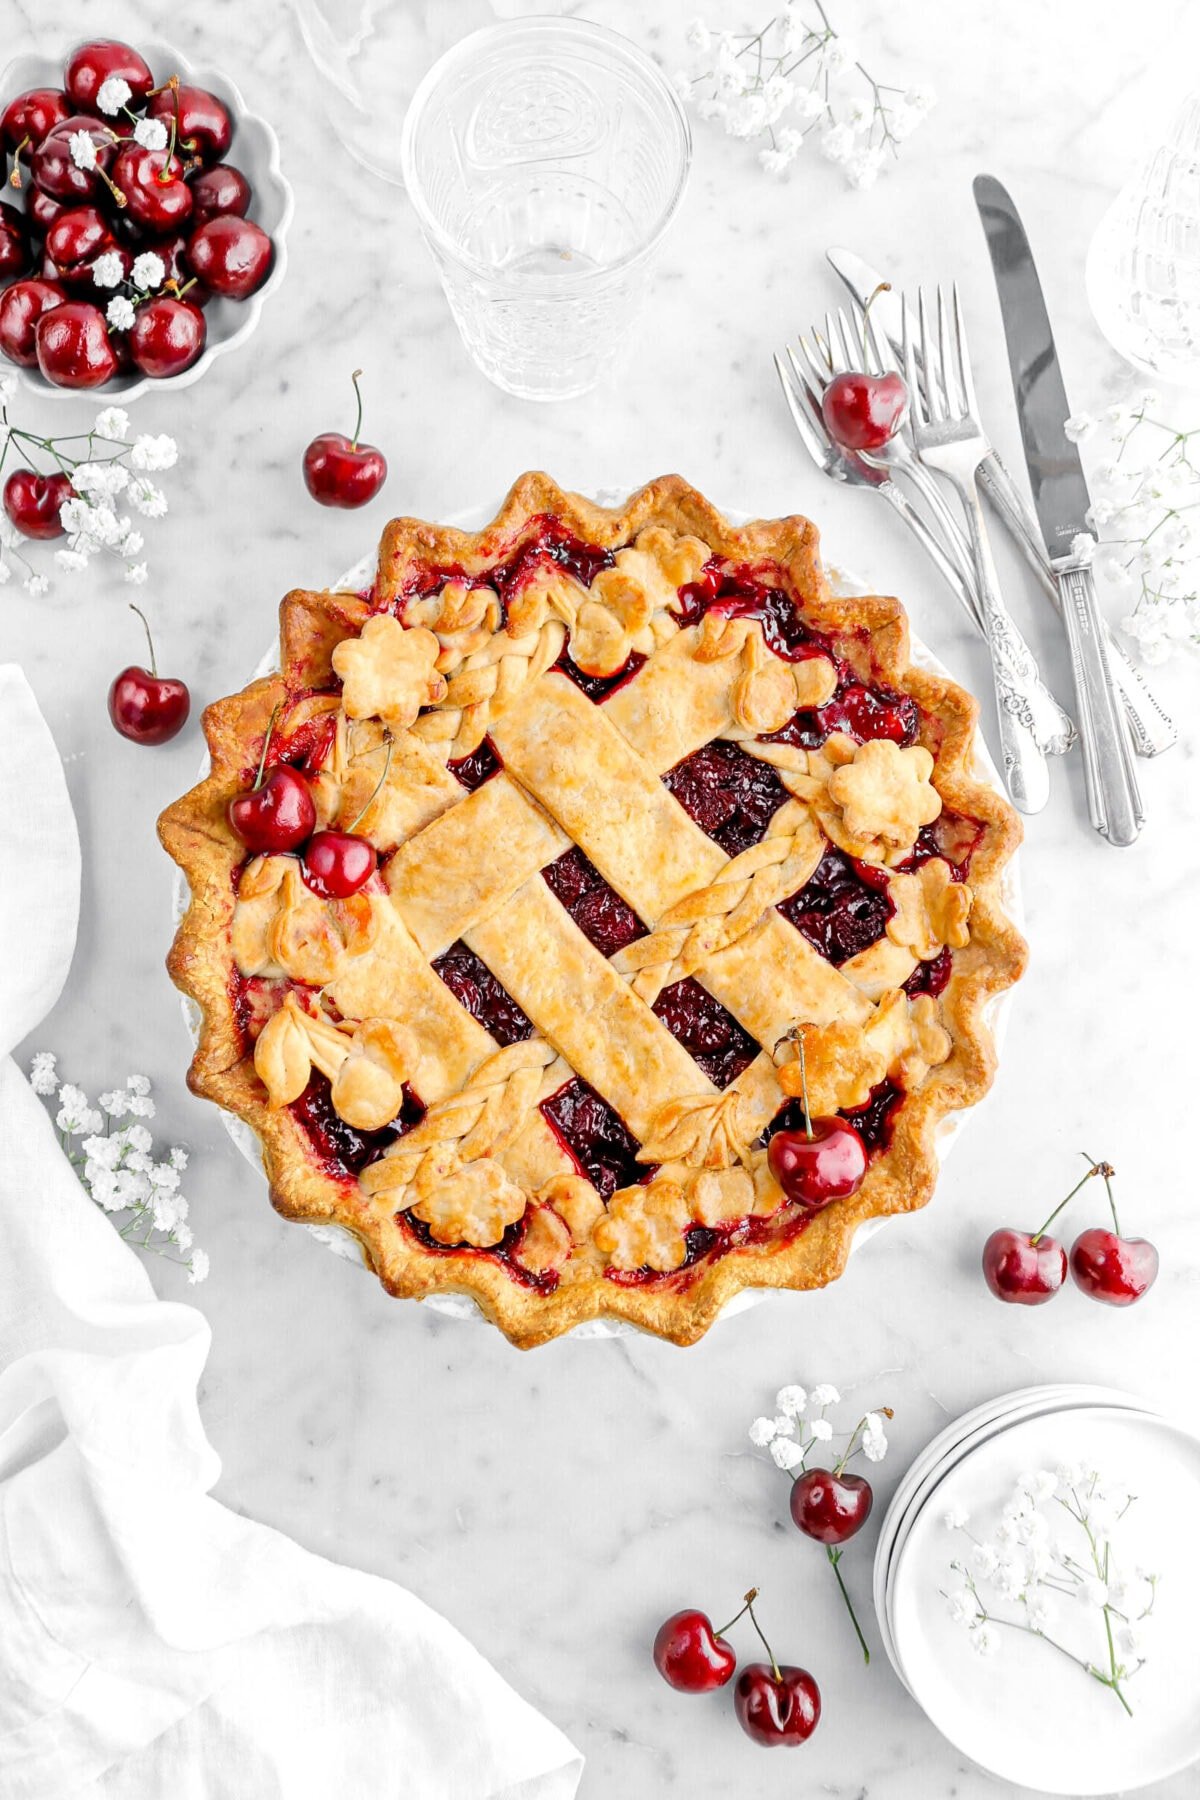
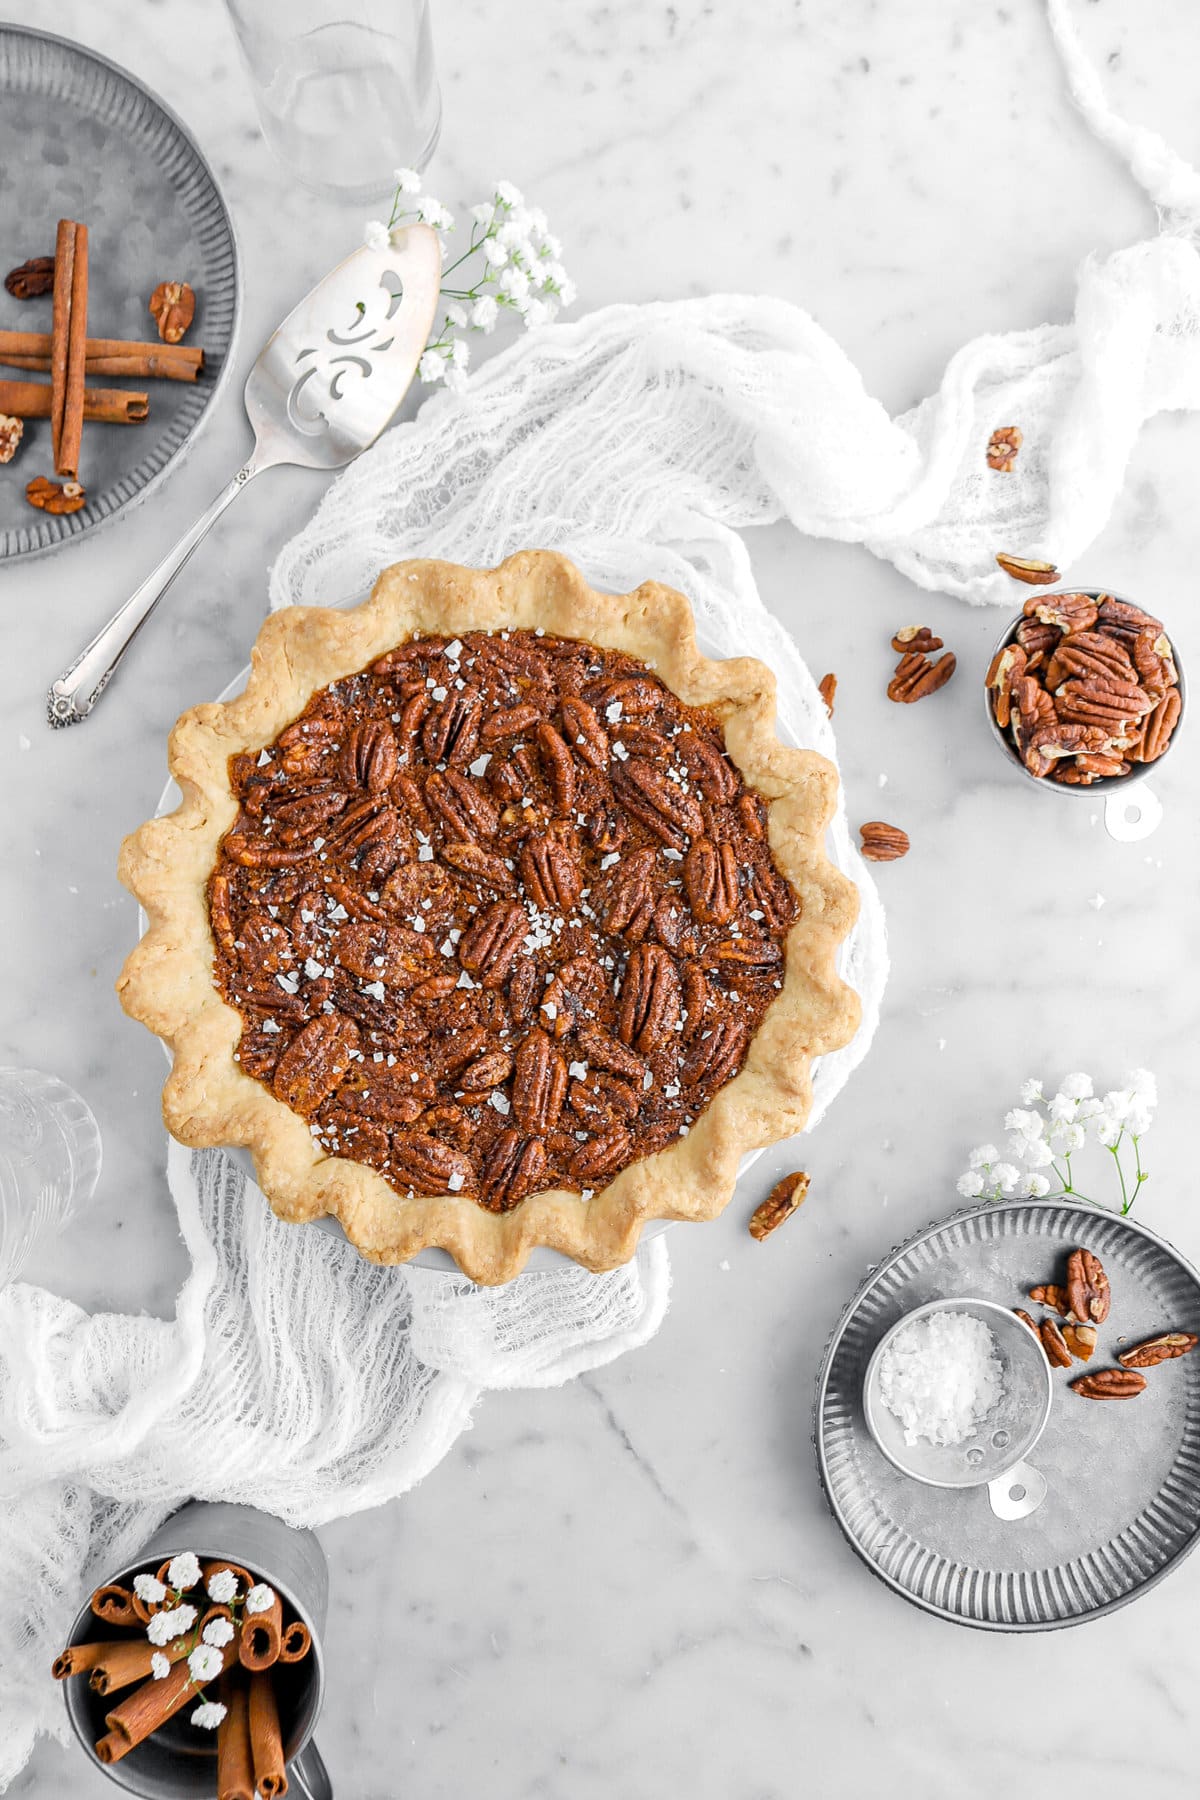
While we love apple pie or pumpkin pie, there’s nothing that can beat a homemade French Silk Pie. It’s creamy, decadent, and seriously chocolatey! Recently, my mom and I have been baking all things chocolate, and we knew that this pie had to be on our to-do list. It’s my great grandmother’s recipe that has been passed down through the generations. My mom changed the type of chocolate her grandmother used from Baker’s semi-sweet to a high quality bittersweet chocolate and updated the crust to use butter, which when combined with the pie, gives it an almost toffee-like flavor. It was a customer favorite in her restaurants and catering business so we thought you would love it too!
When we decided to share this recipe, we knew we had one more thing to sort out, the raw eggs. How is it a French silk pie without the raw eggs? Read on to find out.
Why This Is The BEST French Silk Pie Recipe:
- Light, but rich mousse-like filling.
- Extra chocolate-y and TOTALLY delicious.
- Contains NO raw eggs.
- Does not need to be baked.
- The perfect chocolate pie for any and every holiday!
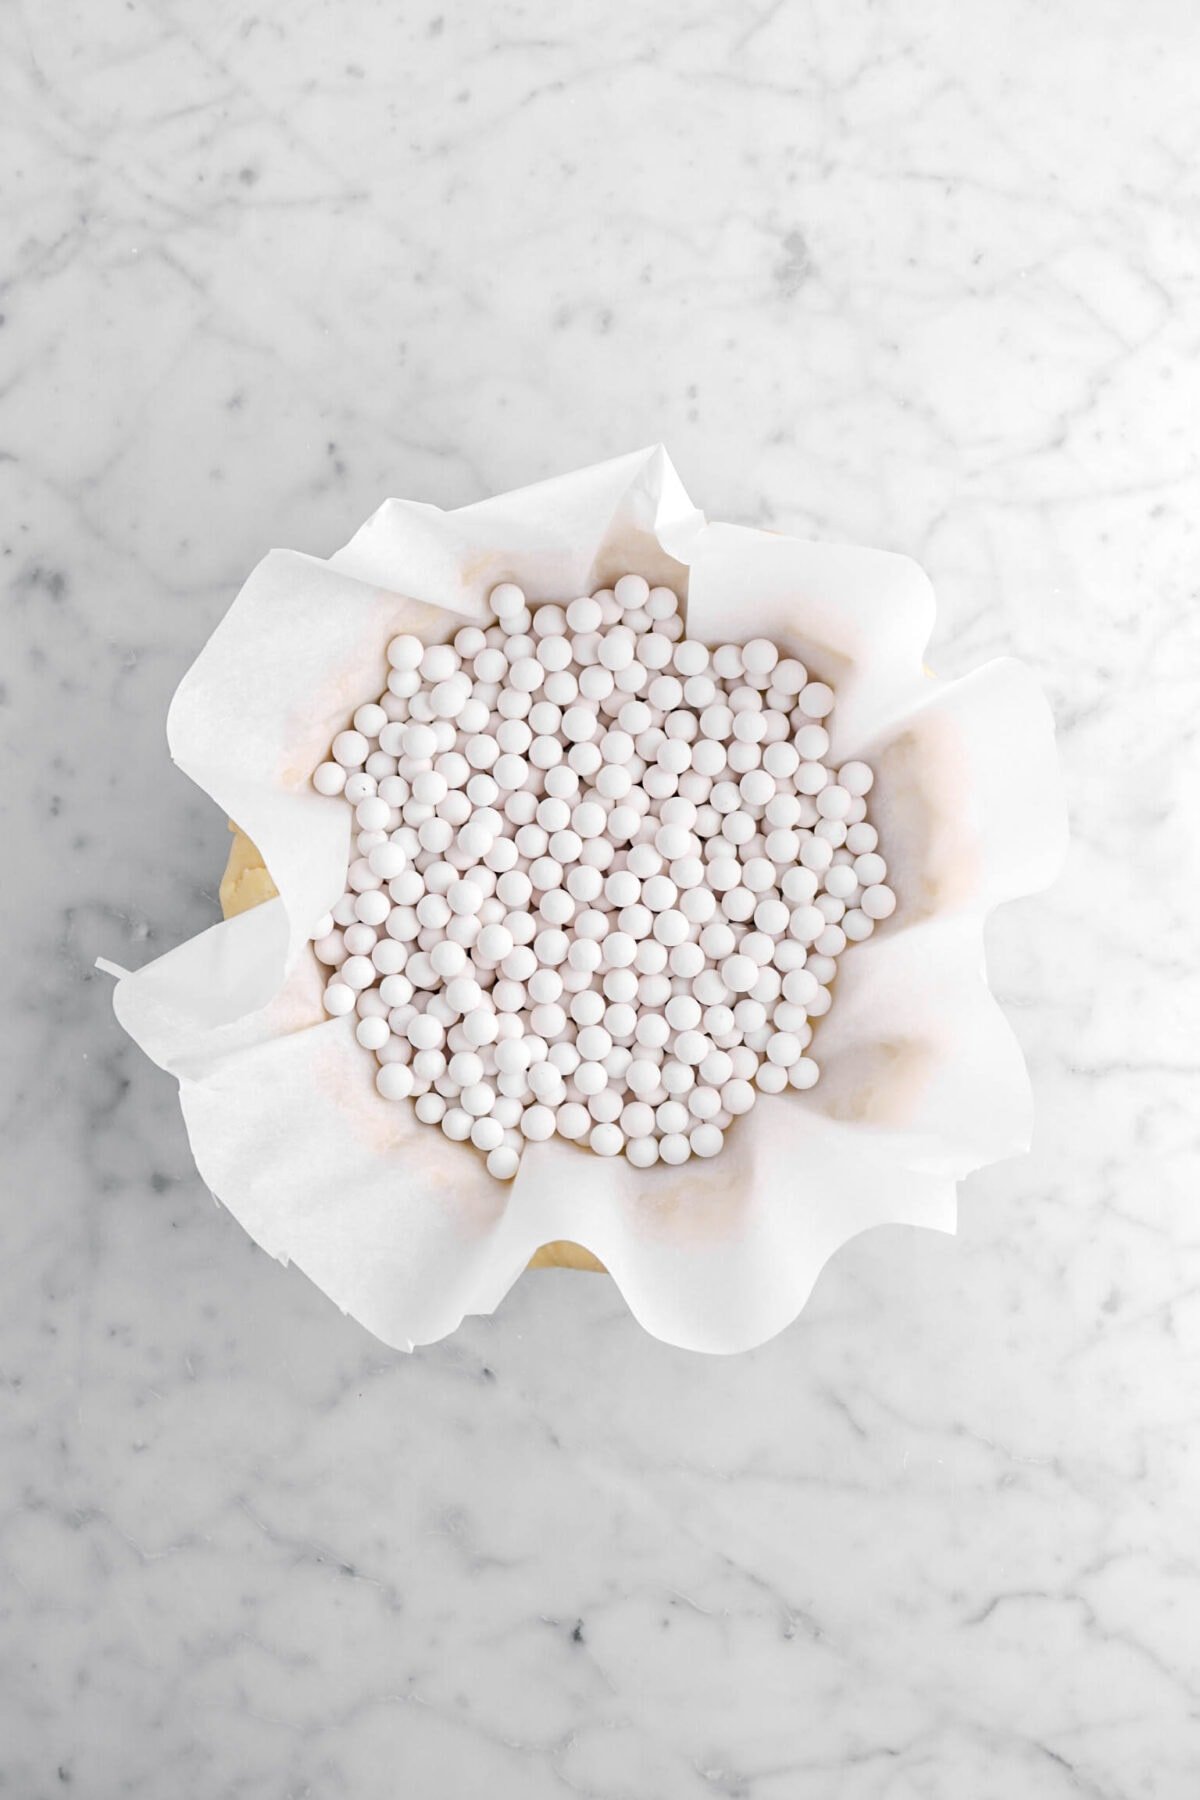
How Do I Blind Bake A Pie Crust?
Once you have your pie dough ready, it needs to be blind baked. It doesn’t matter whether you’re using homemade or store-bought, the crust must be baked prior to making this pie! We recommend using our tender pie dough recipe as it makes just the right amount of dough for a 9 inch pie pan!
- Place a piece of parchment paper over crust, fill with pie weights, and bake at 375°F for 20 minutes.
- Carefully remove the parchment paper and pie weights.
- Return to oven for another 10 minutes.
Key Ingredients For French Silk Pie:
Once you have your pie crust ready, you can gather the rest of the ingredients. With just a few simple ingredients, our recipe achieves a light, mousse-like chocolate filling for this pie.
- Eggs – Act as an emulsifier, helping to bind the chocolate and butter together, preventing them from separating.
- Granulated Sugar – This is the main source of sweetness in the pie and balances out the bitter notes of the chocolate.
- Water – A small amount of water is heated with the sugar to create a syrup. The hot syrup gently raises the temperature of the egg yolks, thickening them without scrambling them.
- Bittersweet Chocolate – Our go to for most things chocolate, bittersweet chocolate has a rich, complex flavor without being overly sweet.
- Salted Butter – Butter adds a rich and creamy element to the pie filling. The salt in the butter offers a subtle counterpoint to the sweetness, adding flavor complexity to the pie.
- Vanilla Extract – While subtle, vanilla complements the deep chocolate flavor and rounds it out.
⊹ A Note On Chocolate ⊹
We highly recommend using a high-quality chocolate that you like the flavor of, as this pie tastes ONLY of chocolate. We found that using Bittersweet (70%) provided deep chocolate tones, while remaining just sweet enough not to give this pie any bitter flavors.
Our Trick For No Raw Eggs (Hint: It’s Not Removing Them!)
Yes, there are still eggs in this recipe…but how did we do it? Well, to be honest with you, it took us a few day’s worth of recipe testing to finally achieve the perfect pie!
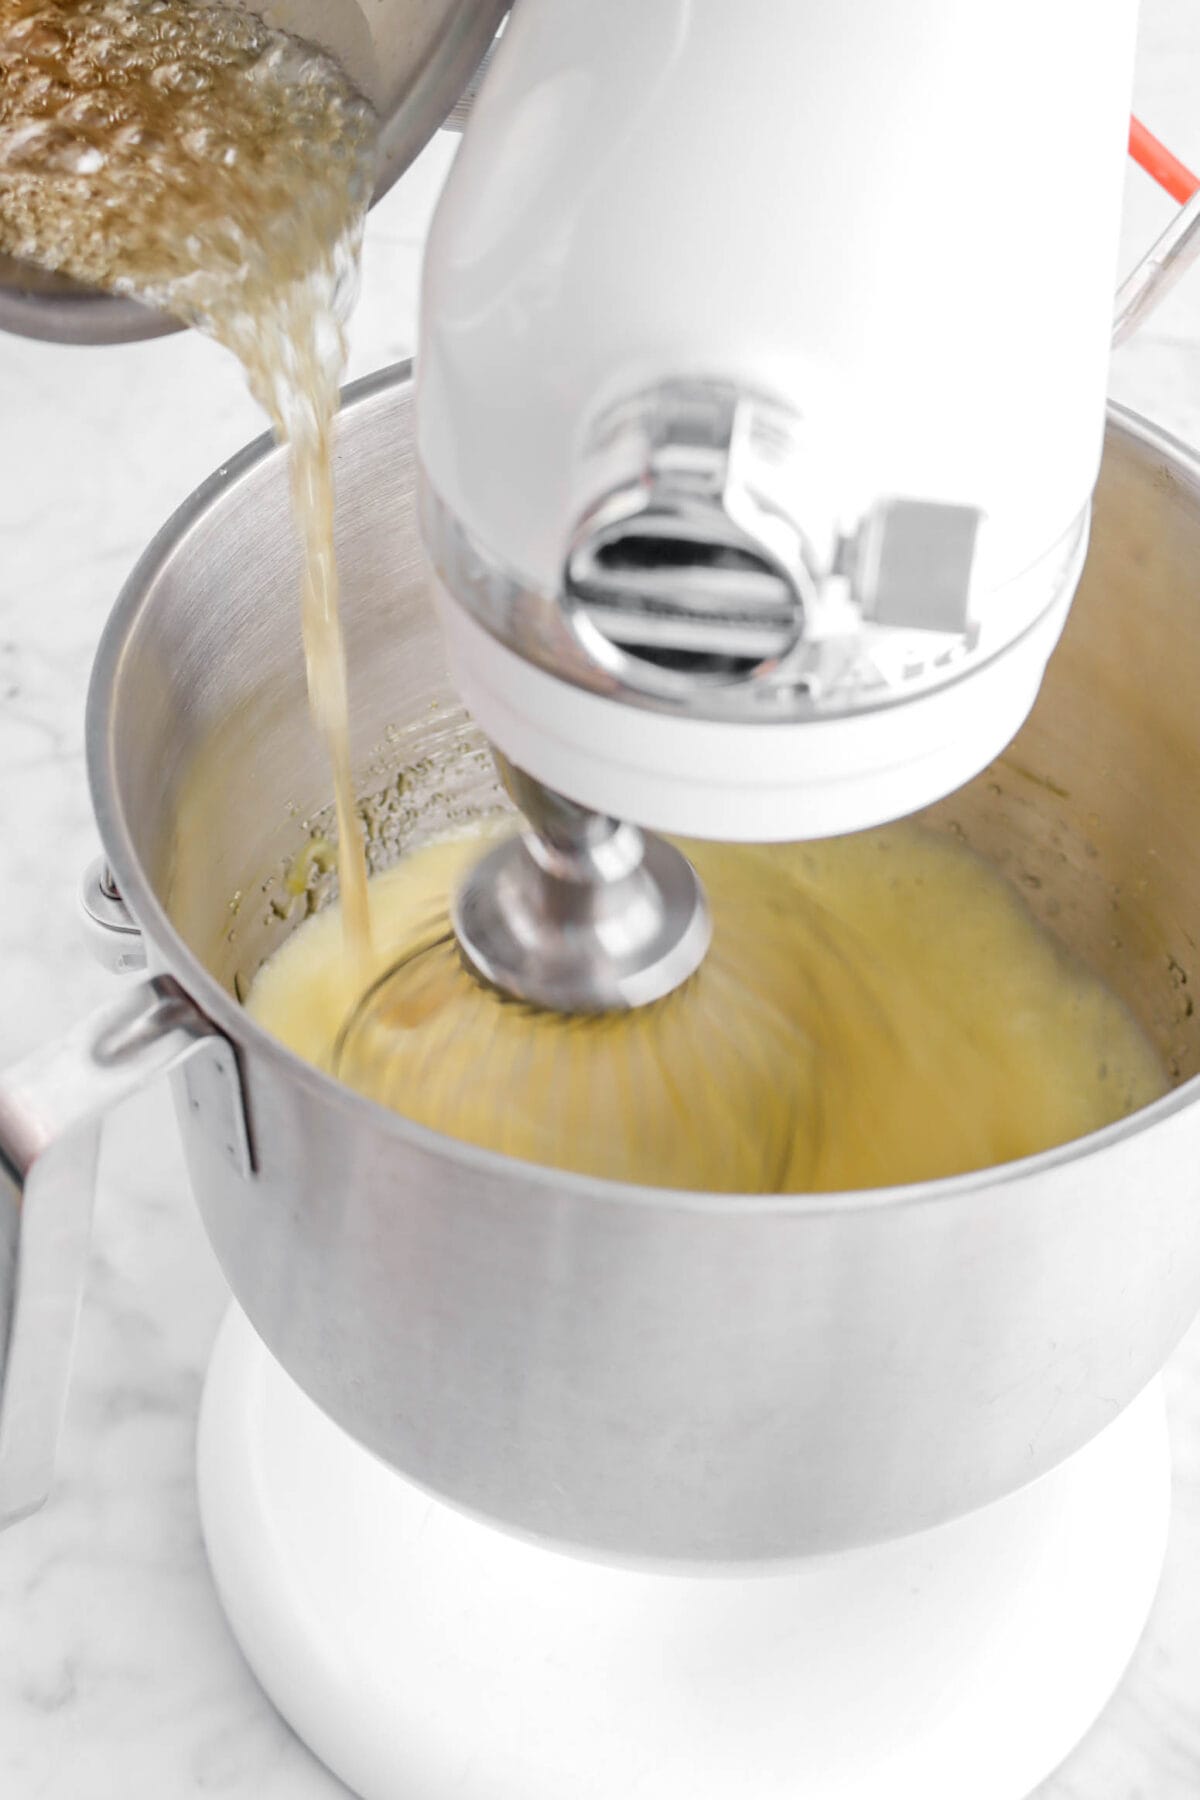
The secret? Cooking a sugar syrup to 244°F and slowly streaming it into the eggs while whipping! This tempers the eggs (which means they’re cooked without being scrambled!) and you can go about enjoying your pie without worrying about consuming raw eggs.
Make The Chocolate Filling
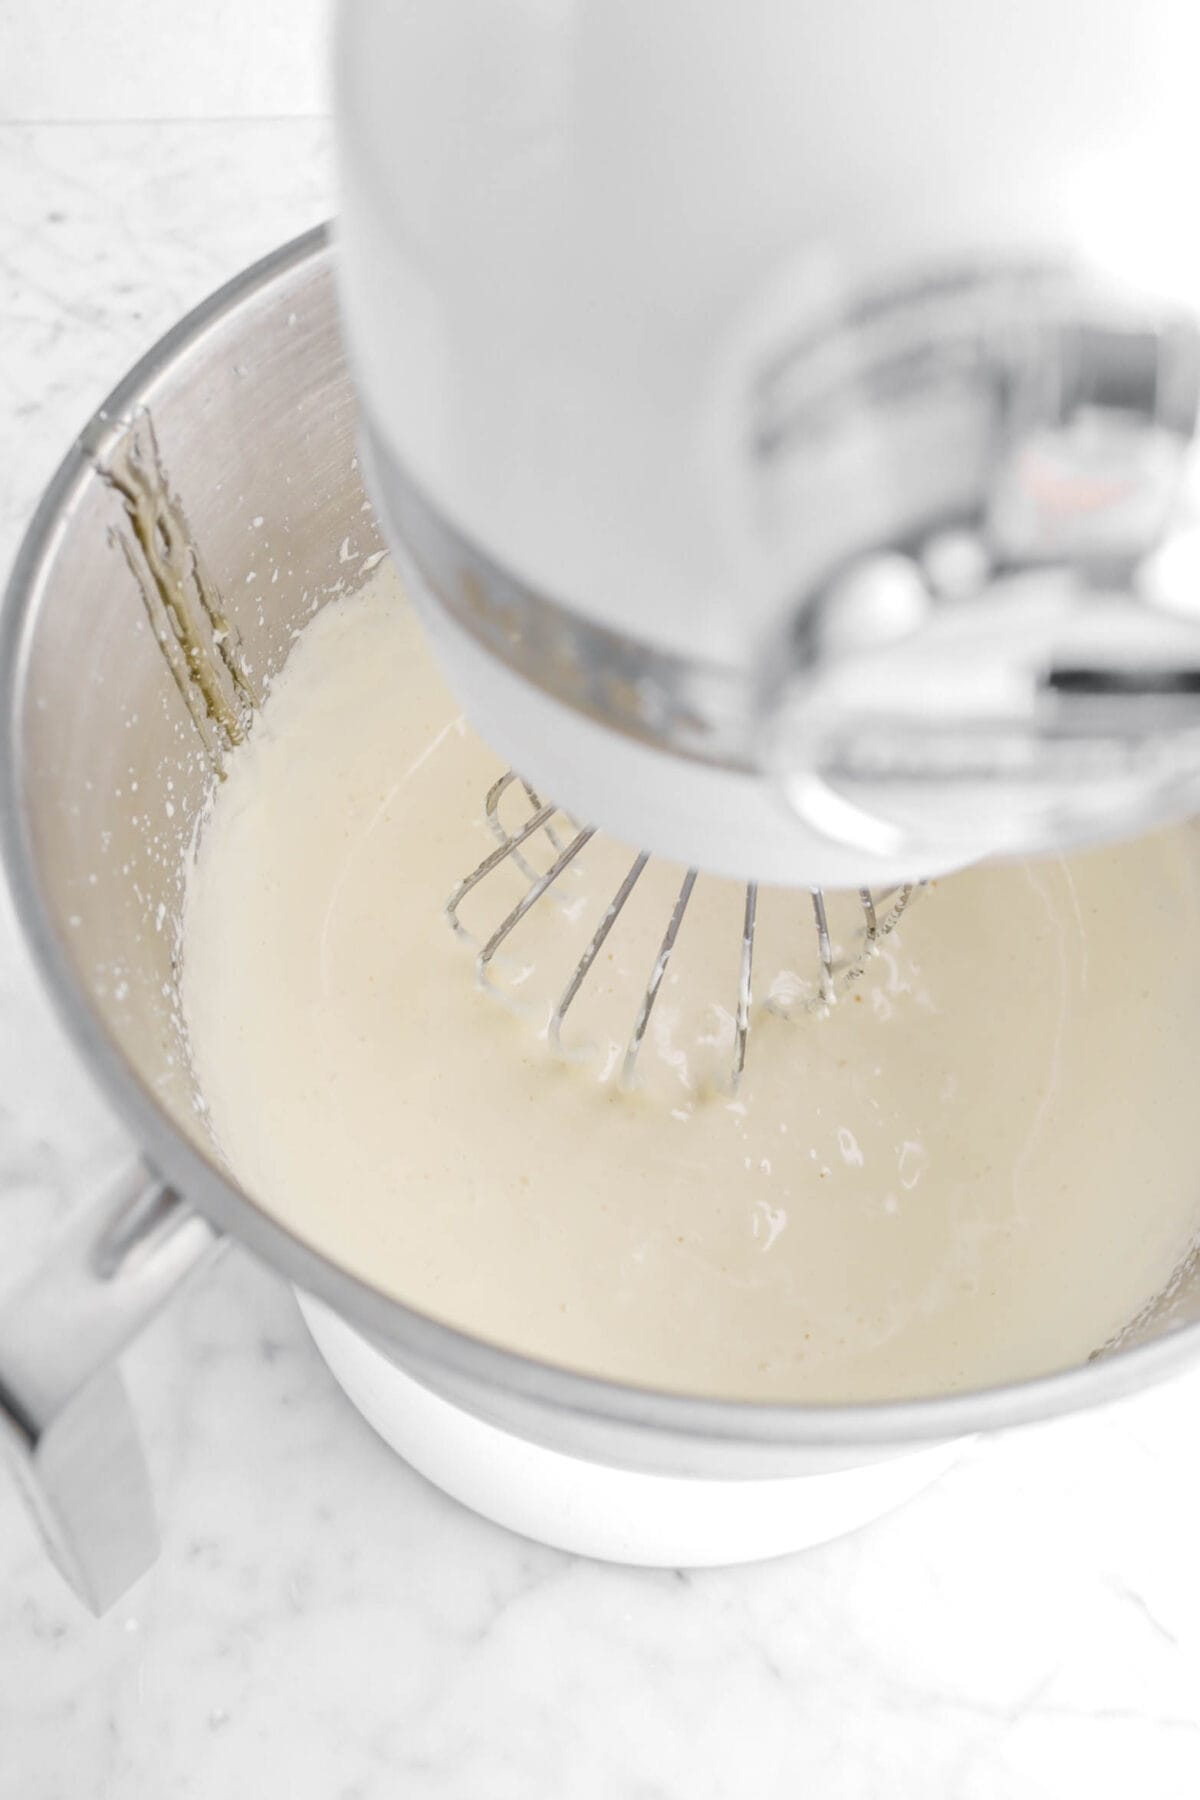
Beat the eggs in the bowl of an electric mixer fitted with the whisk attachment until frothy, 1-2 minutes. In a small saucepan, heat sugar and water to 244°F. With the mixer running, slowly stream sugar syrup into eggs. Continue beating until cool, about 3-4 minutes.
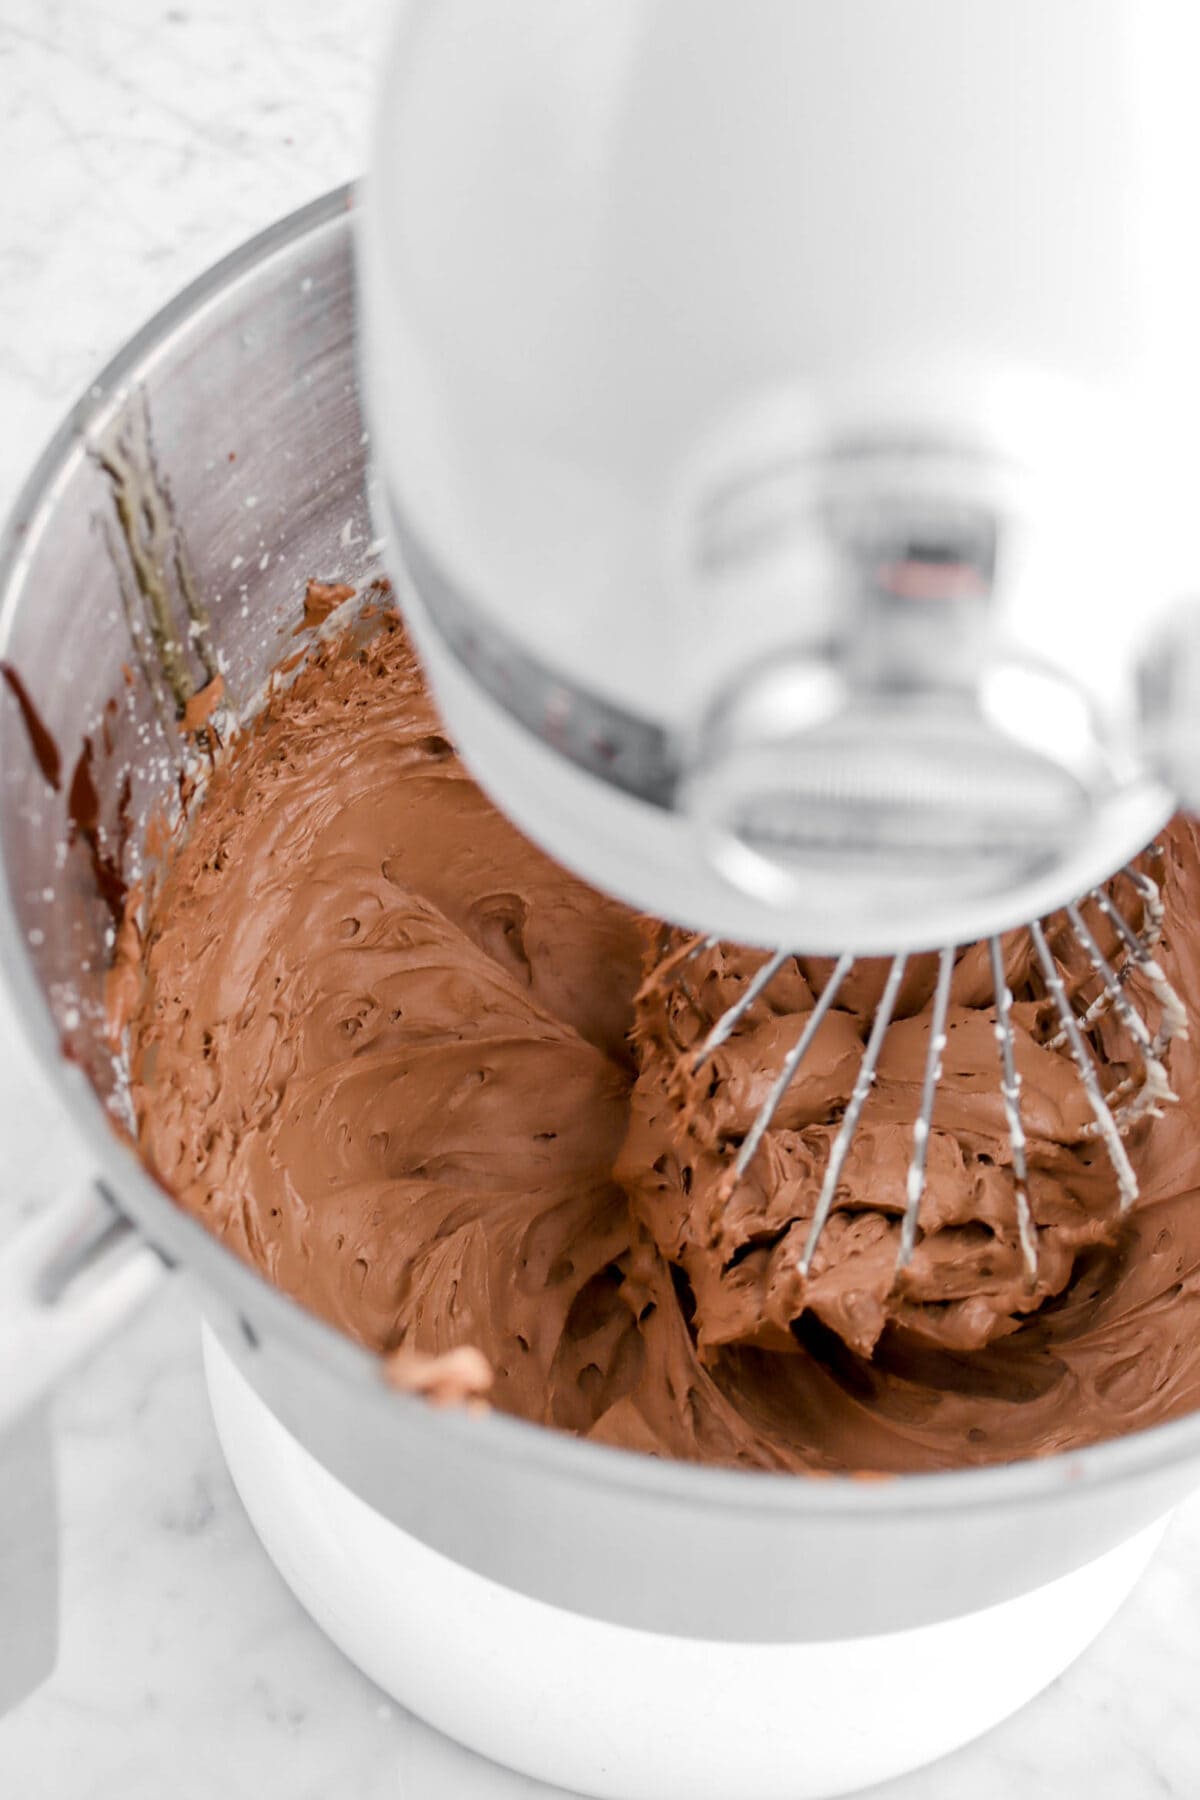
While mixture is beating, melt chocolate. When egg mixture has cooled, beat in the melted chocolate and vanilla. While continuing to beat, add butter in small amounts. Beat until completely smooth and no chunks of butter remain.
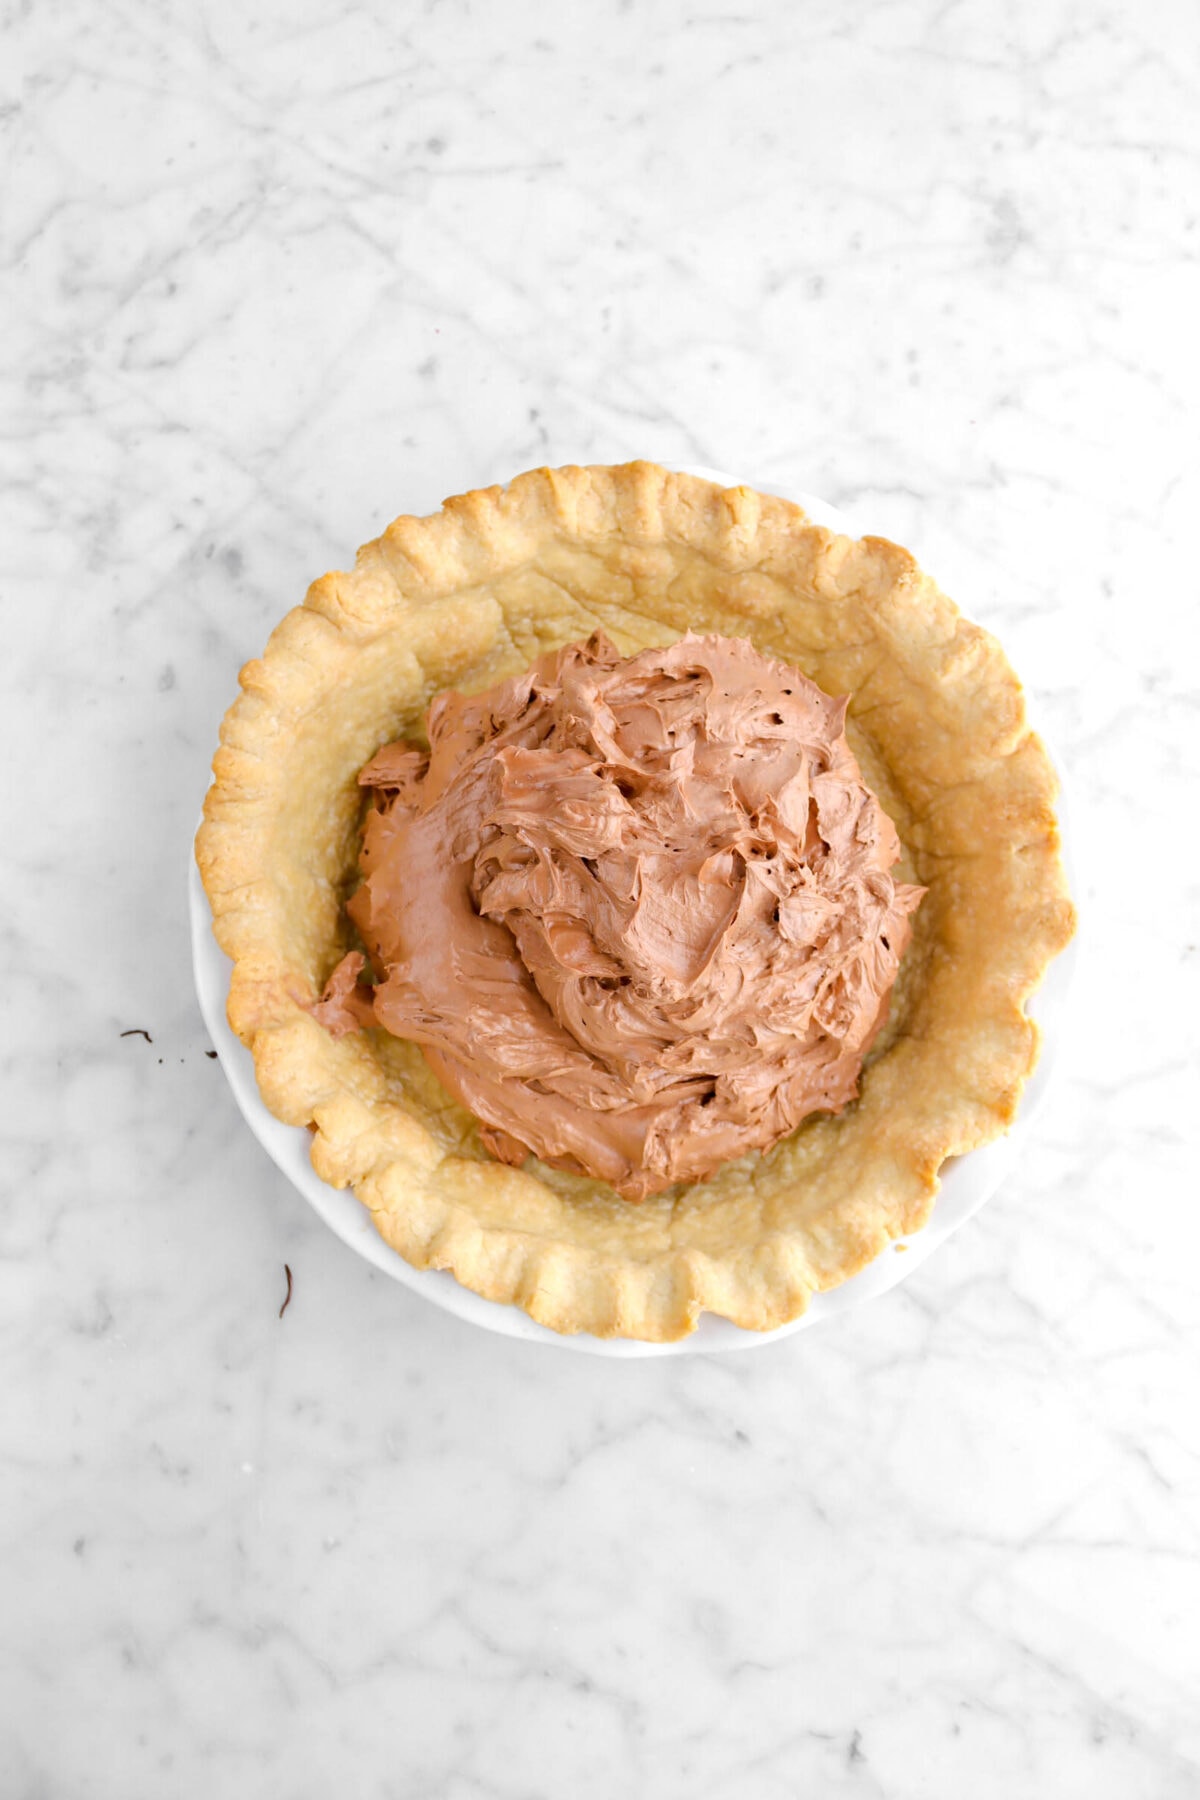
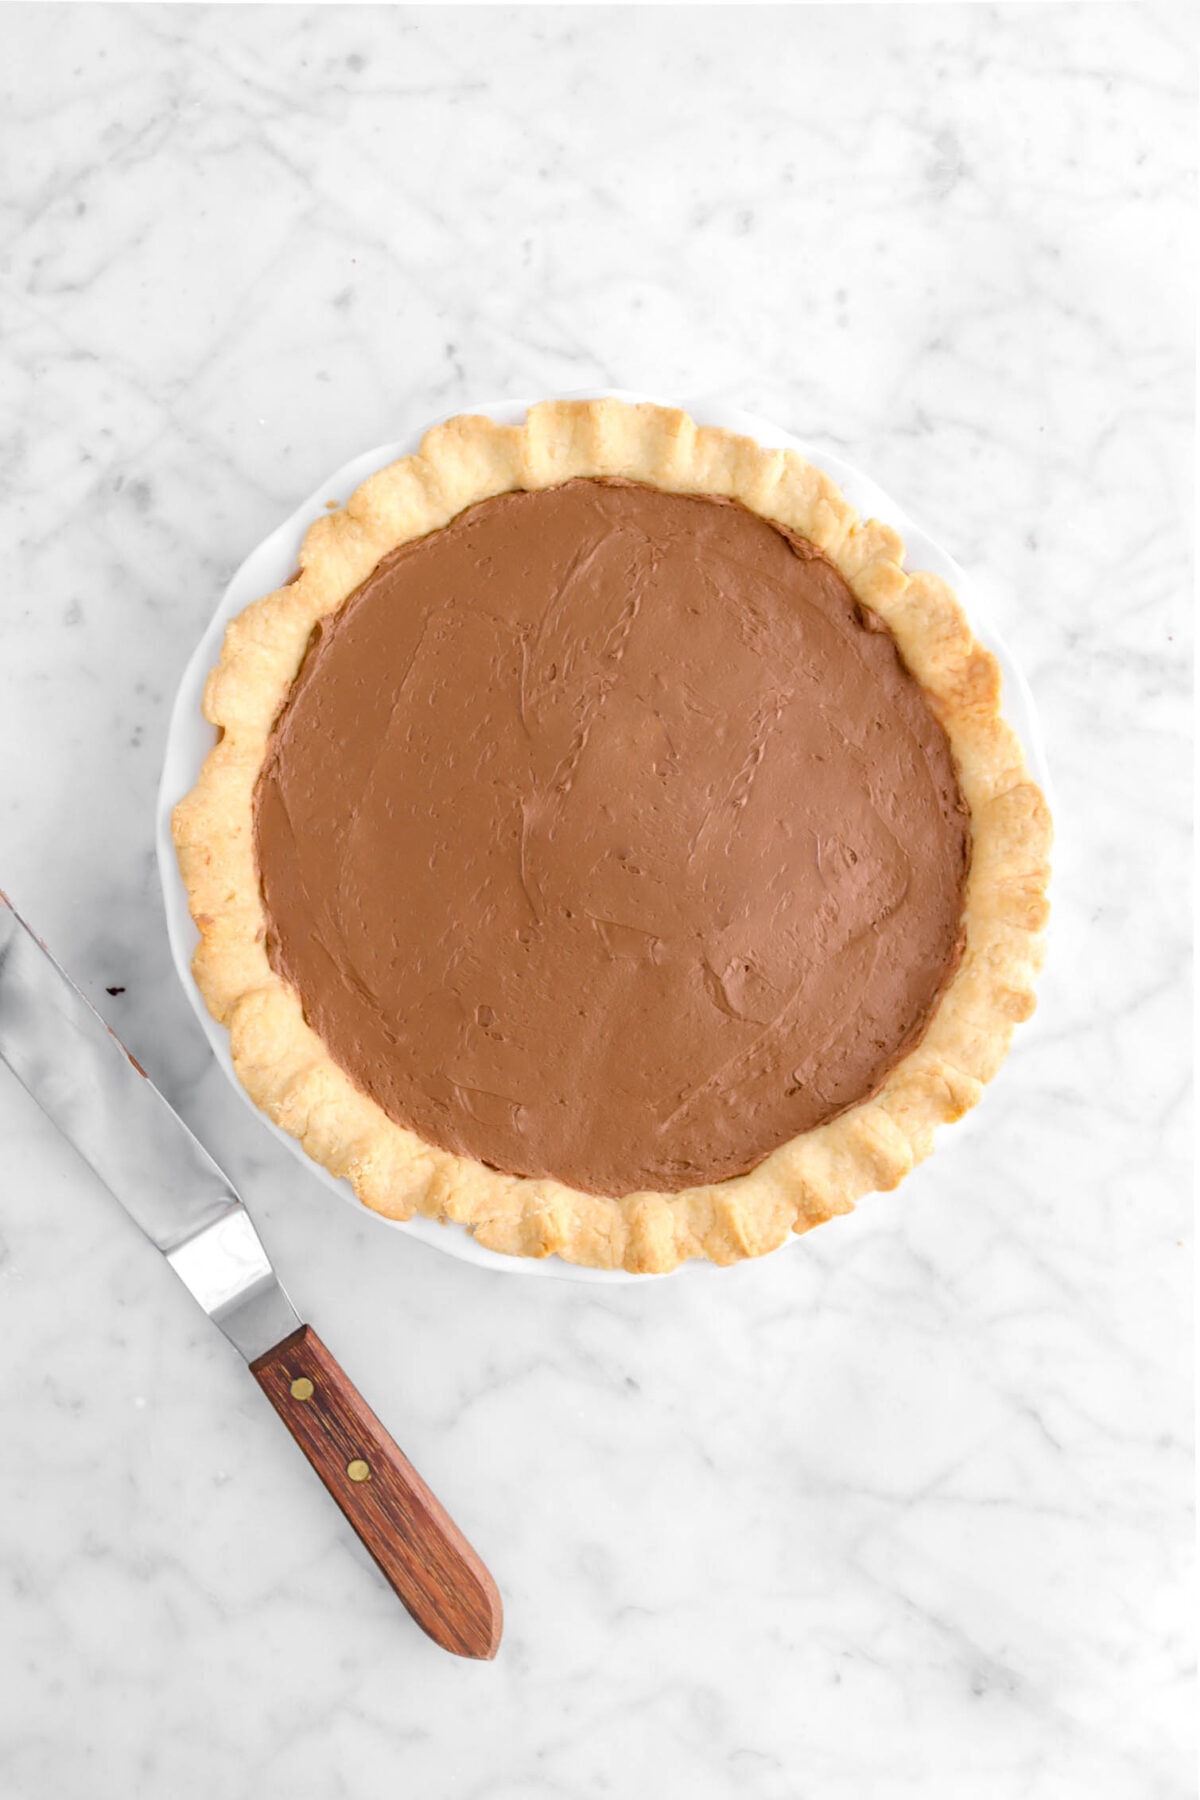
Spoon filling into a pre-baked pie crust. Spread with an offset spatula until smooth and level on top.
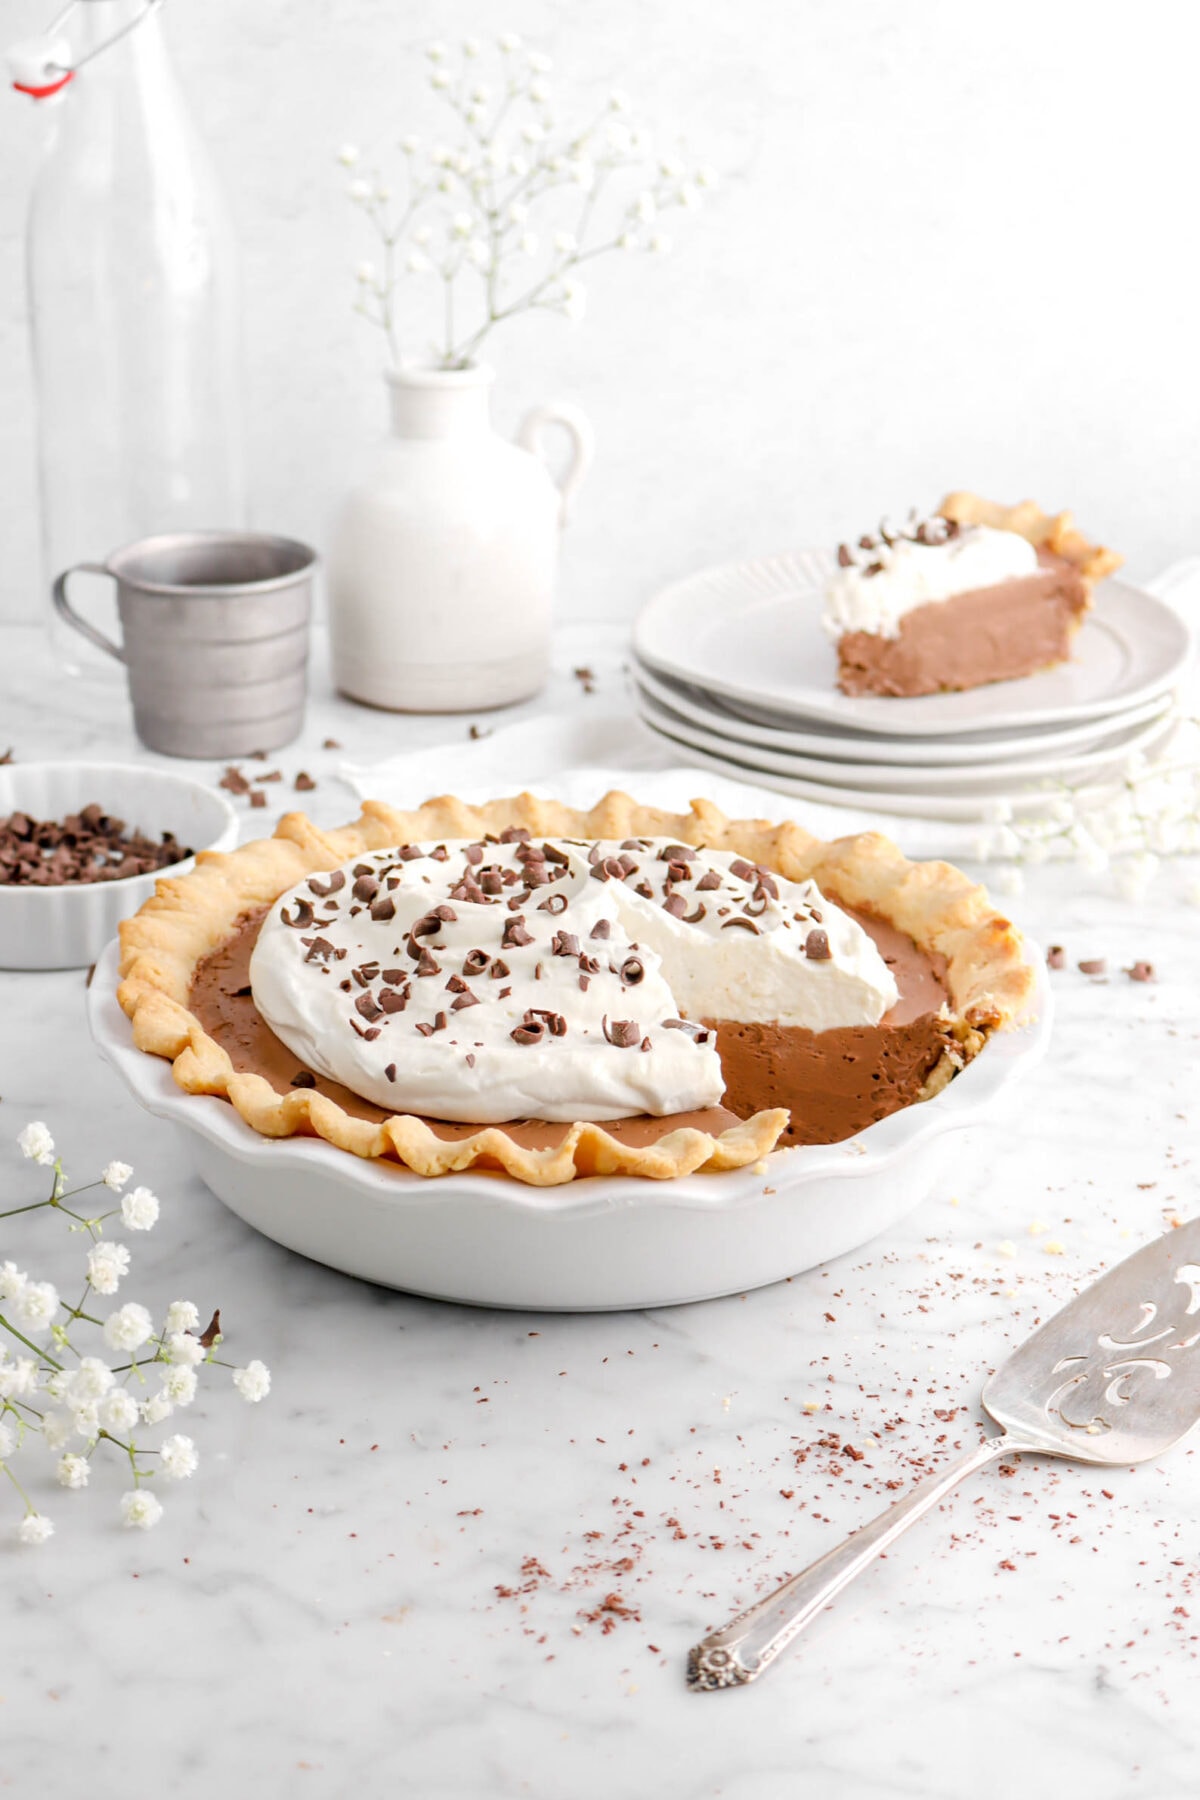
Vanilla Chantilly Cream Topping (Sweetened Whipped Cream)
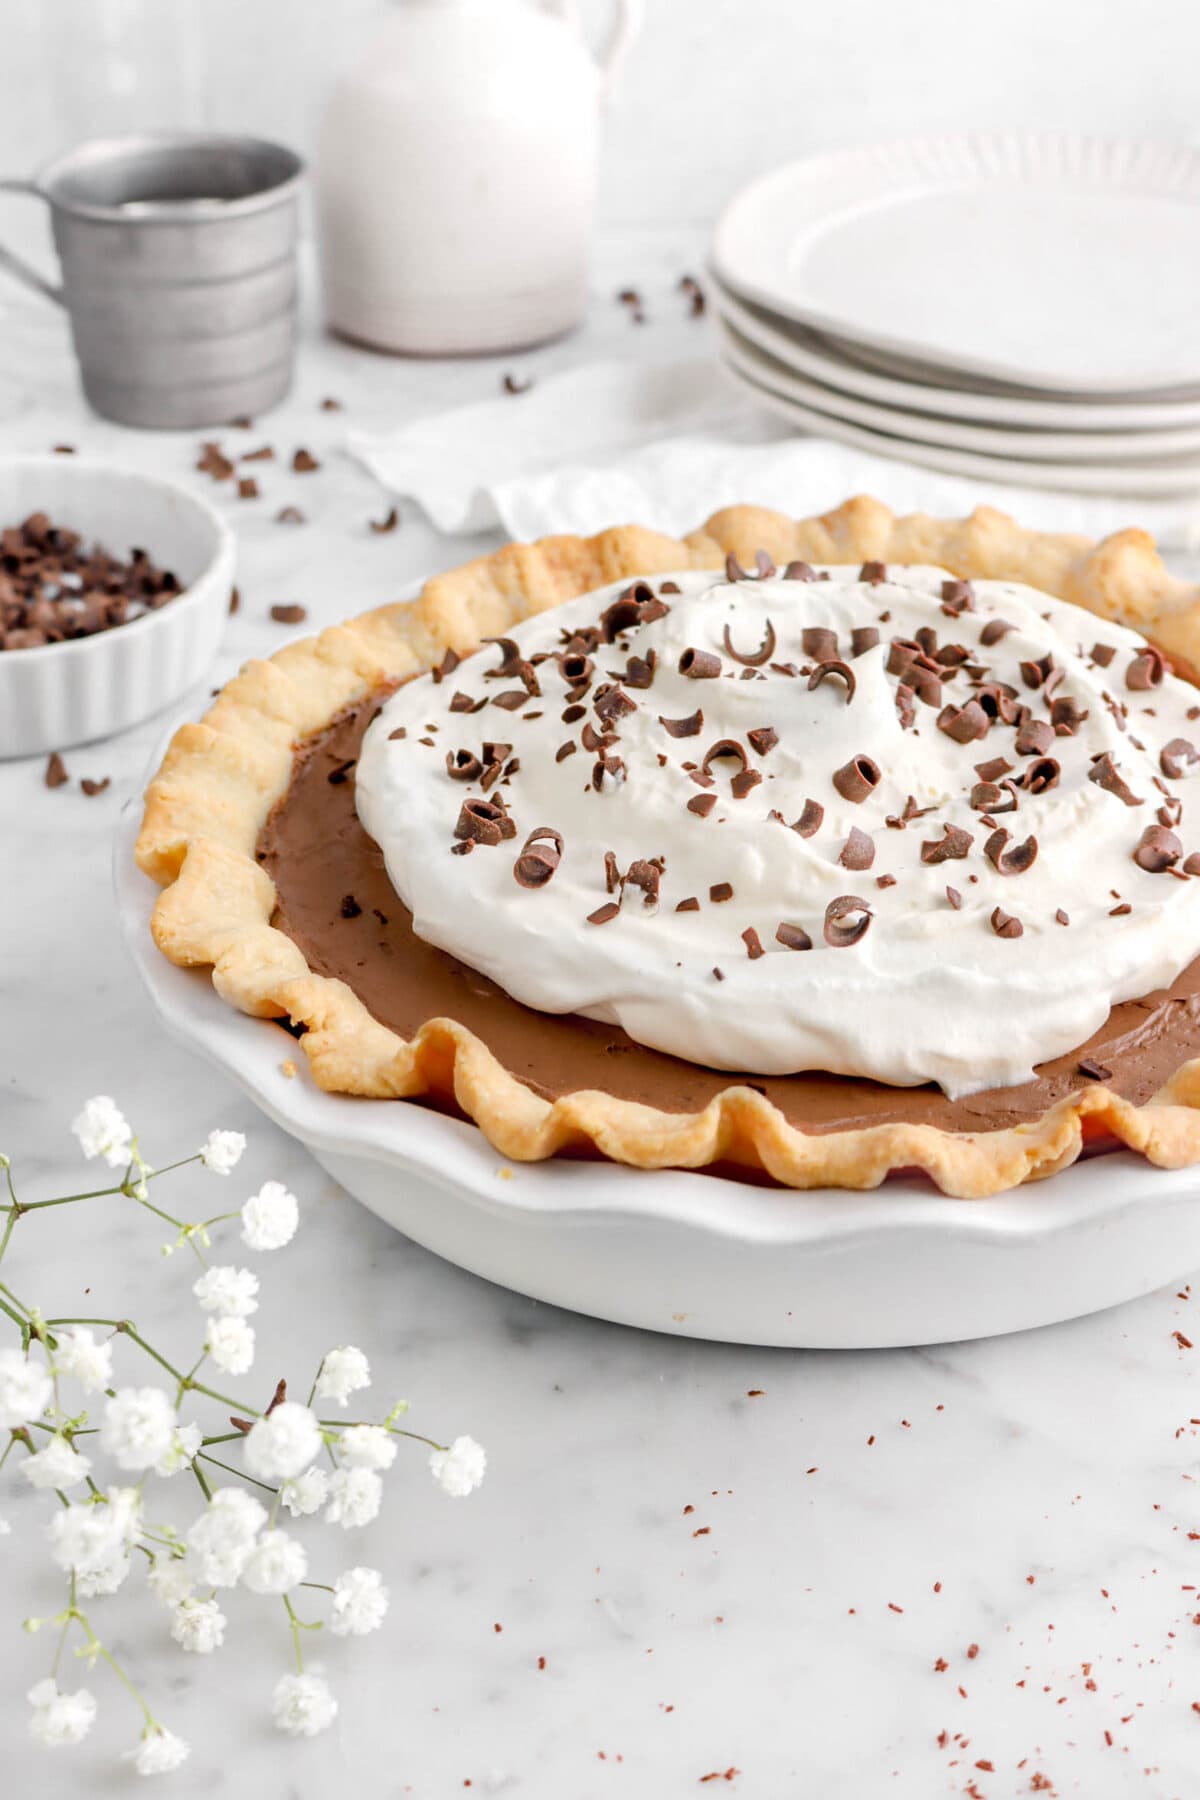
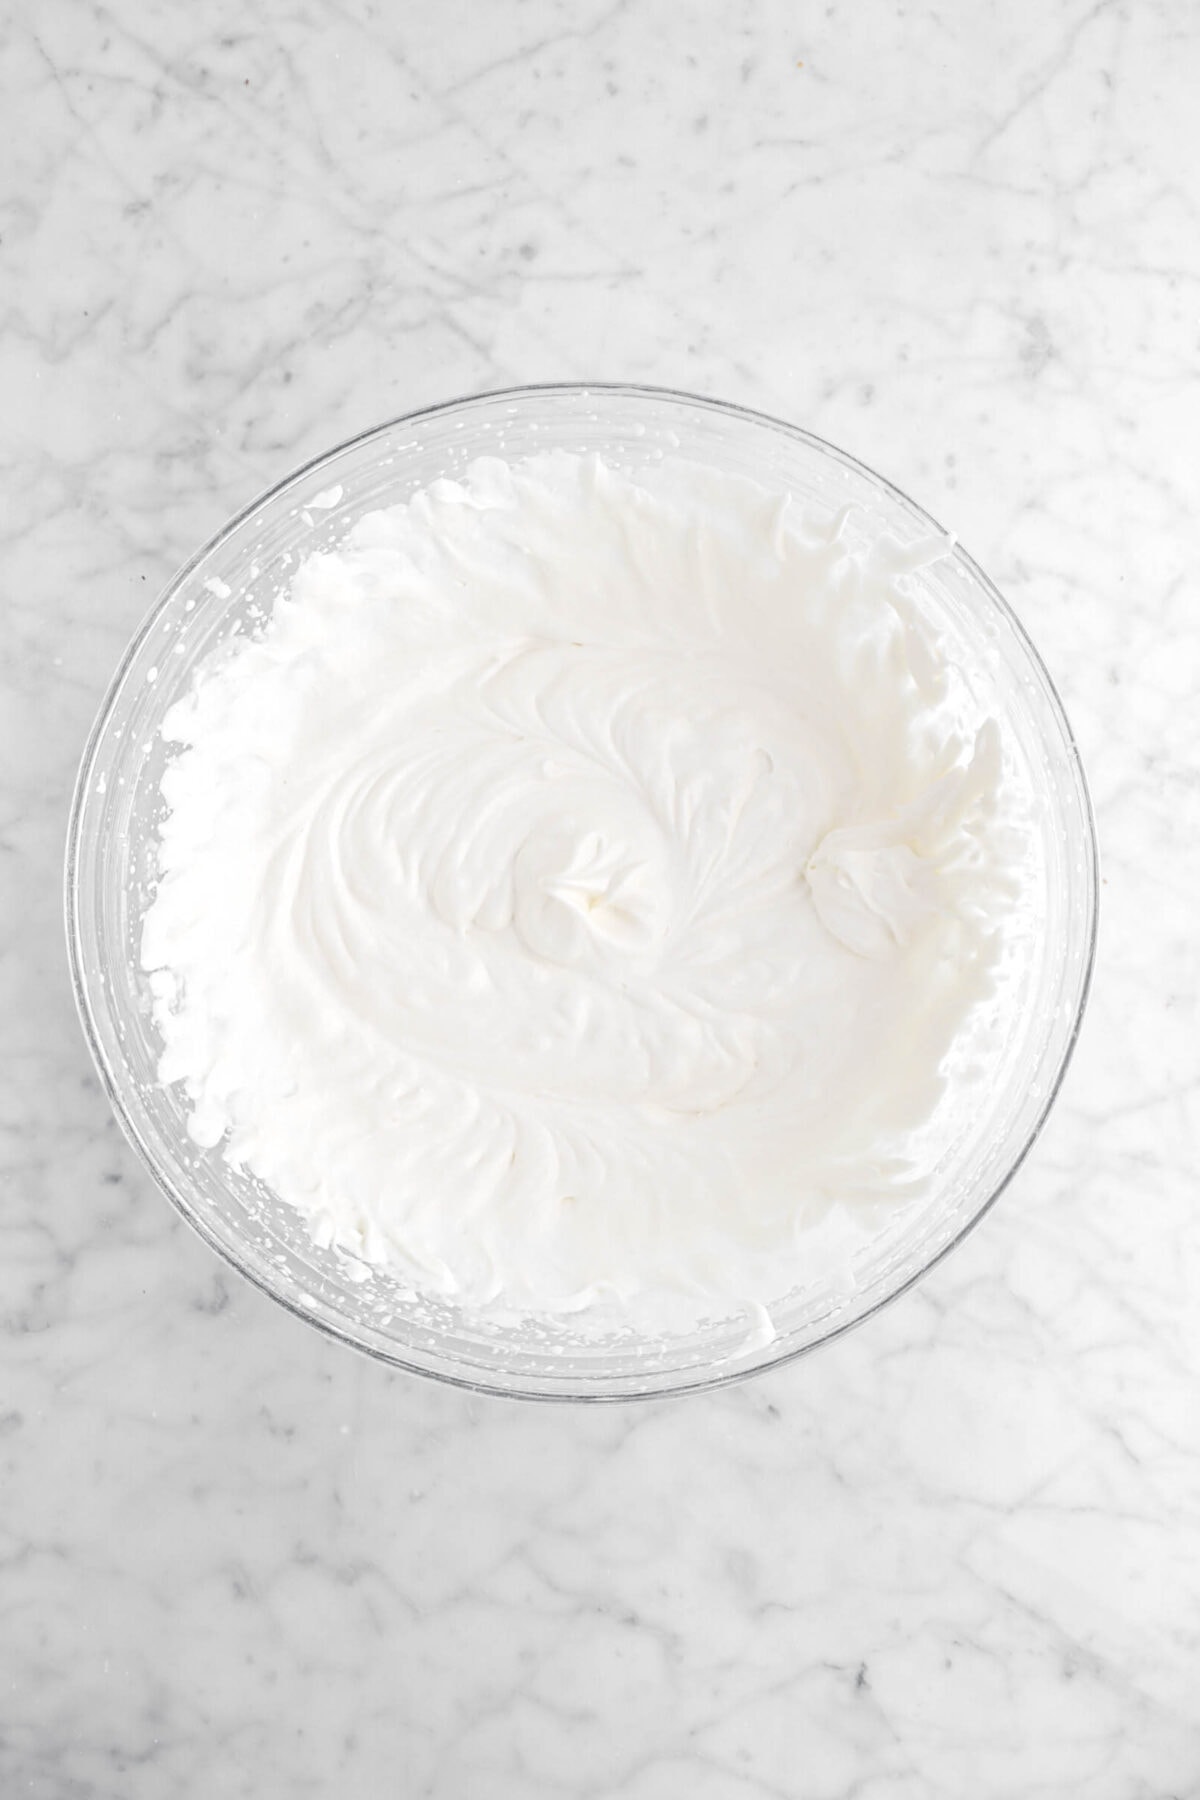
One of our most popular recipes on the blog, chantilly cream, is the perfect way to finish this pie! It adds some extra creaminess and lightness to each bite of this extra chocolaty goodness! To make it, all you need to do is beat heavy cream, vanilla, and powdered sugar to medium peaks.
Decorating Ideas
The best thing about a French Silk Pie is that it is SO easy to make look elegant. But if you want something a little more dramatic, you can really spend some time topping and decorating this pie. Here are some of our favorites!
- Use piping tips! This is a great way to add flare and elegance to your French silk pie. However, if you really want to level-up this pie, use a couple of different sized tips and pipe different shapes and patterns!
- Chocolate curls or chocolate shavings sprinkled on top. Even a light dusting of cocoa powder can really make this pie POP!
- Use fresh berries (raspberries, blackberries, or strawberries!) on top of the whipped cream to help cut through the richness of the pie, and add a gorgeous touch of color.
- Toasted nuts, like almonds, can really give this pie a different vibe and can be fun if you’re looking for something unique!
✳ Recipe FAQ’s
More Recipes For St. Patrick’s Day

When you make this French Silk Pie, leave a comment down below! We love hearing from you and answering any questions you might have! Also, be sure to tag us on social media and hashtag it #BakersTable.
Happy baking!
x, Caylie
French Silk Pie
Ingredients
Filling
- 4 large eggs, room temperature
- ¾ cup granulated sugar
- ½ cup water
- 1½ cups bittersweet chocolate
- ¾ cup salted butter, room temperature
- 1 teaspoon vanilla extract
Whipped Cream
- 2 cups heavy whipping cream
- 1 teaspoon vanilla extract
- 2 Tablespoons powdered sugar
Extras
- 9 inch pre-baked pie crust
- chocolate shavings, for topping
Instructions
Pie Filling
- Beat eggs in the bowl of an electric mixer fitted with the whisk attachment until frothy, 1-2 minutes.
- In a small saucepan, heat sugar and water to 244℉.
- With the mixer running, stream sugar syrup into eggs.
- Continue beating until cool, 3-4 minutes.
- While mixture is beating, melt chocolate.
- When mixture has cooled, beat in chocolate and vanilla.
- Add butter in small amounts while continuing to beat.
- Beat until completely smooth.
- Spoon into a pre-baked 9 inch pie shell and spread evenly.
Whipped Cream
- Beat heavy cream, vanilla, and powdered sugar with an electric mixer to medium peaks.
- Spoon or pipe onto top of pie.
- Garnish with shaved chocolate, if desired.
Notes + Tips!
- Room temperature is about 70℉.
- Make sure your candy thermometer is accurate. You can do a quick test with boiling water! A pot of boiling water should read 212℉.
- Make sure the eggs are whipping on high speed when you pour the syrup into them – SLOWLY! You want the eggs to cook but not scramble.
- To tell if the egg mixture has cooled, place your hands on the bottom of the mixer bowl to feel the temperature. If it’s cool to the touch, you’re ready to add the melted chocolate! If it’s still warm, let it continue beating.
- To melt the chocolate, you can use a microwave. Place in a microwave safe bowl and melt at 30 second intervals, stirring well in between each.
- Make sure your butter is room temperature. This is really important. If it’s cold when you try to beat it in, you will have chunks of butter everywhere and will unable to beat them out.
- Be sure ALL the butter is beaten into the chocolate mixture before adding it to the pie crust.
- You can use store-bought or homemade pie crust.
- Use an off-set spatula to smooth the top of the pie and to get it level.
- This pie NEEDS to be refrigerated after making.
Tools You May Need (affiliate links)
Nutrition
Nutritional information is only an estimate. The accuracy of the nutritional information for any recipe on this site is not guaranteed.
– Still Hungry? –
Here are a few recipes may like!
One Comment