Homemade Fluffy Vanilla Marshmallows | Step-by-Step Guide!
This post may contain affiliate links, please visit our privacy policy for details.
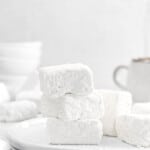
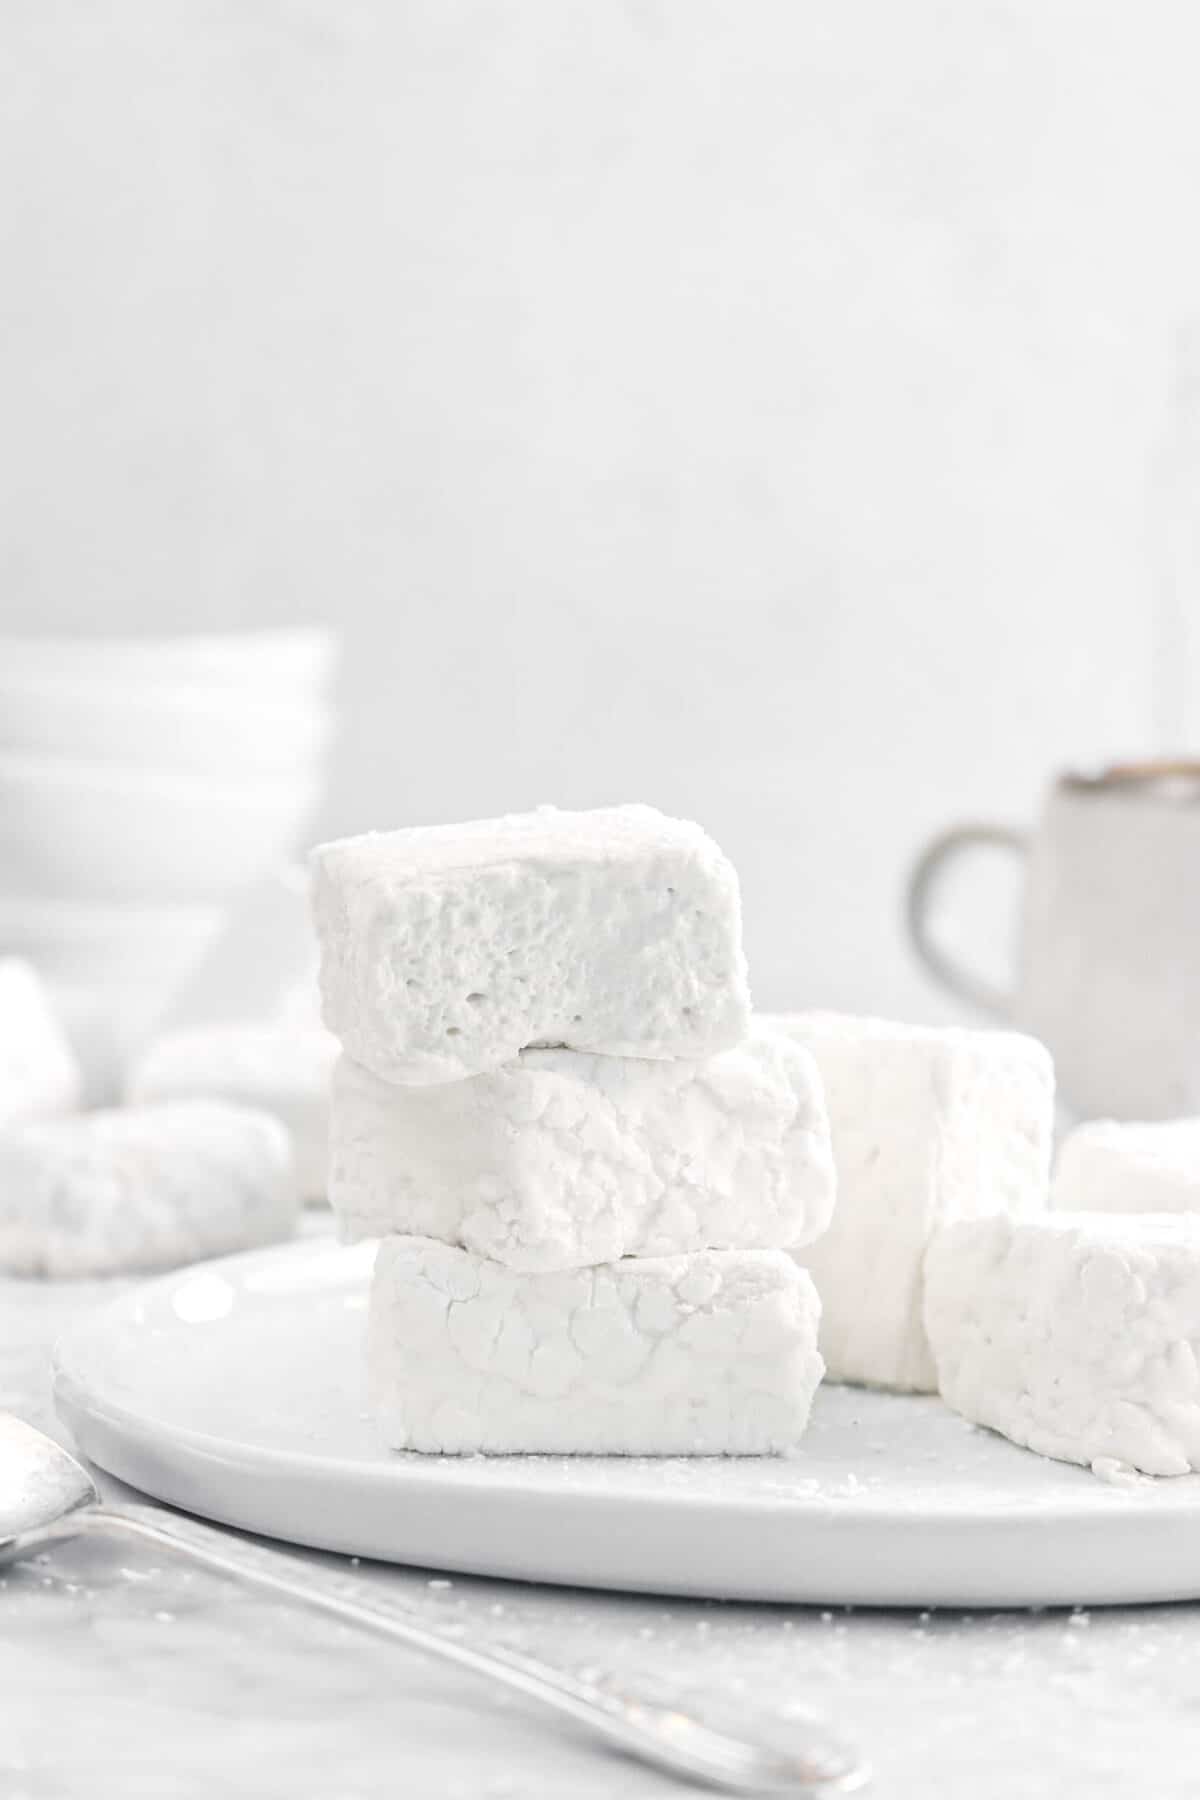
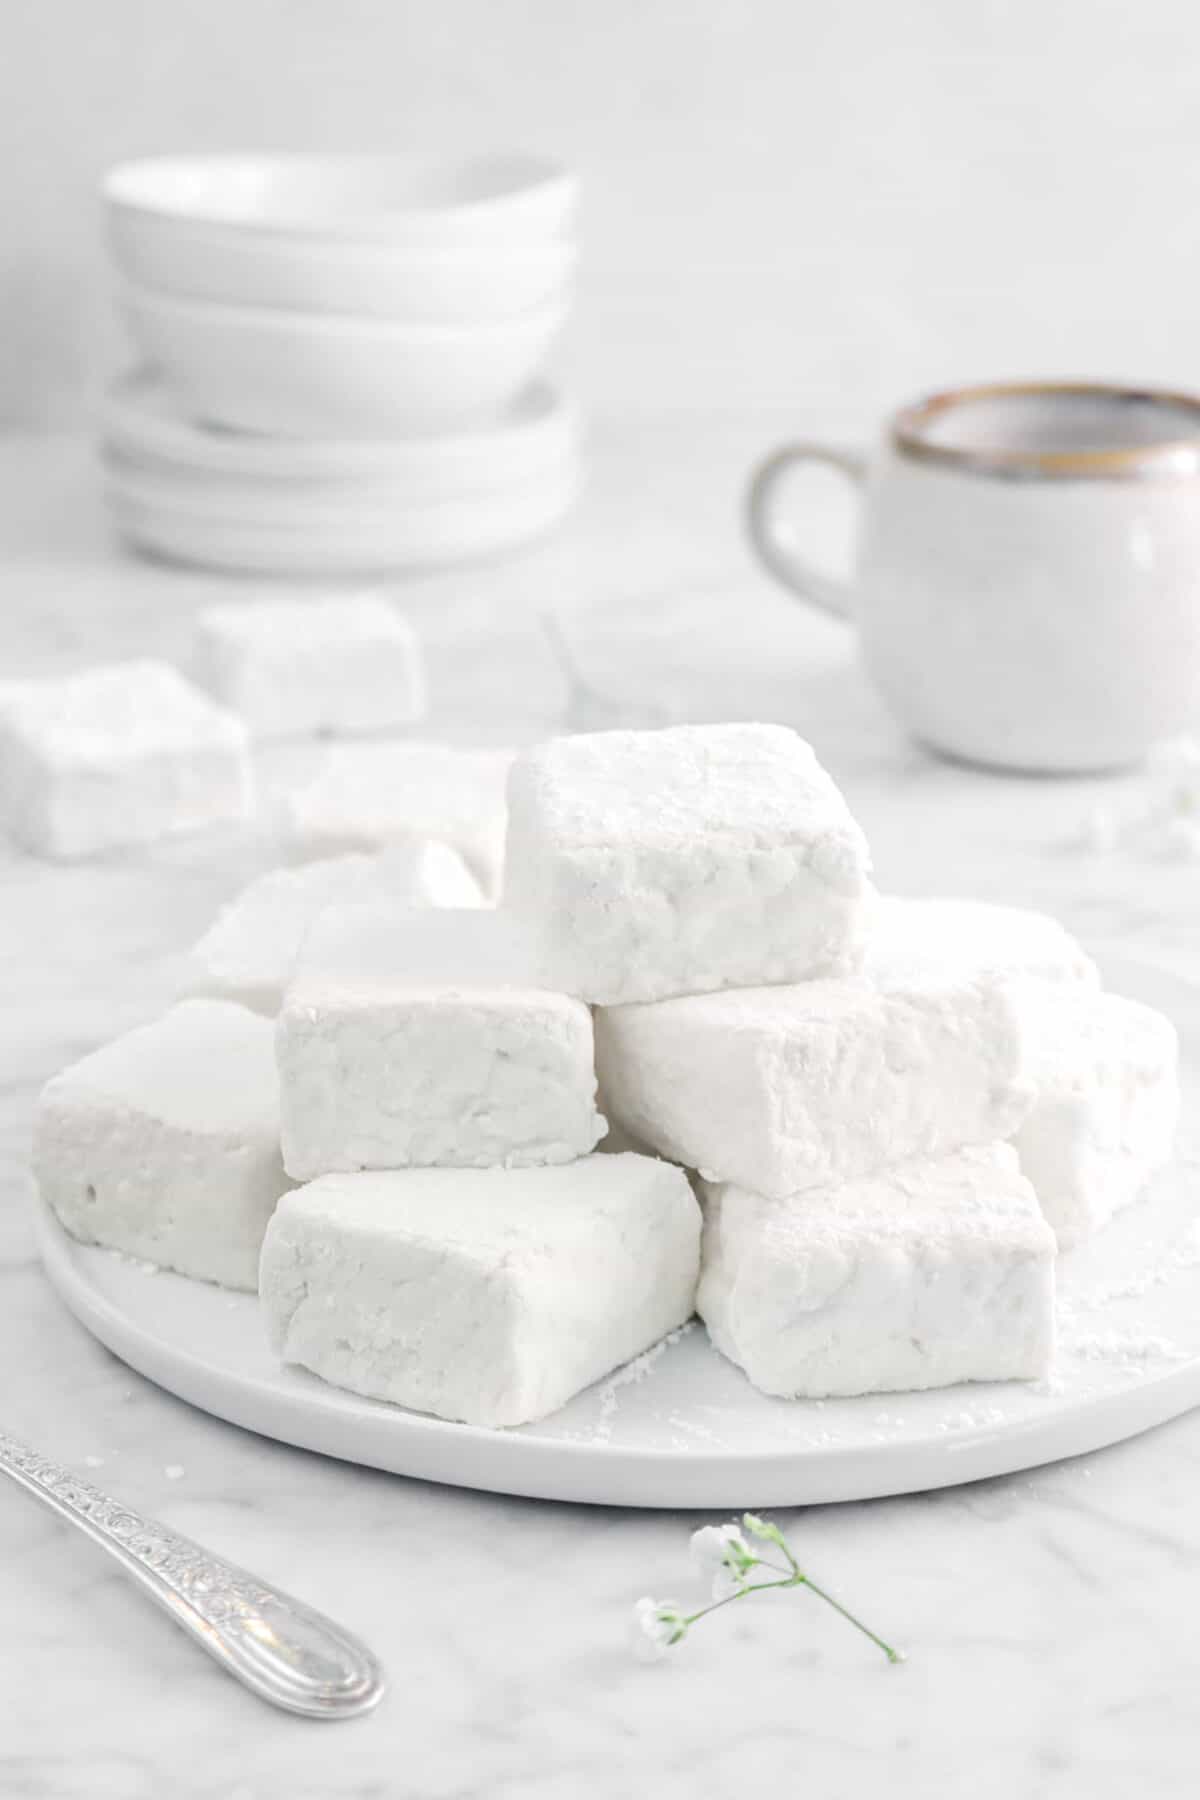
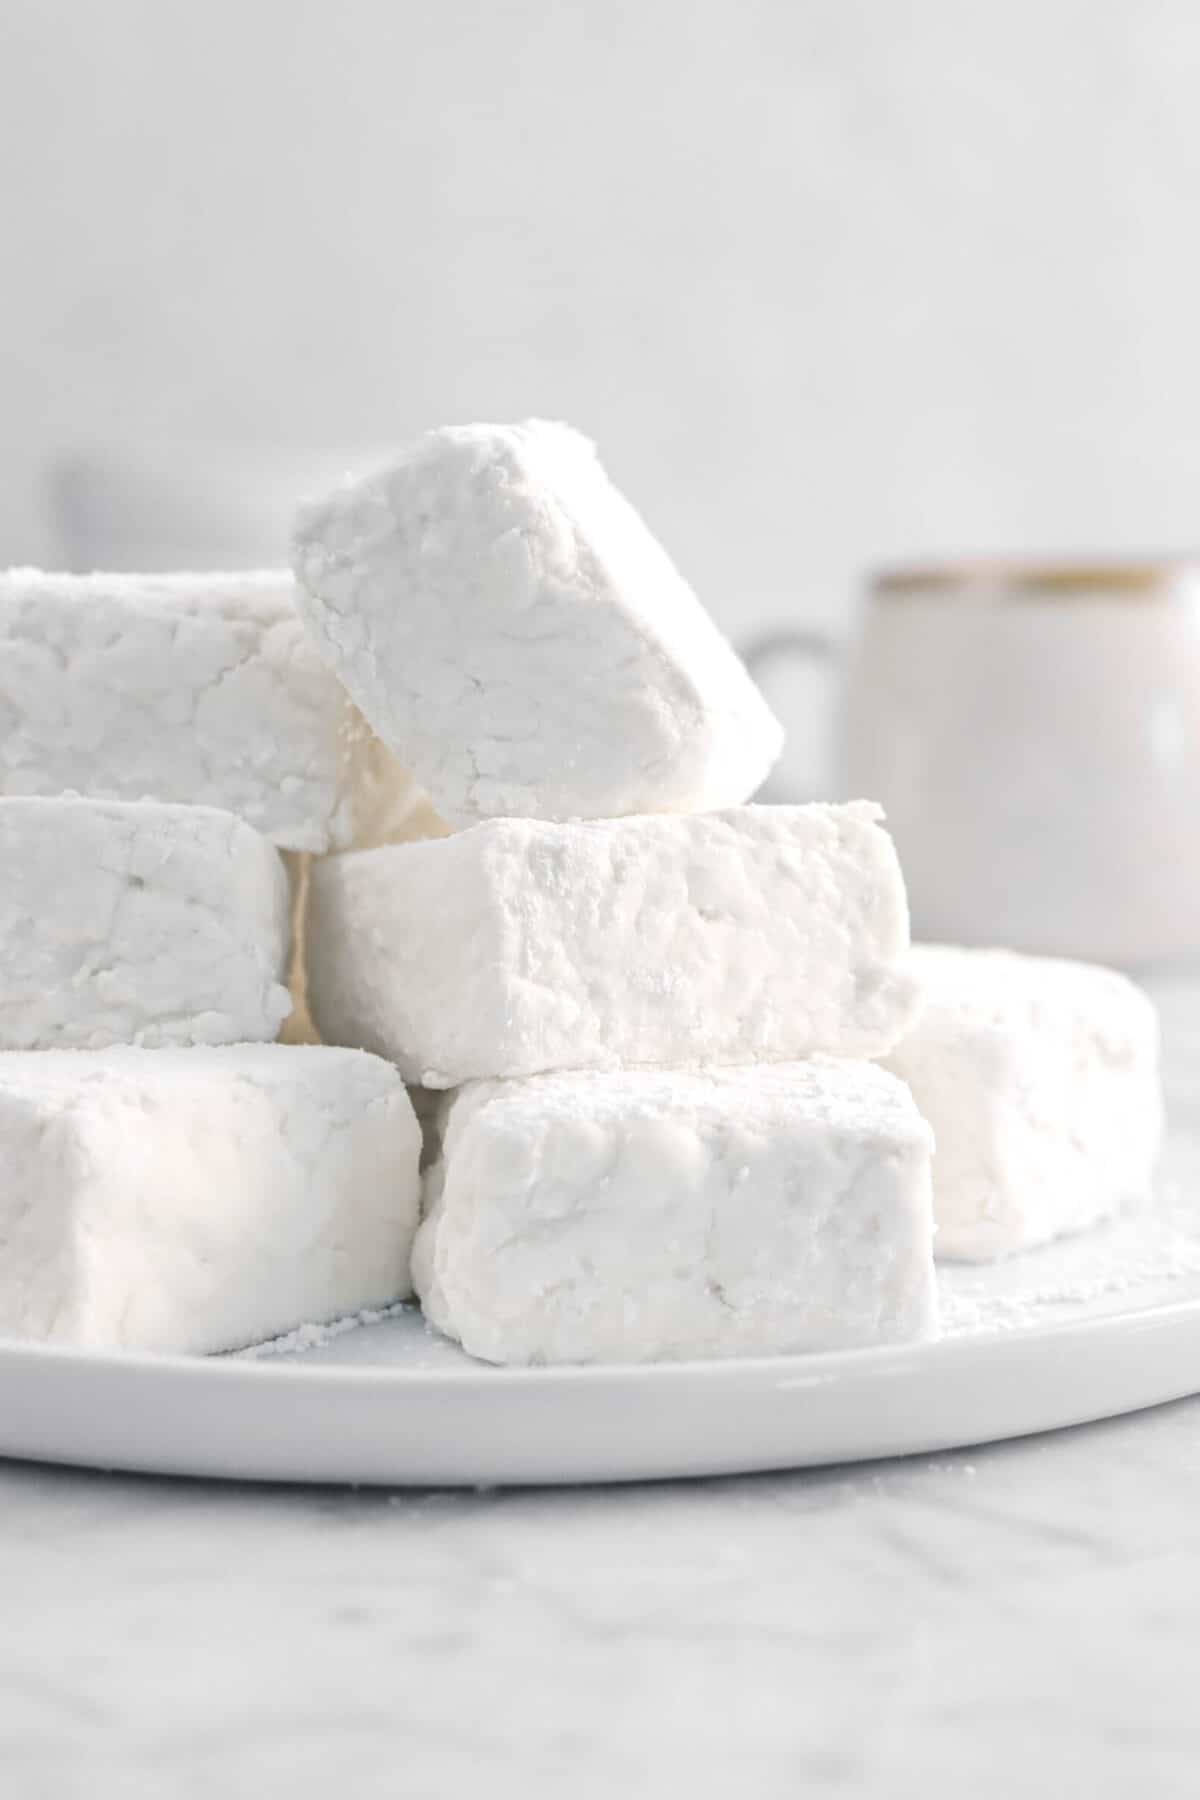
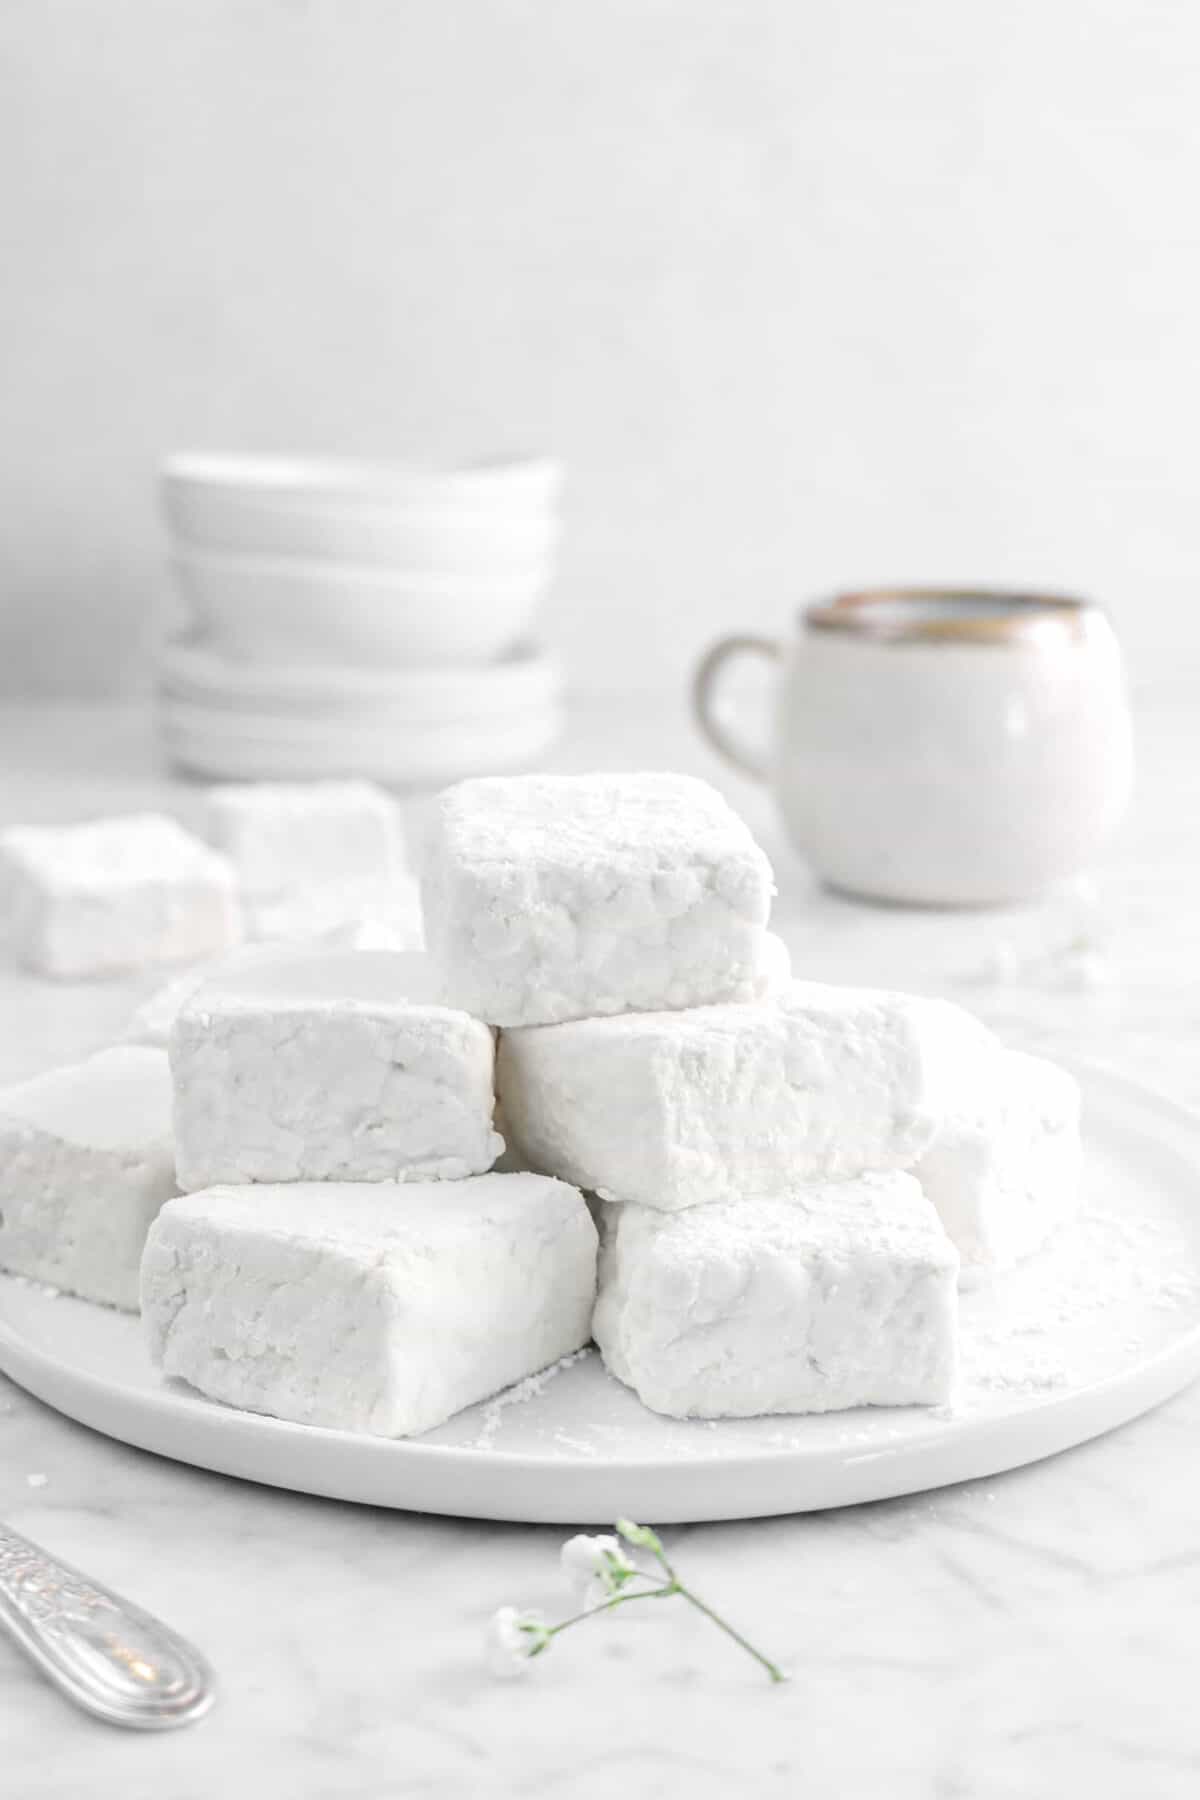
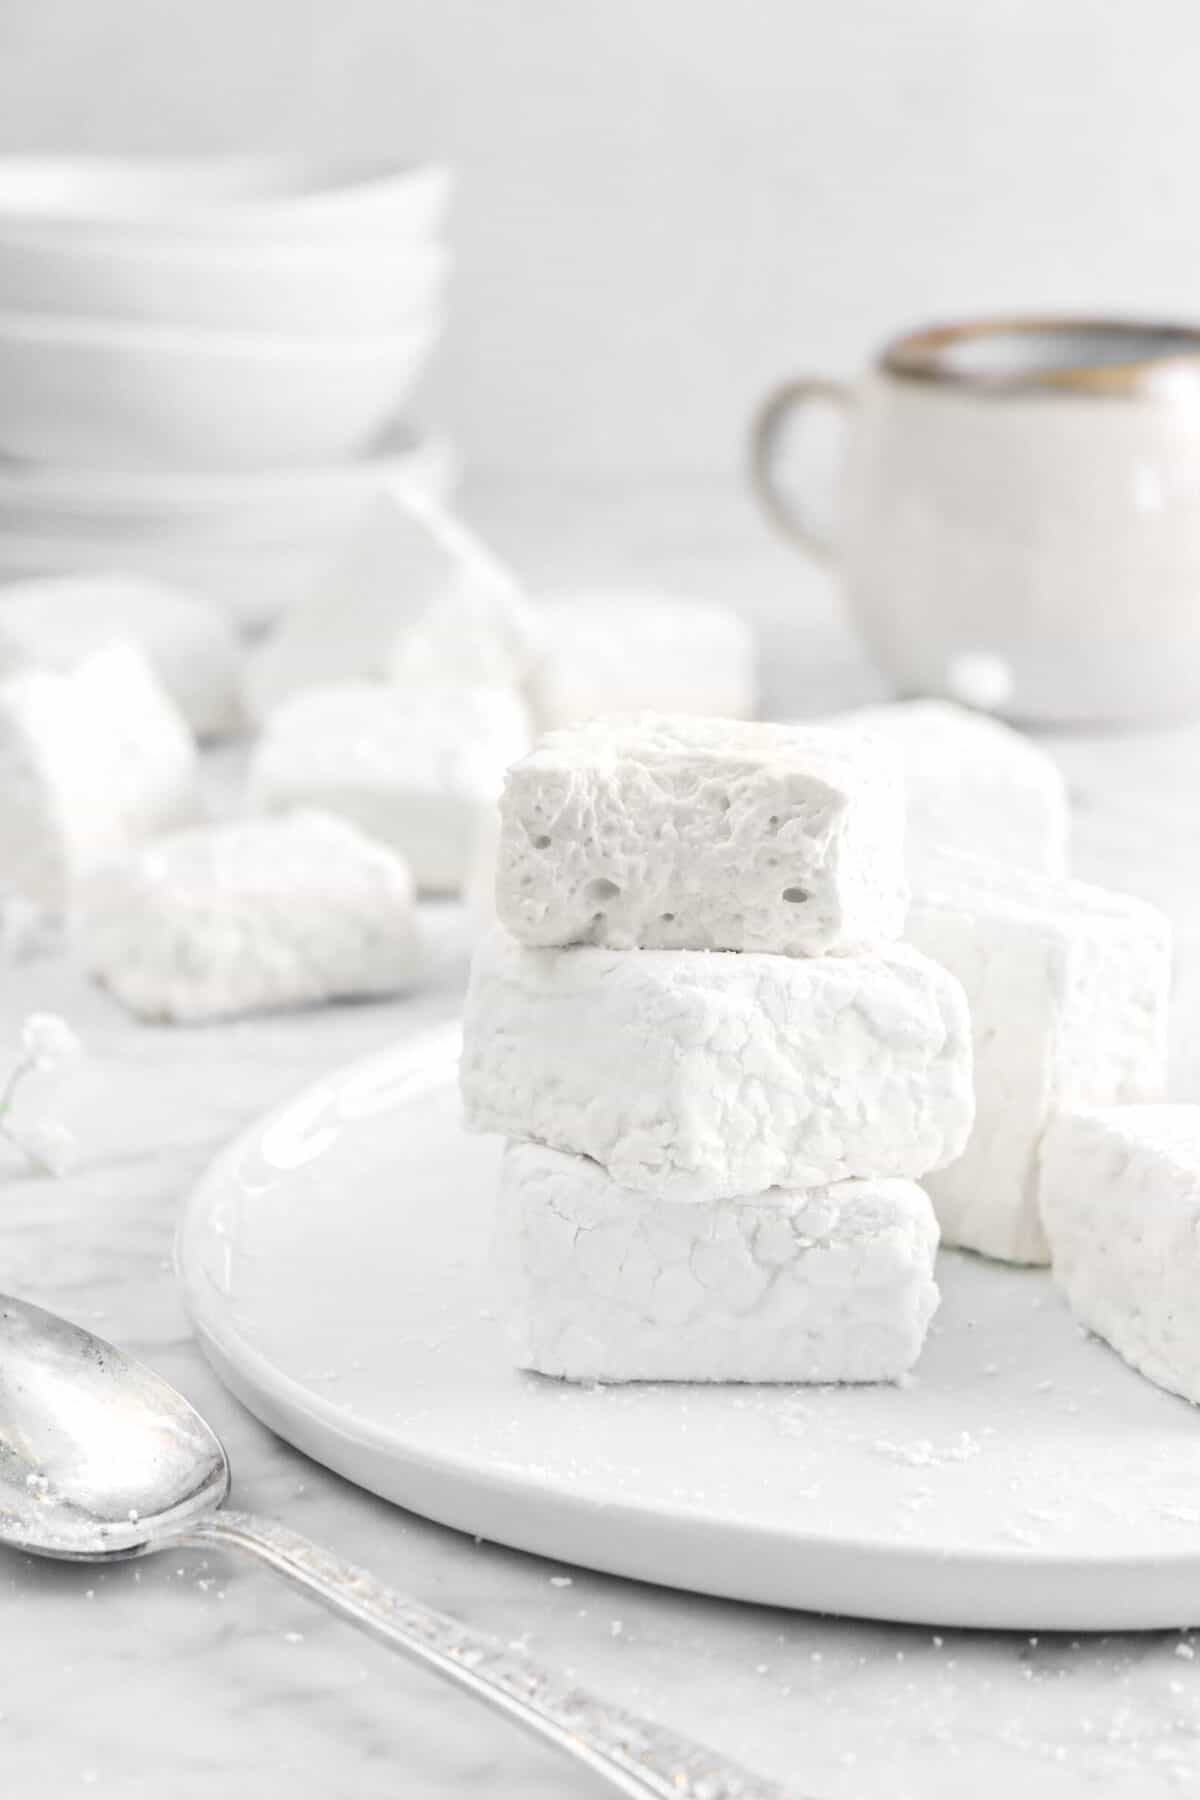
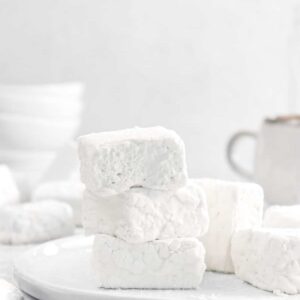
Treat yourself to these oh-so delicious fluffy Homemade Vanilla Marshmallows! Made with made with only 4 simple ingredients – gelatin, sugar, corn syrup, and flavored with sweet vanilla. These soft, melt-in-your-mouth marshmallows are not only delicious, but also taste SO much better than store-bought!
Like Store-Bought, But SO Much Better
Growing up, marshmallows were a childhood staple! I’d (not so sneakily) eat mini marshmallows straight from the bag, but I’ll be honest, those store-bought marshmallows were nothing compared to when my mom started making them from scratch! The soft, fluffy bites of sweet marshmallowy goodness were truly love at first bite, especially because they were flavored with real vanilla.
And all the kids in the neighborhood agreed! Talk about a recipe that has been taste tested! These were the hit of every party and every school function. And they were the first items to go at bake sales, especially when dipped in chocolate!
We’ve kept homemade marshmallows in the house ever since—they’re perfect for classics like rice krispie treats, s’mores, and hot chocolate, as well as unexpected treats like our decadent s’mores cookies!
Are Homemade Marshmallows Really Worth It?
Yes, yes, and YES! I have been so lucky to grow up in a family of candy makers. My grandmother loved to make candy (she was a PRO at pecan pralines and fudge!) and passed that same love down to my mom. And, for as long as I can remember, my mom has been making decadent candies…just like these marshmallows!
So, as cliché as it might sound, I genuinely mean it when I say these marshmallows taste SO much better than anything you can buy. They’re genuinely so soft and fluffy, with real vanilla flavor swirled through every bite.
Let’s Talk About What Goes IN These Marshmallows and Why
- Unflavored Gelatin – The magic ingredient in marshmallows, it’s what holds the marshmallow together and gives it that perfect squishy texture and chewiness.
- Water – You need water to activate the gelatin.
- Granulated Sugar – Not only does granulated sugar sweeten, it’s what makes these treats light and fluffy.
- Corn Syrup – The main purpose of corn syrup here is to keep the sugar from crystalizing.
- Salt – Just a little bit of salt enhances the flavor and balances the sweet.
- Vanilla Extract – Adding vanilla really improves the flavor which would be flat without it.
- Powdered Sugar – You need powdered sugar to keep the marshmallows from sticking together. It allow you to handle them and adds a bit of extra flavor as well.
How To Make Homemade Marshmallows (Step-by-Step!)
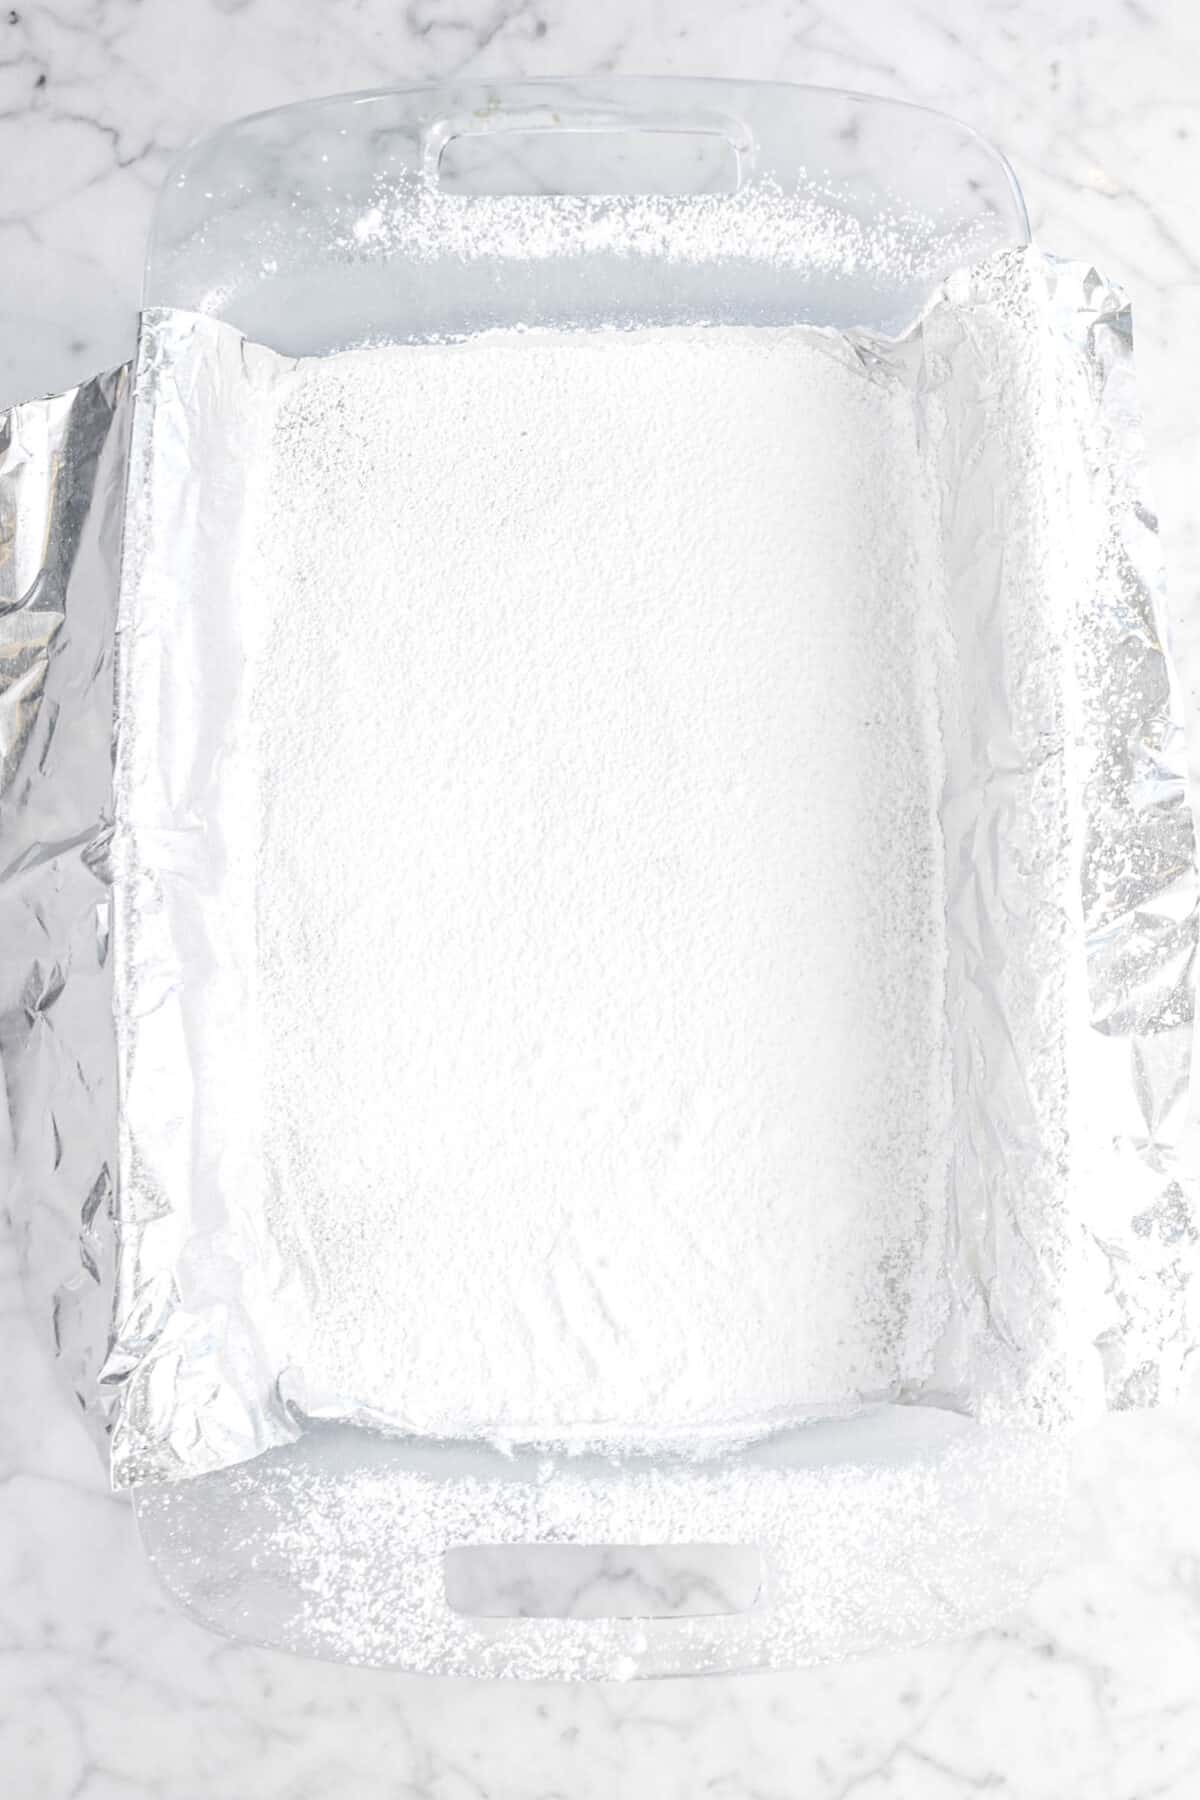
Step 1: Prep
Line a glass baking dish, spray lightly with cooking spray, and dust heavily with powdered sugar. Set aside.
Step 2: Make the marshmallows
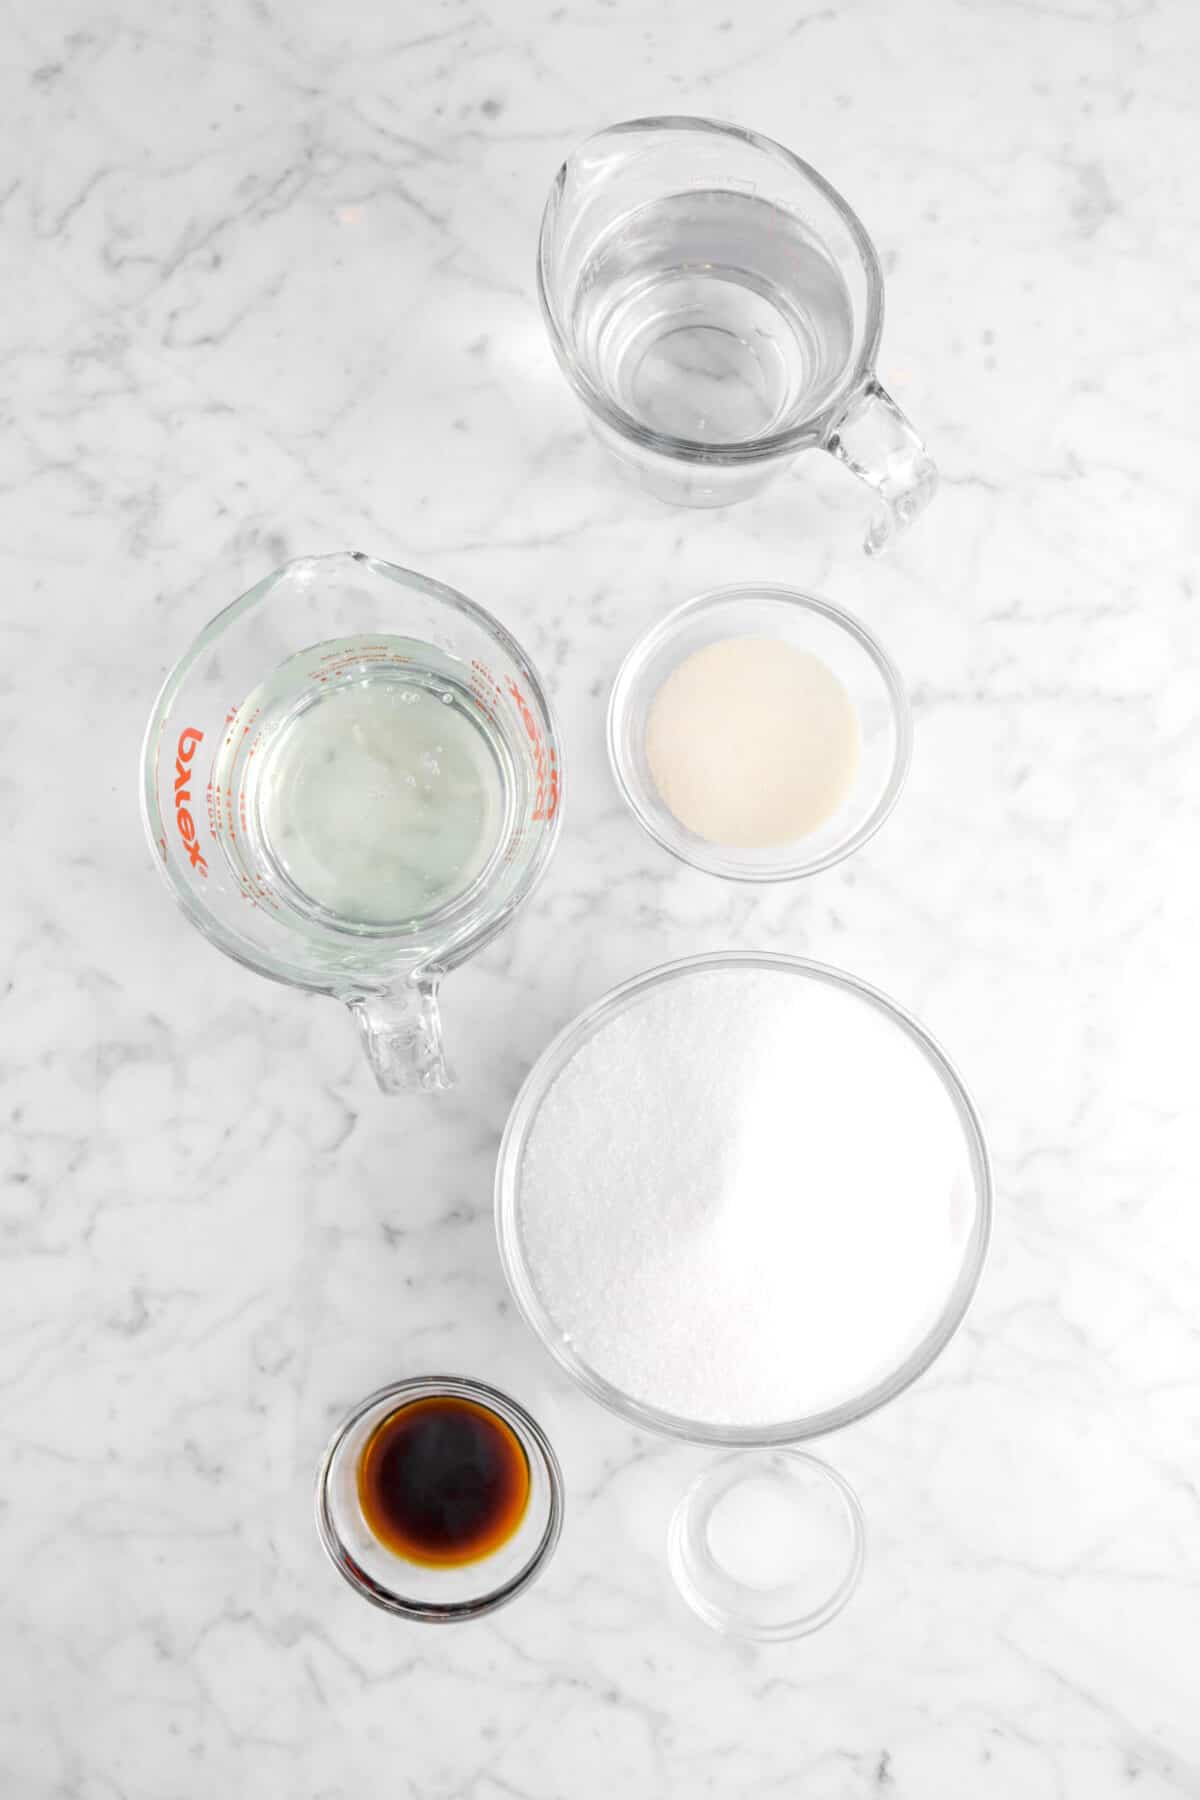
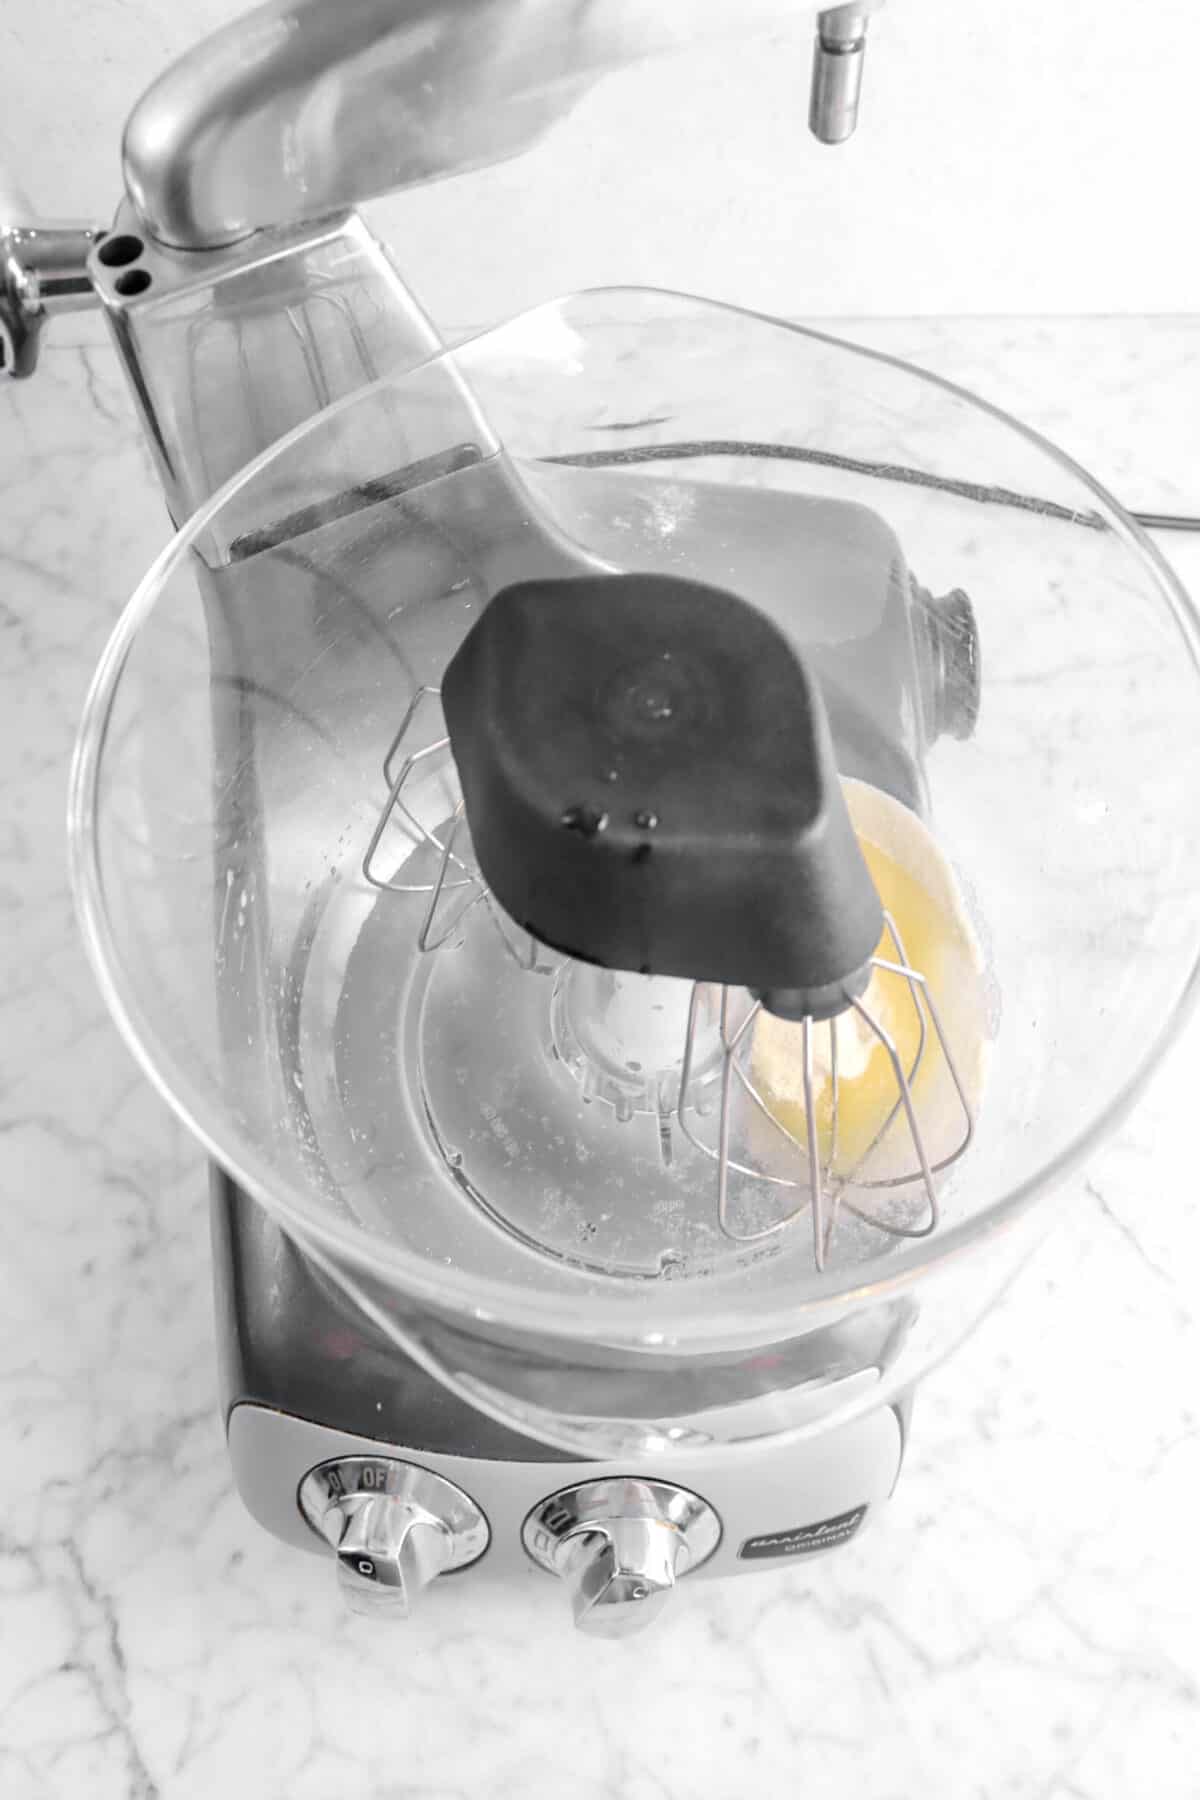
In a stand mixer, combine 1/2 cup water and gelatin. Just let it stand. Don’t mix yet! Just let the gelatin and water combine.
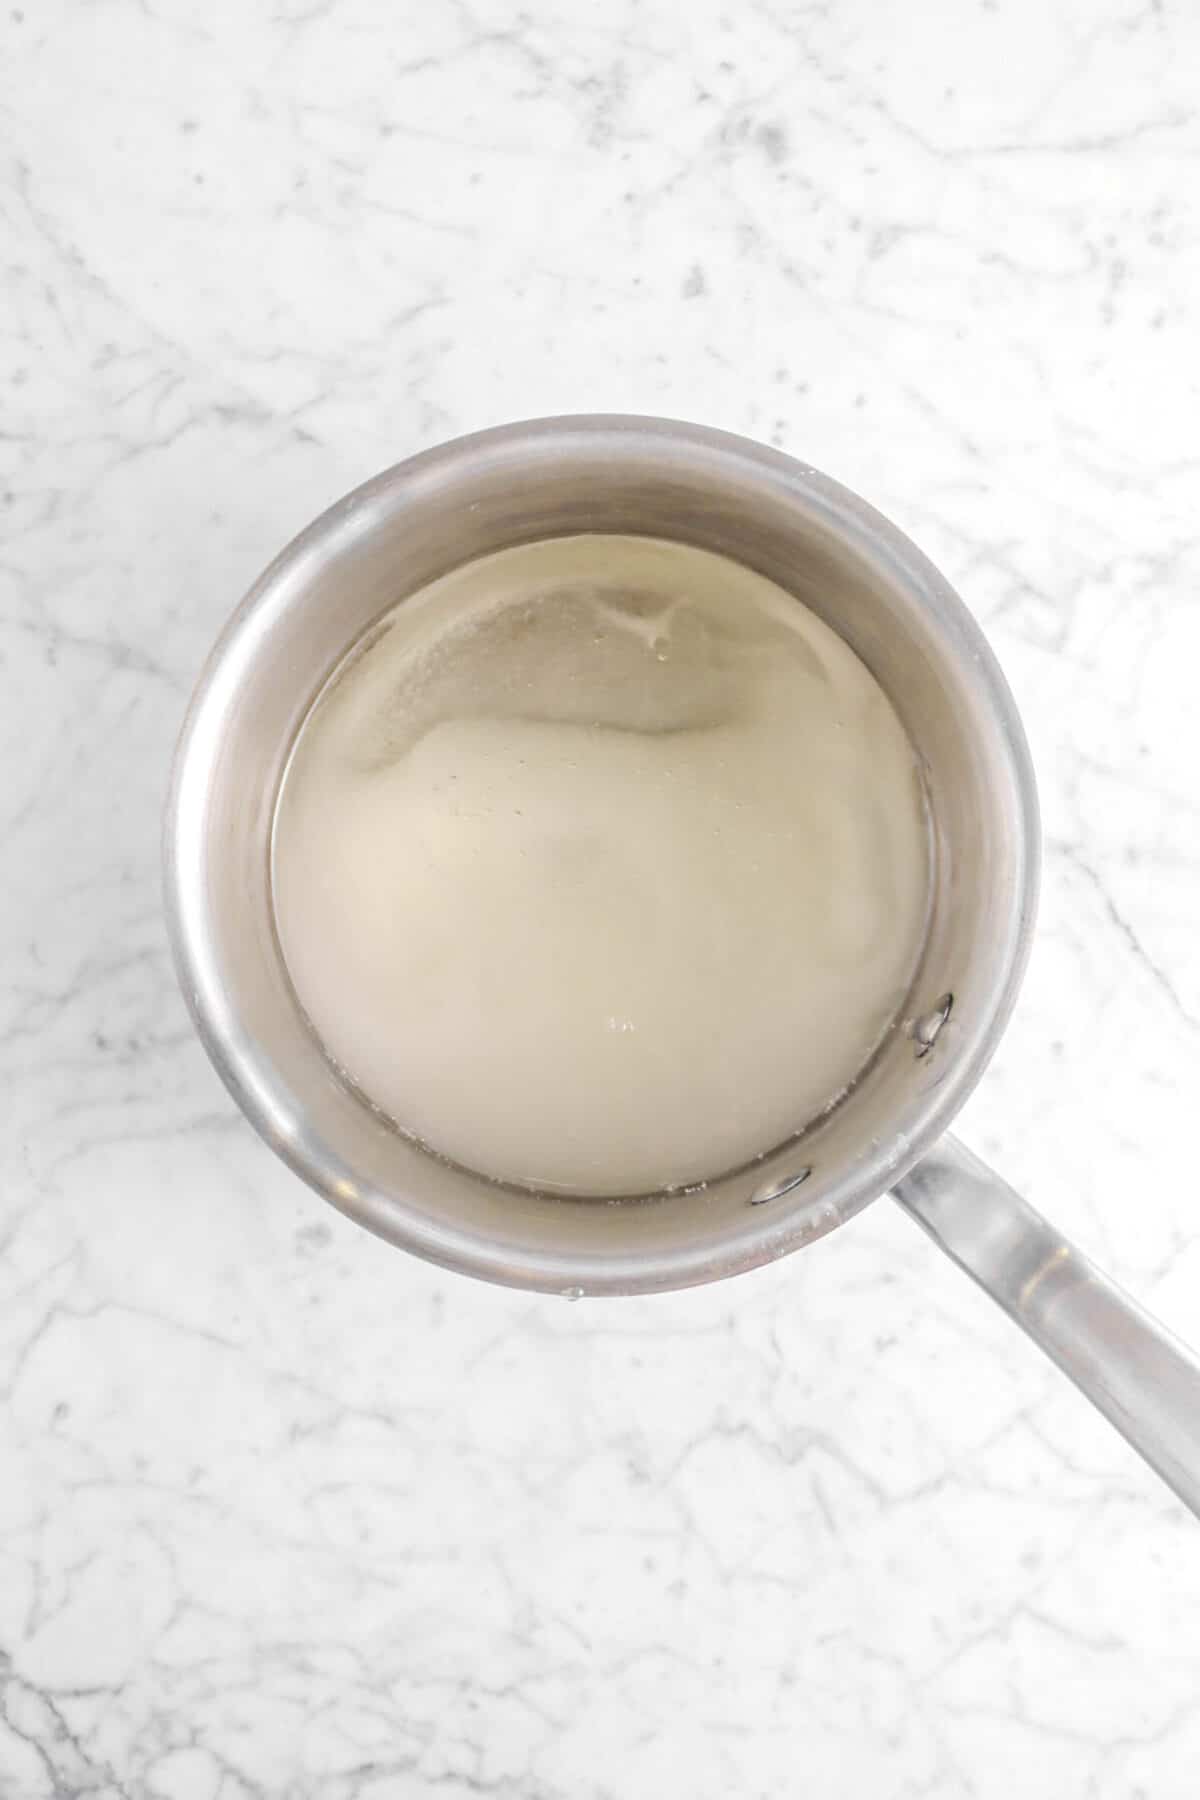
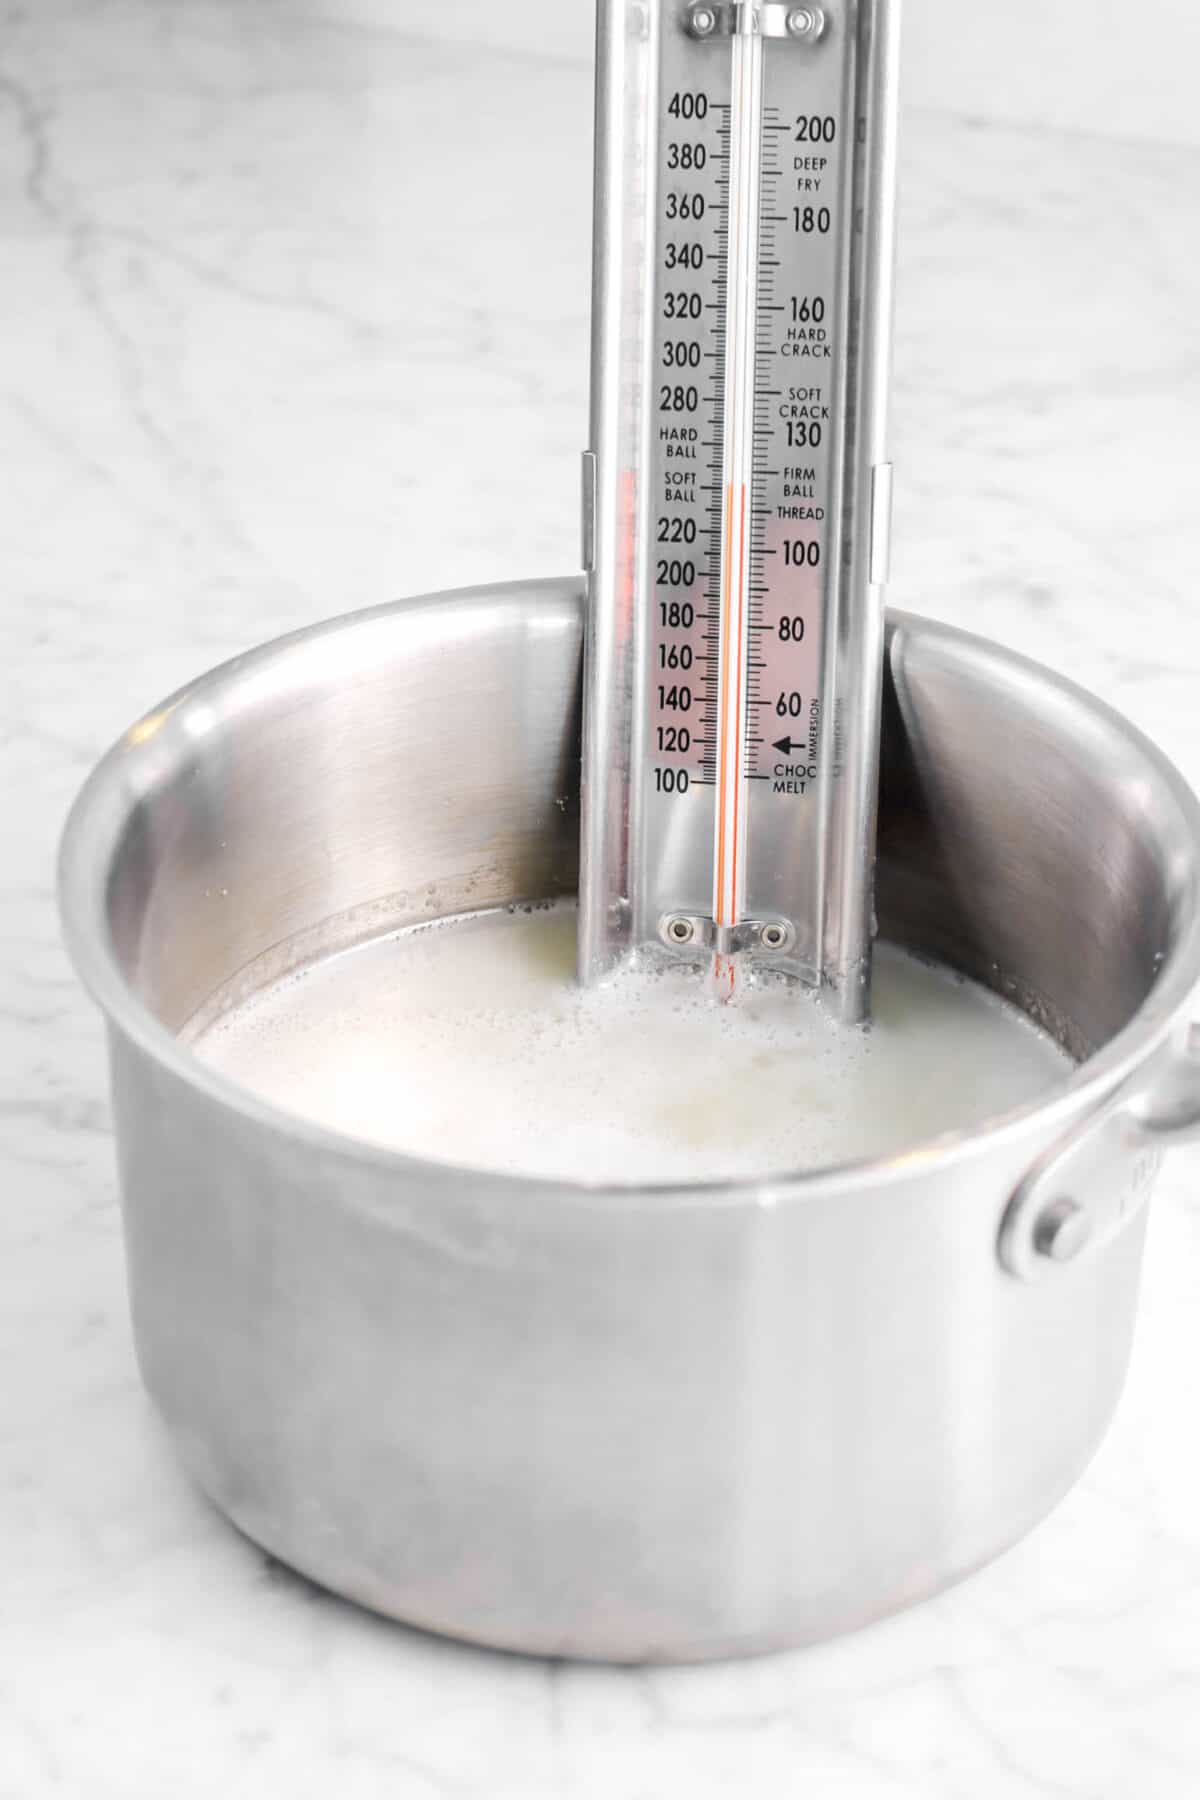
In a small pot, combine the sugar, corn syrup, and water. Cook over medium heat, stirring constantly until the sugar melts. Stop stirring one the sugar melts and let it cook until the syrup reaches 240 degrees. Take off the heat.
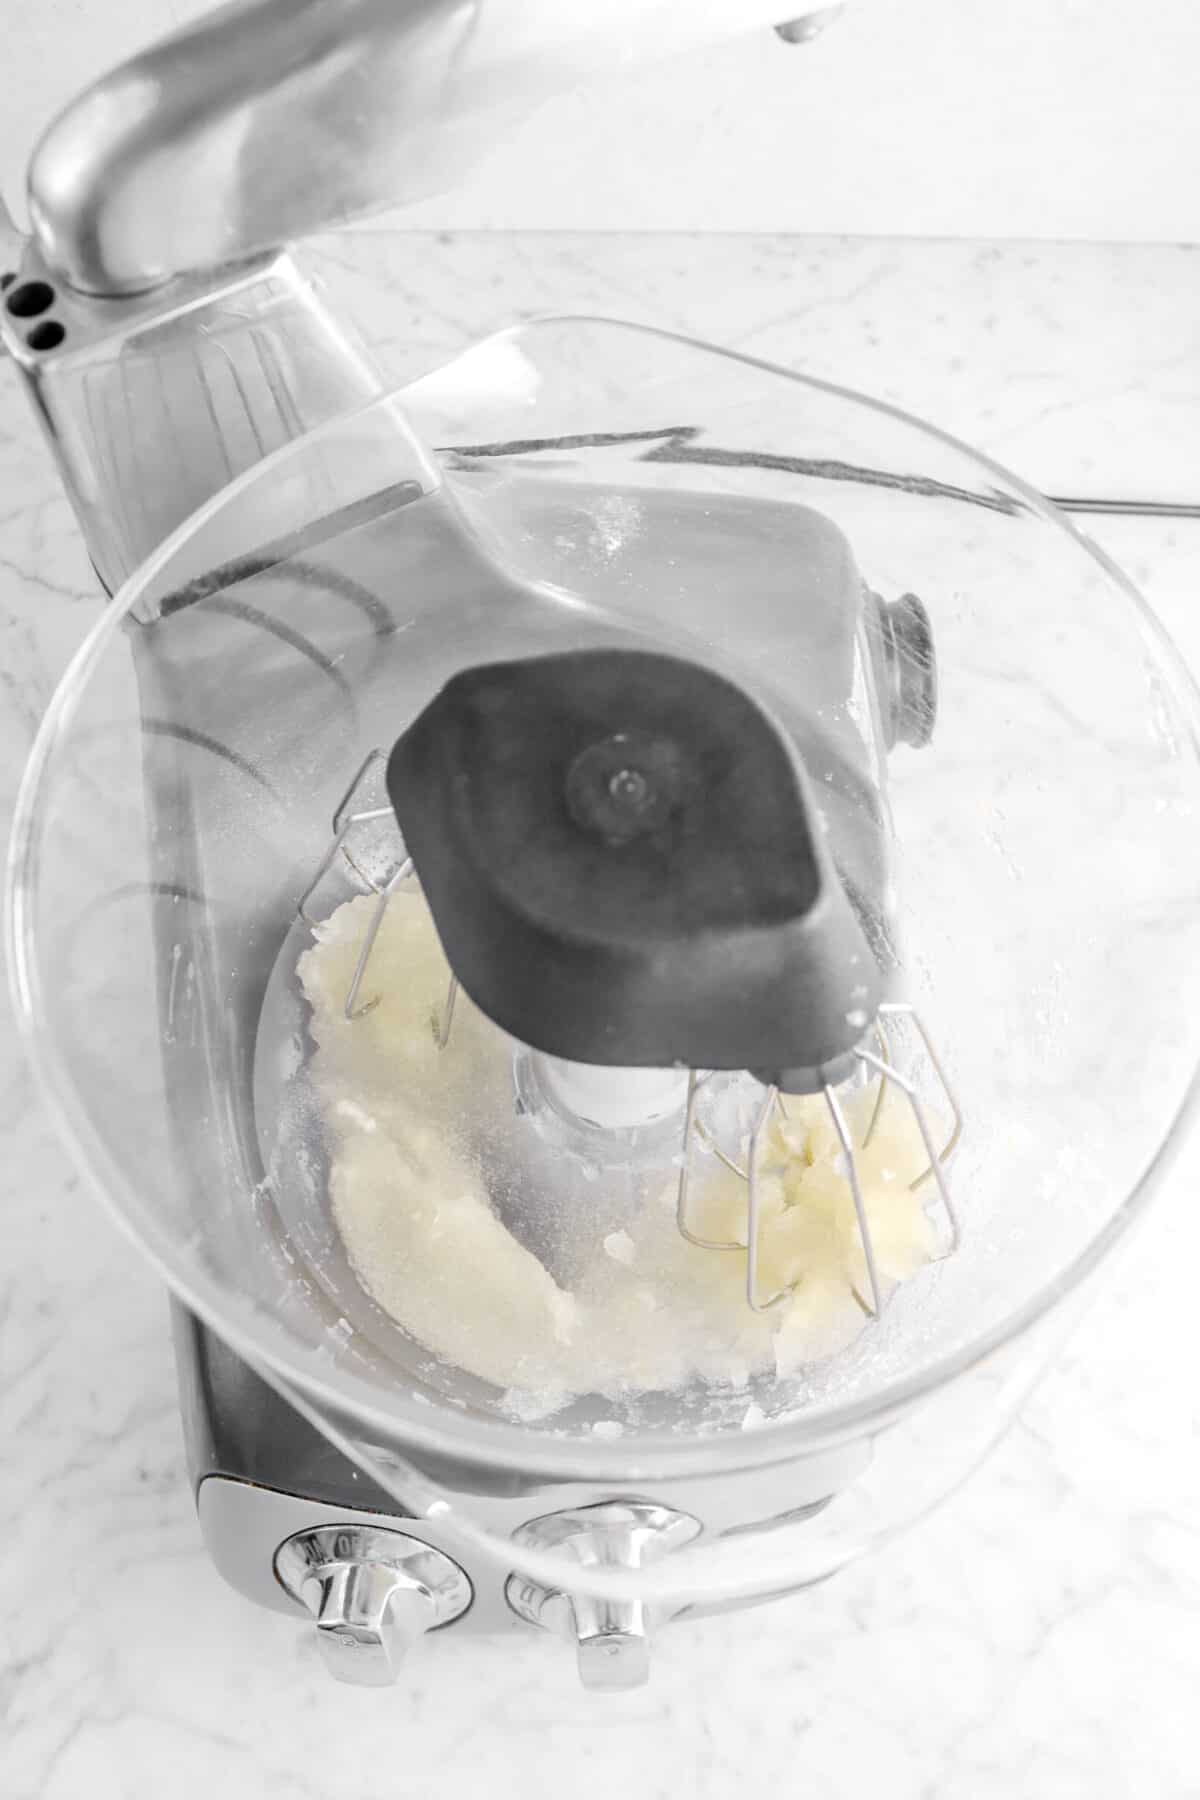
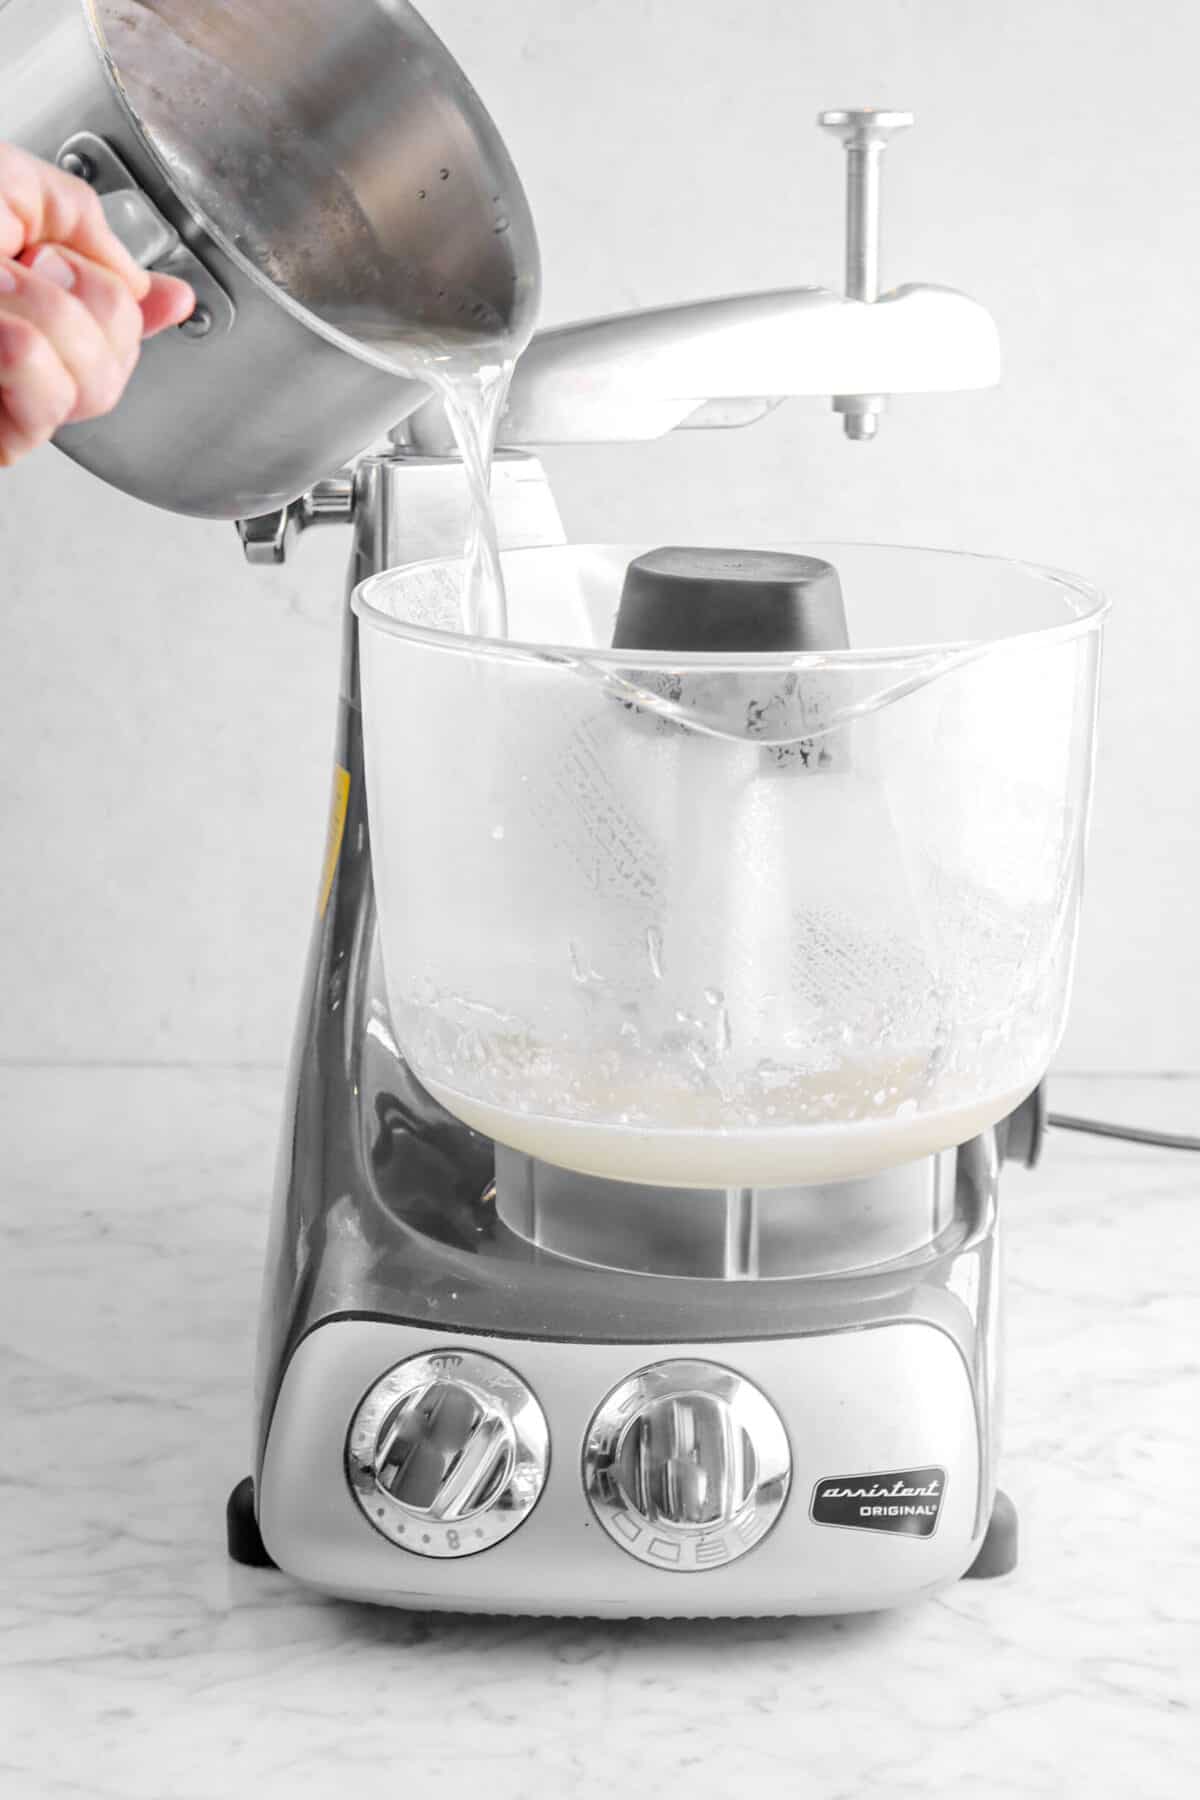
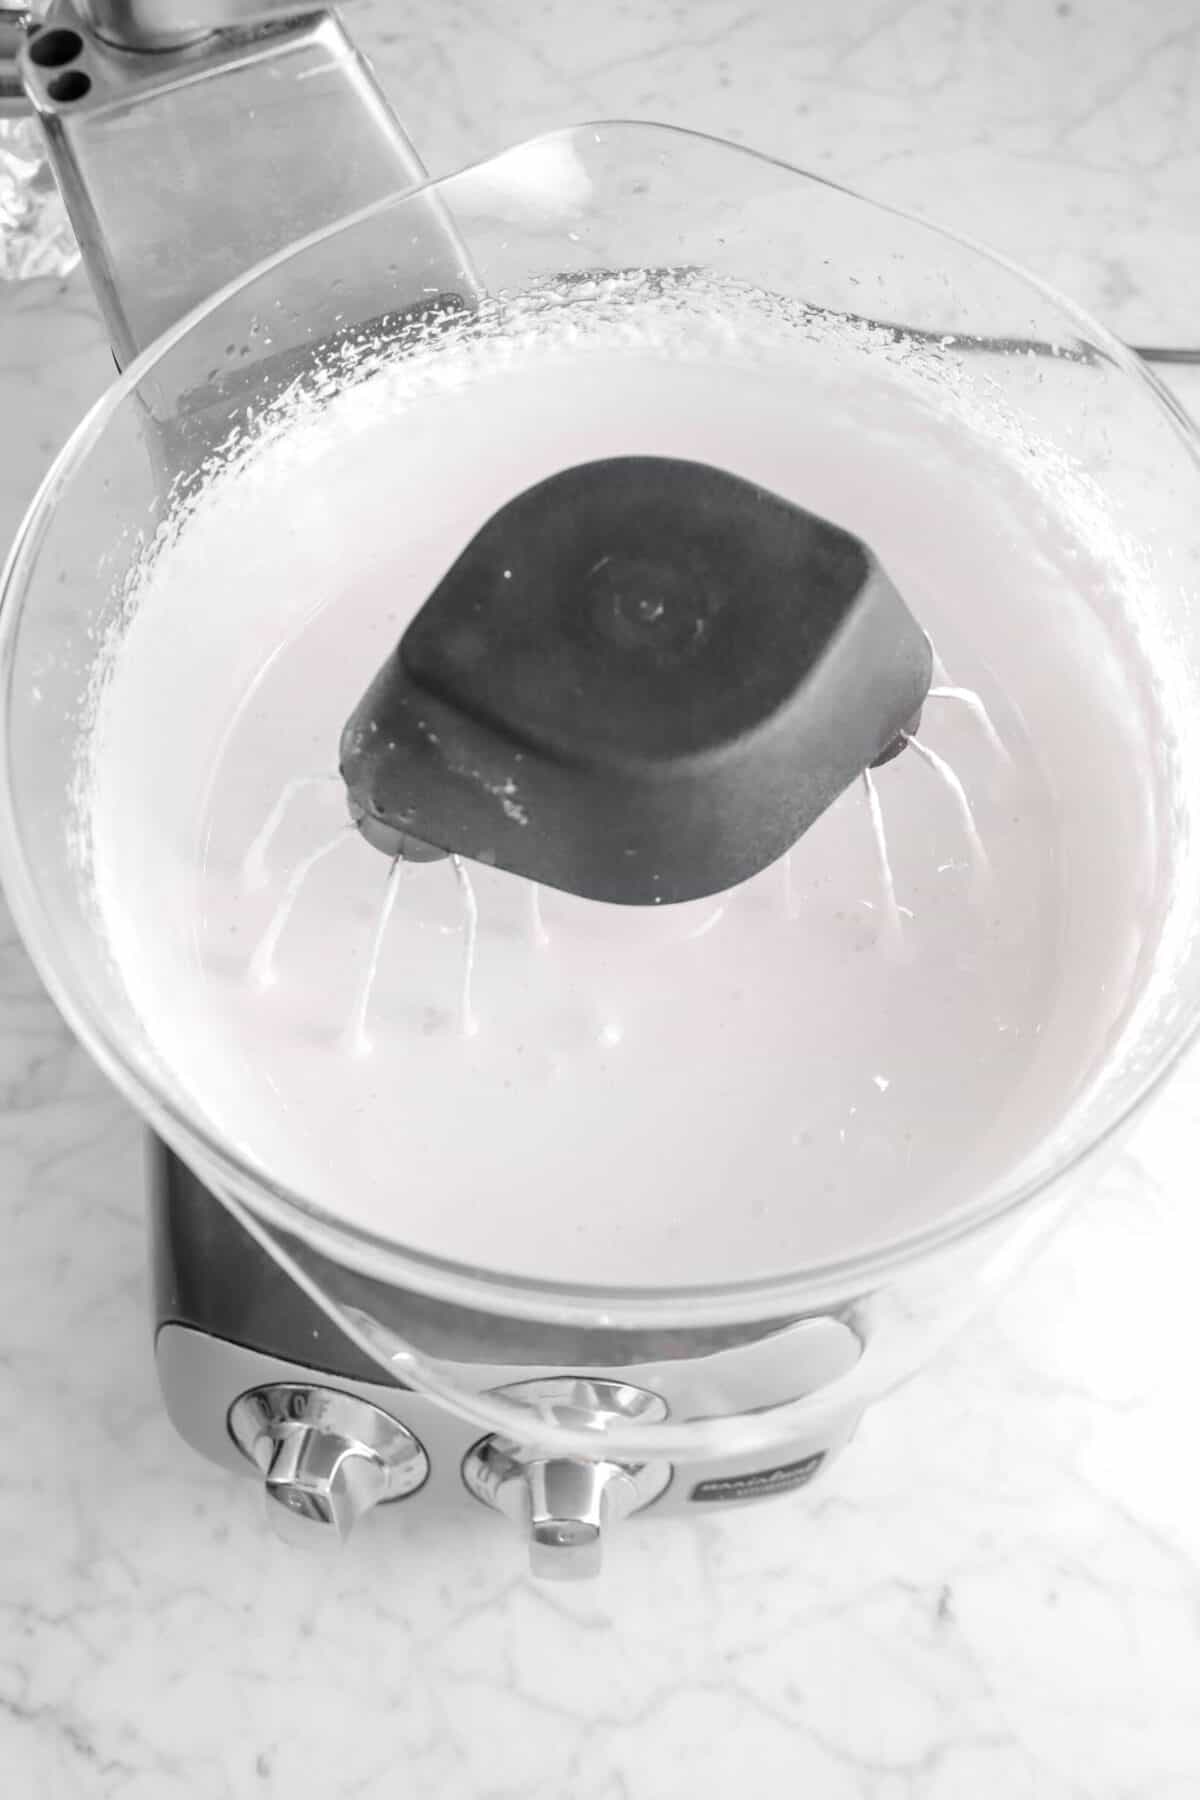
Turn the mixer on low and slowly pour the syrup in. Increase the speed to high and beat for 15 minutes, or until light and fluffy.

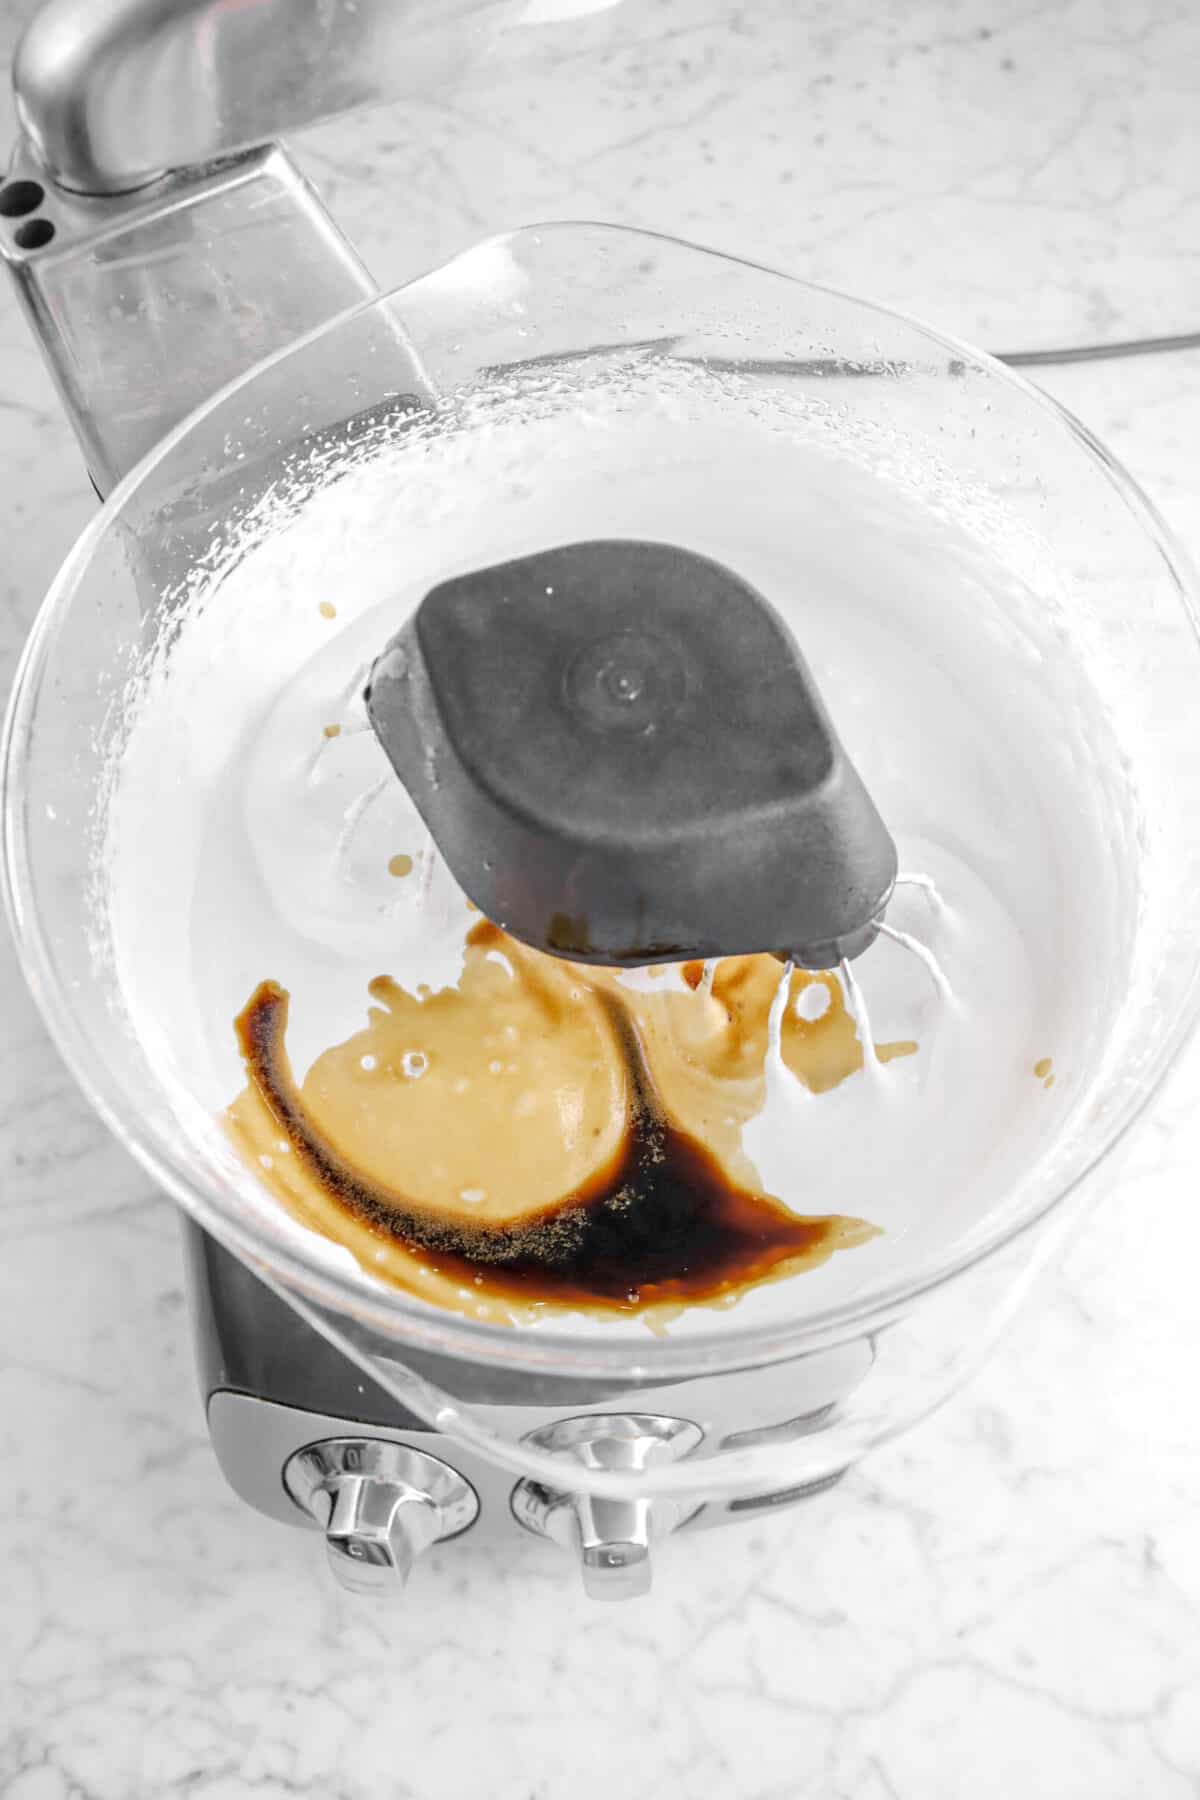
Beat in the vanilla.
Step 3: Let set
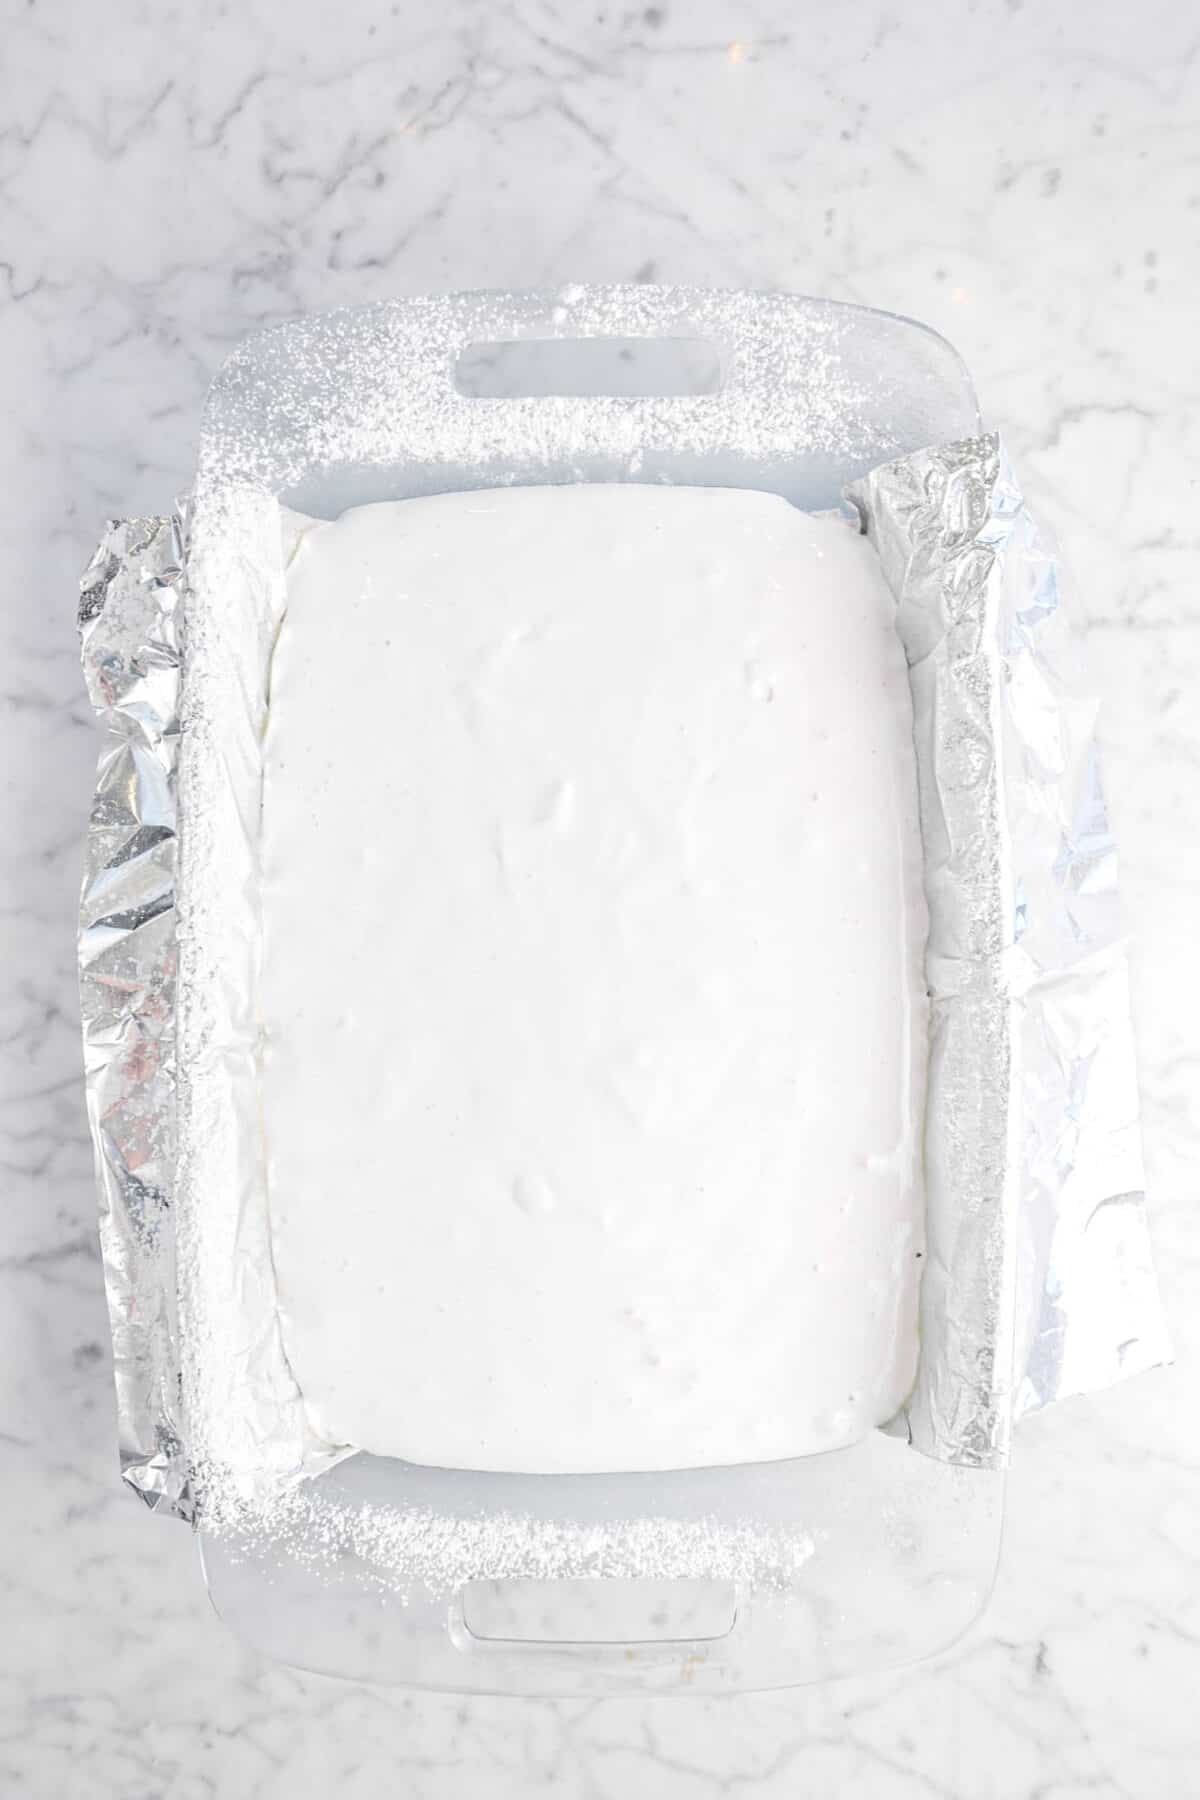
Pour the mixture into the prepared baking dish from earlier and smooth out the top if needed. Dust the top with powdered sugar and let sit at least four hours, or overnight.

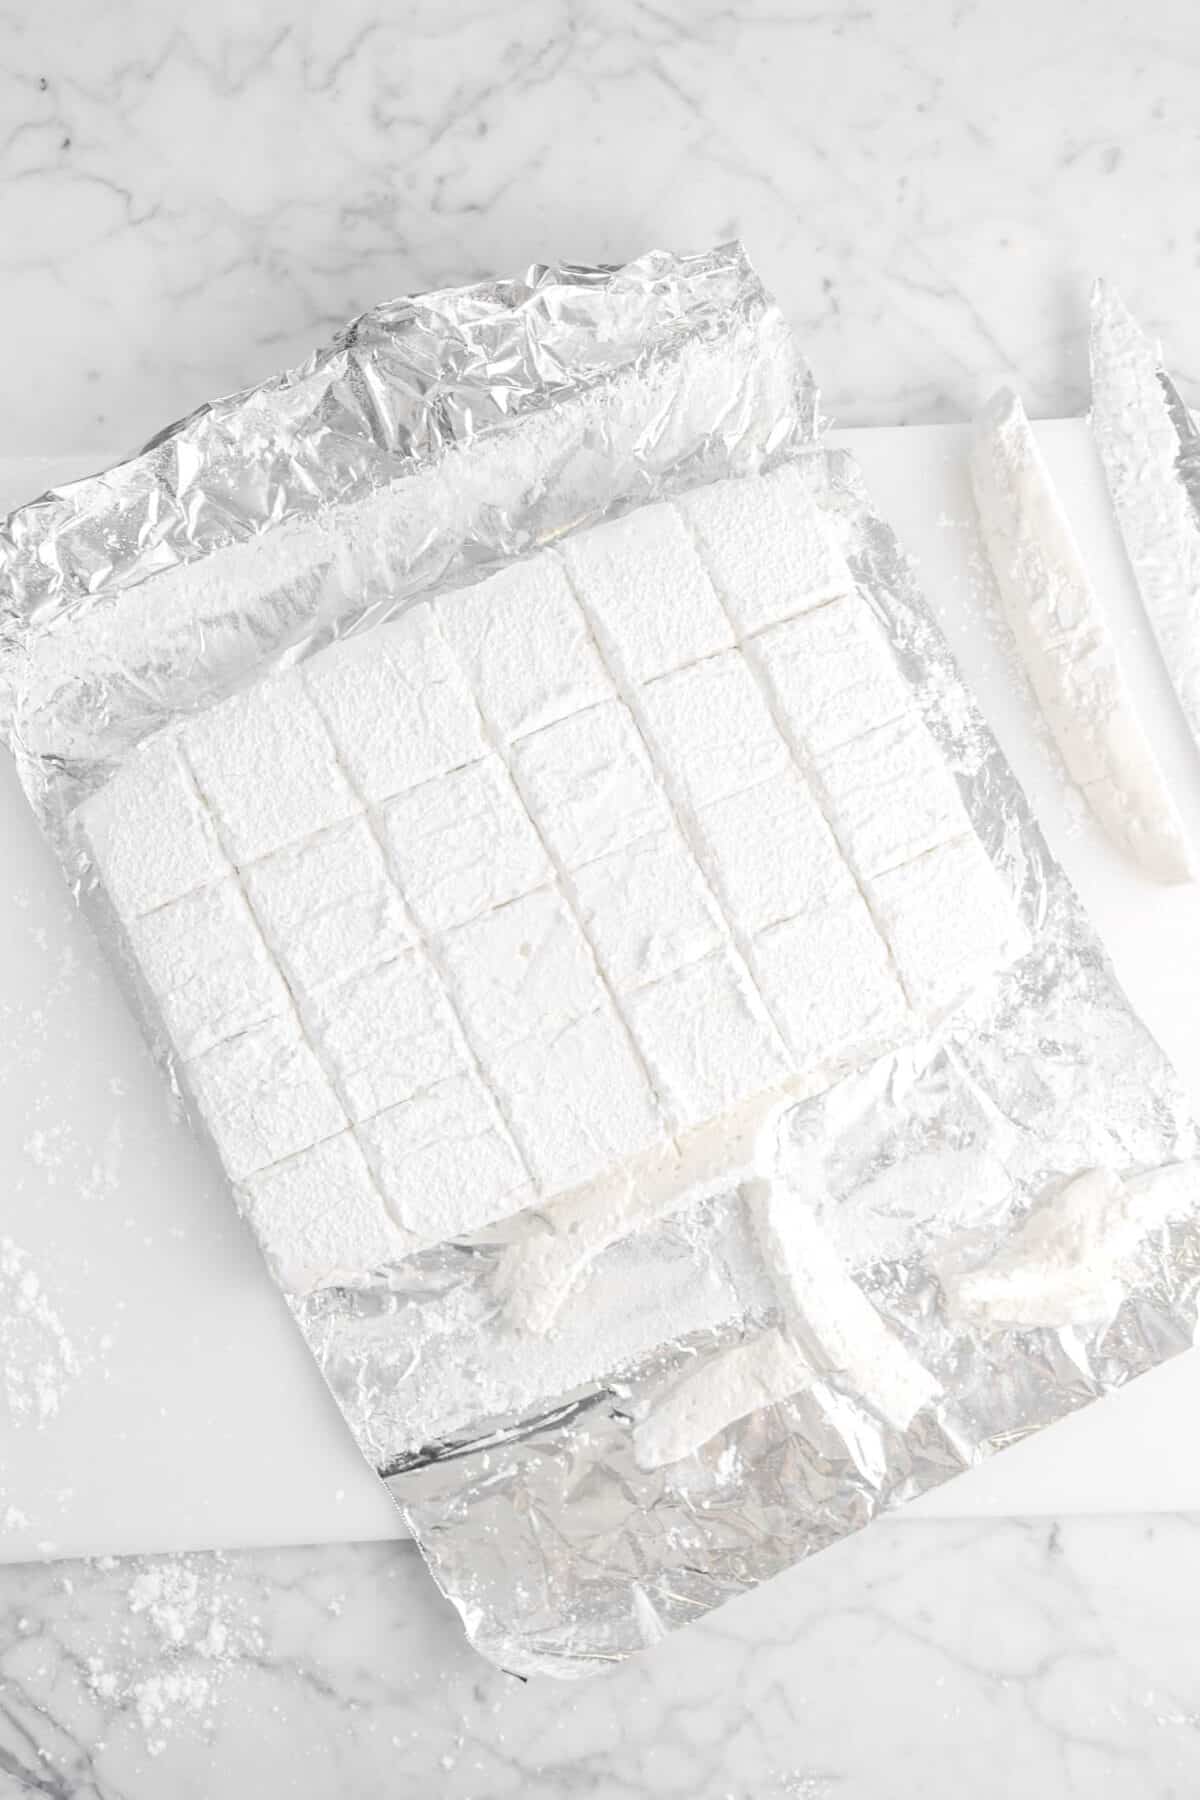
Once the marshmallows are set, lift them from the baking dish and cut! Roll each marshmallow in powdered sugar if needed.
Tips For Success
- Use a candy thermometer. I cannot stress this enough. Using a good candy thermometer will eliminate all of the guess work when making these marshmallows! Make sure to calibrate your thermometer.
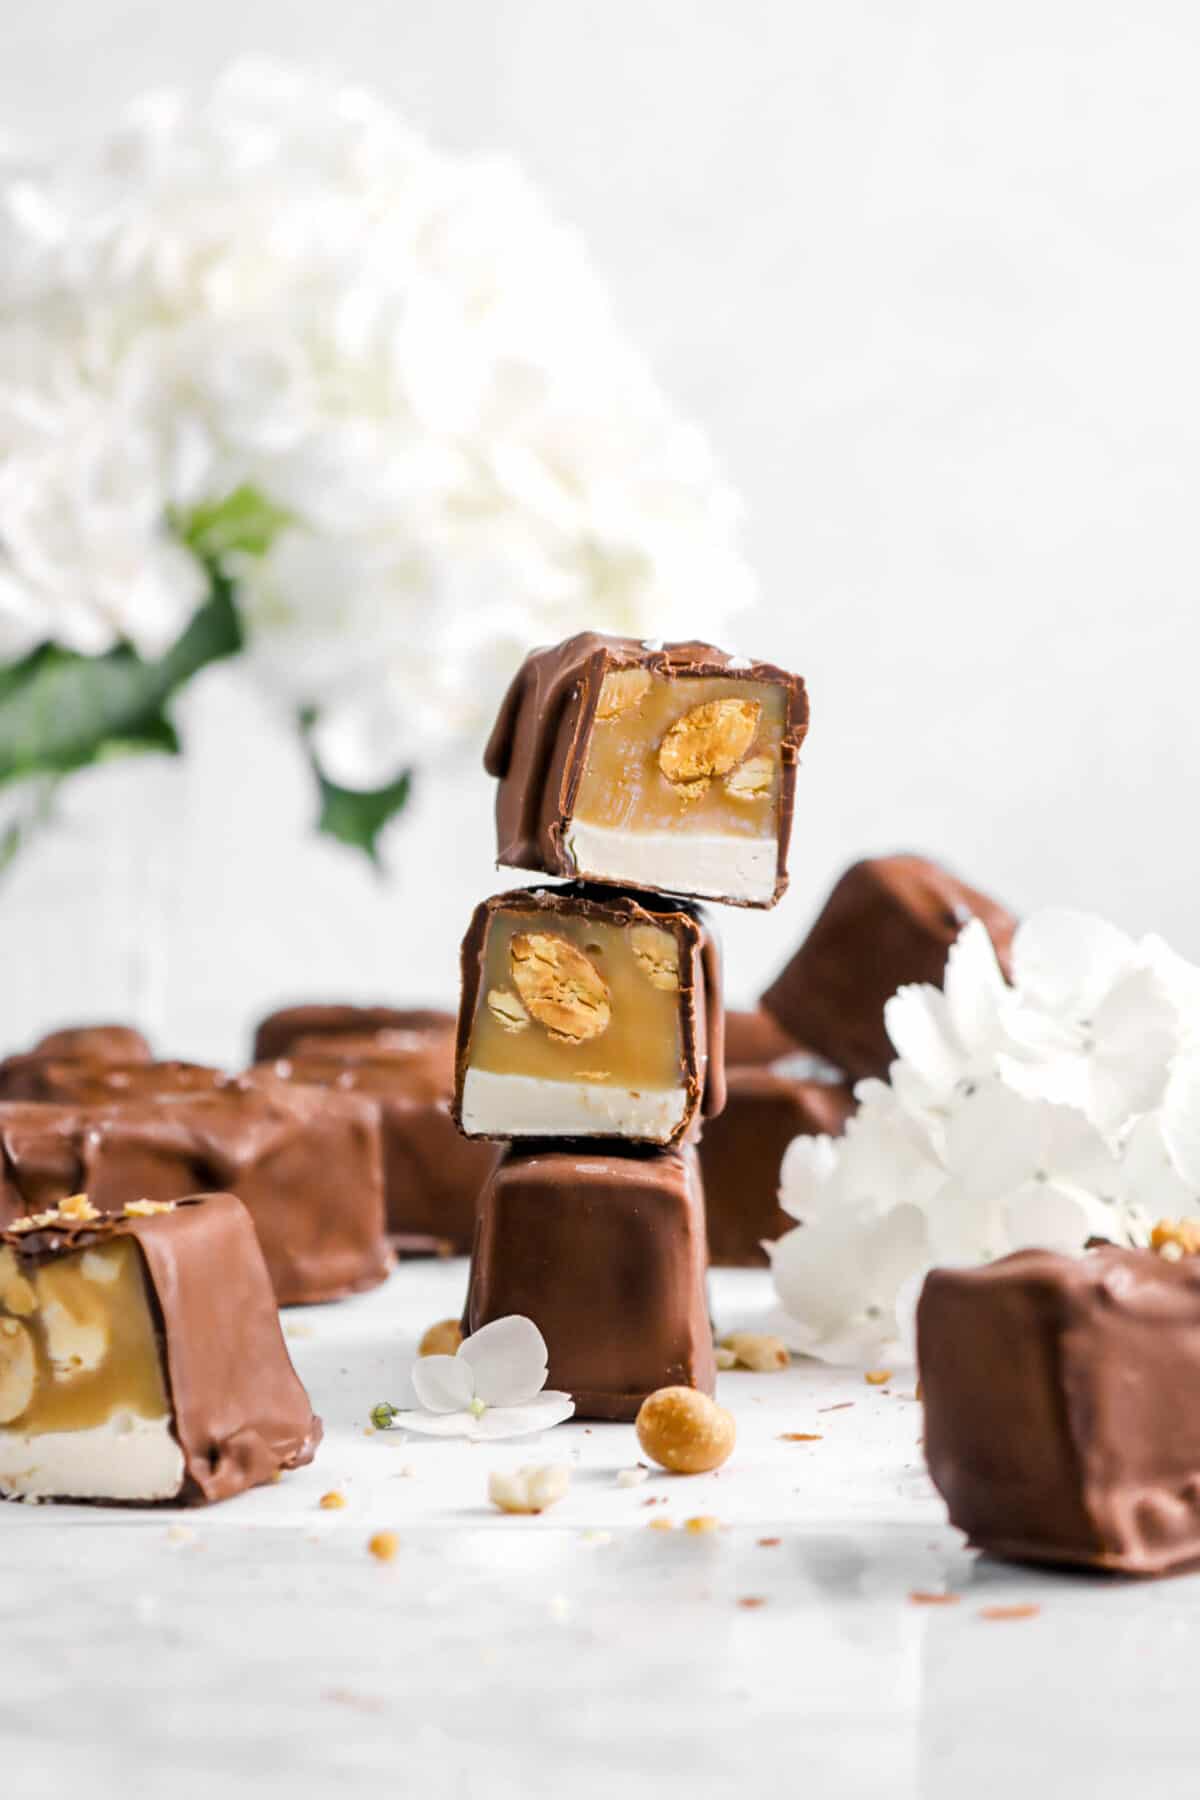
- You NEED an electric mixer. Preferably a good quality stand-mixer, just like you do for making the nougat in our Snickers Bars. The sugar and gelatin mixture needs to be beaten at high speed for a solid 15 minutes, which can be almost impossible if doing it by hand or with a hand mixer.
- Marshmallows are sticky! PLEASE remember this! You need to thoroughly grease and coat your baking dish with powdered sugar, as well as line it. This will ensure that the marshmallows come out perfect every time.
- Don’t rush the setting time. These marshmallows need to sit for at least 4 hours, but ideally overnight to properly set up.
- Dust the knife between each cut. Like I said above, marshmallows are sticky. So, coating the knife with powdered sugar between each cut will help to prevent the marshmallows from becoming a sticky mess.
5 Easy Ways to Elevate Your Homemade Vanilla Marshmallows
I absolutely adore these marshmallows as they are. They are deliciously sweet, and the vanilla flavor is juuuust right. But, since these marshmallows are a bit of a blank slate, there are SO many different ways to elevate these marshmallows and truly personalize them to your taste!
- Add a splash of one of your favorite extracts in with the vanilla extract to add a delicious twist! Anything from peppermint to coffee, or even lemon.
- Mix in your favorite dried fruit and nuts. I personally love cranberries and pistachios!
- Add some sprinkles! It doesn’t matter if they are regular rainbow sprinkles or Christmas sprinkles. Choose whichever coordinate with the upcoming celebration!
- Add a few drops of food coloring to add a gorgeous pastel color to your marshmallows.
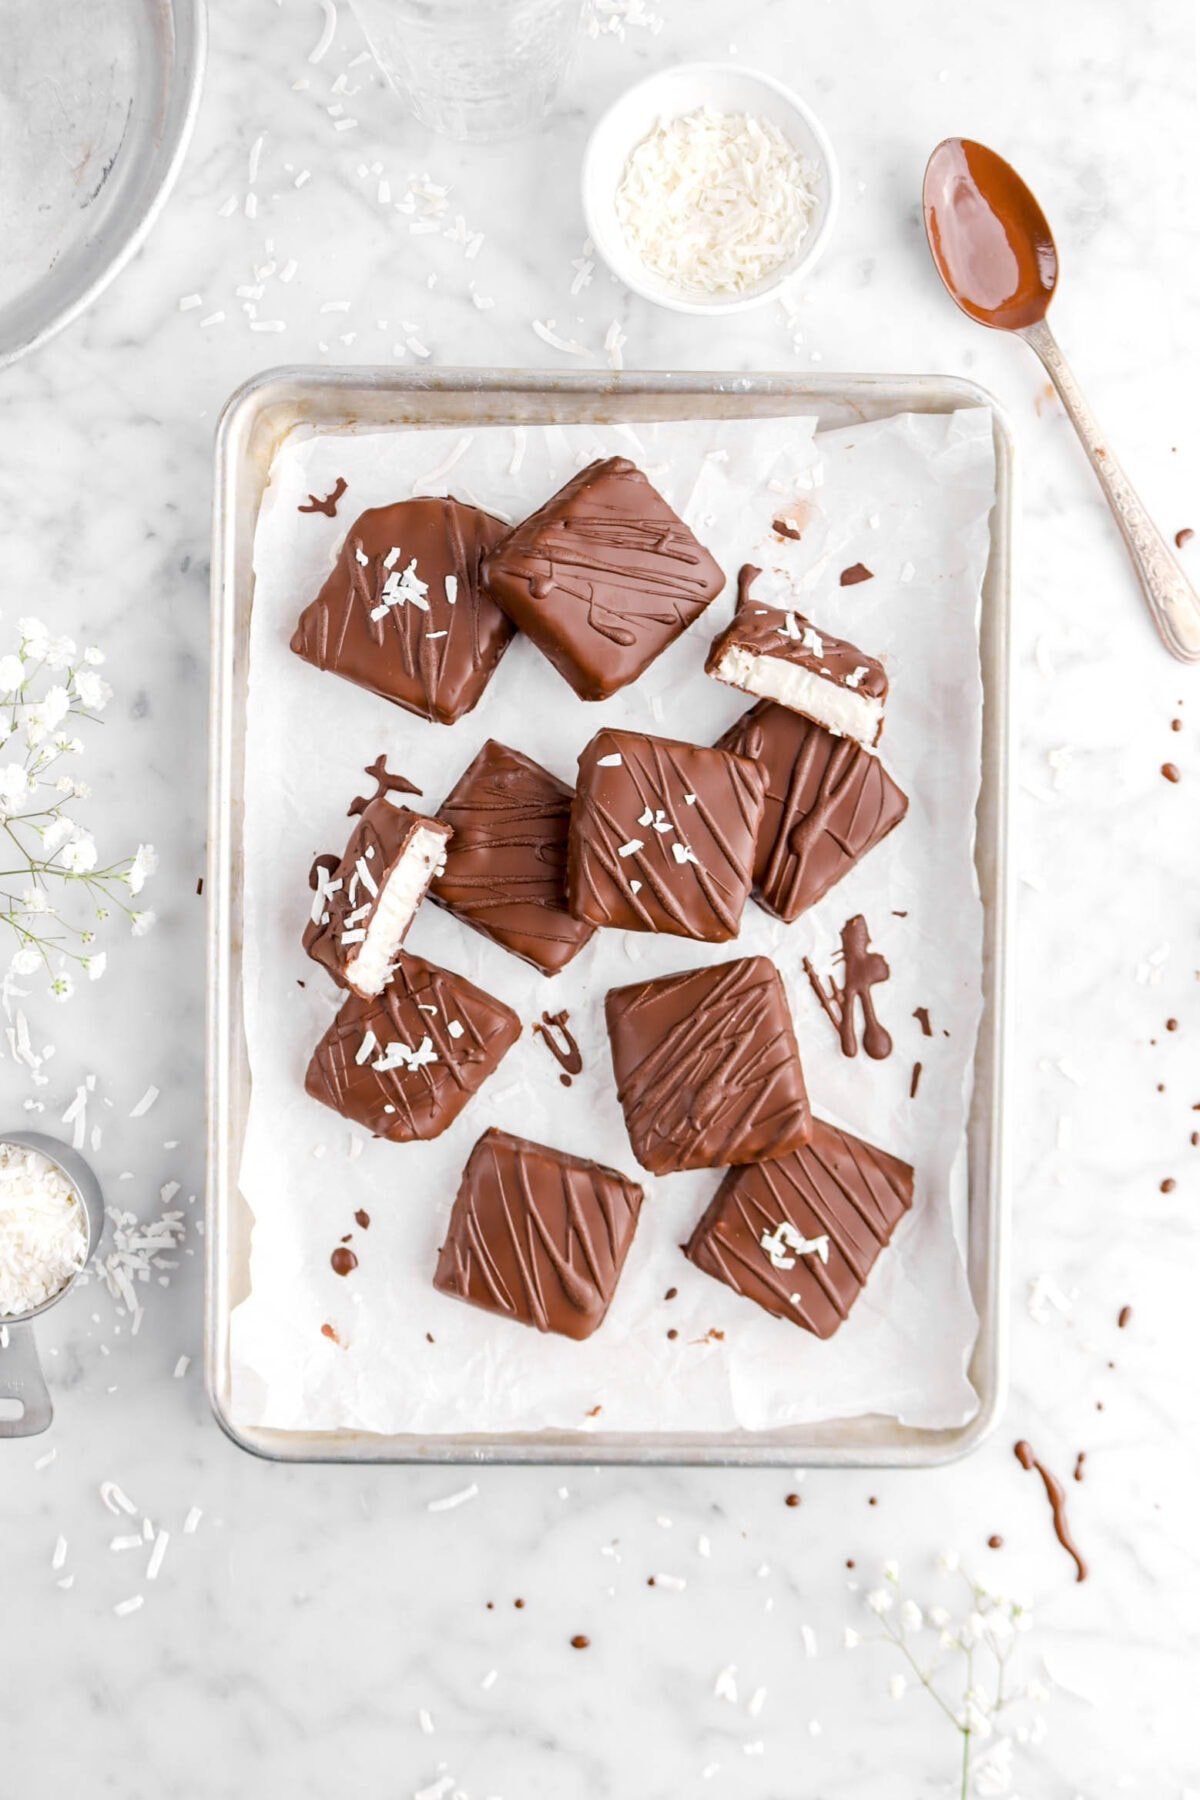
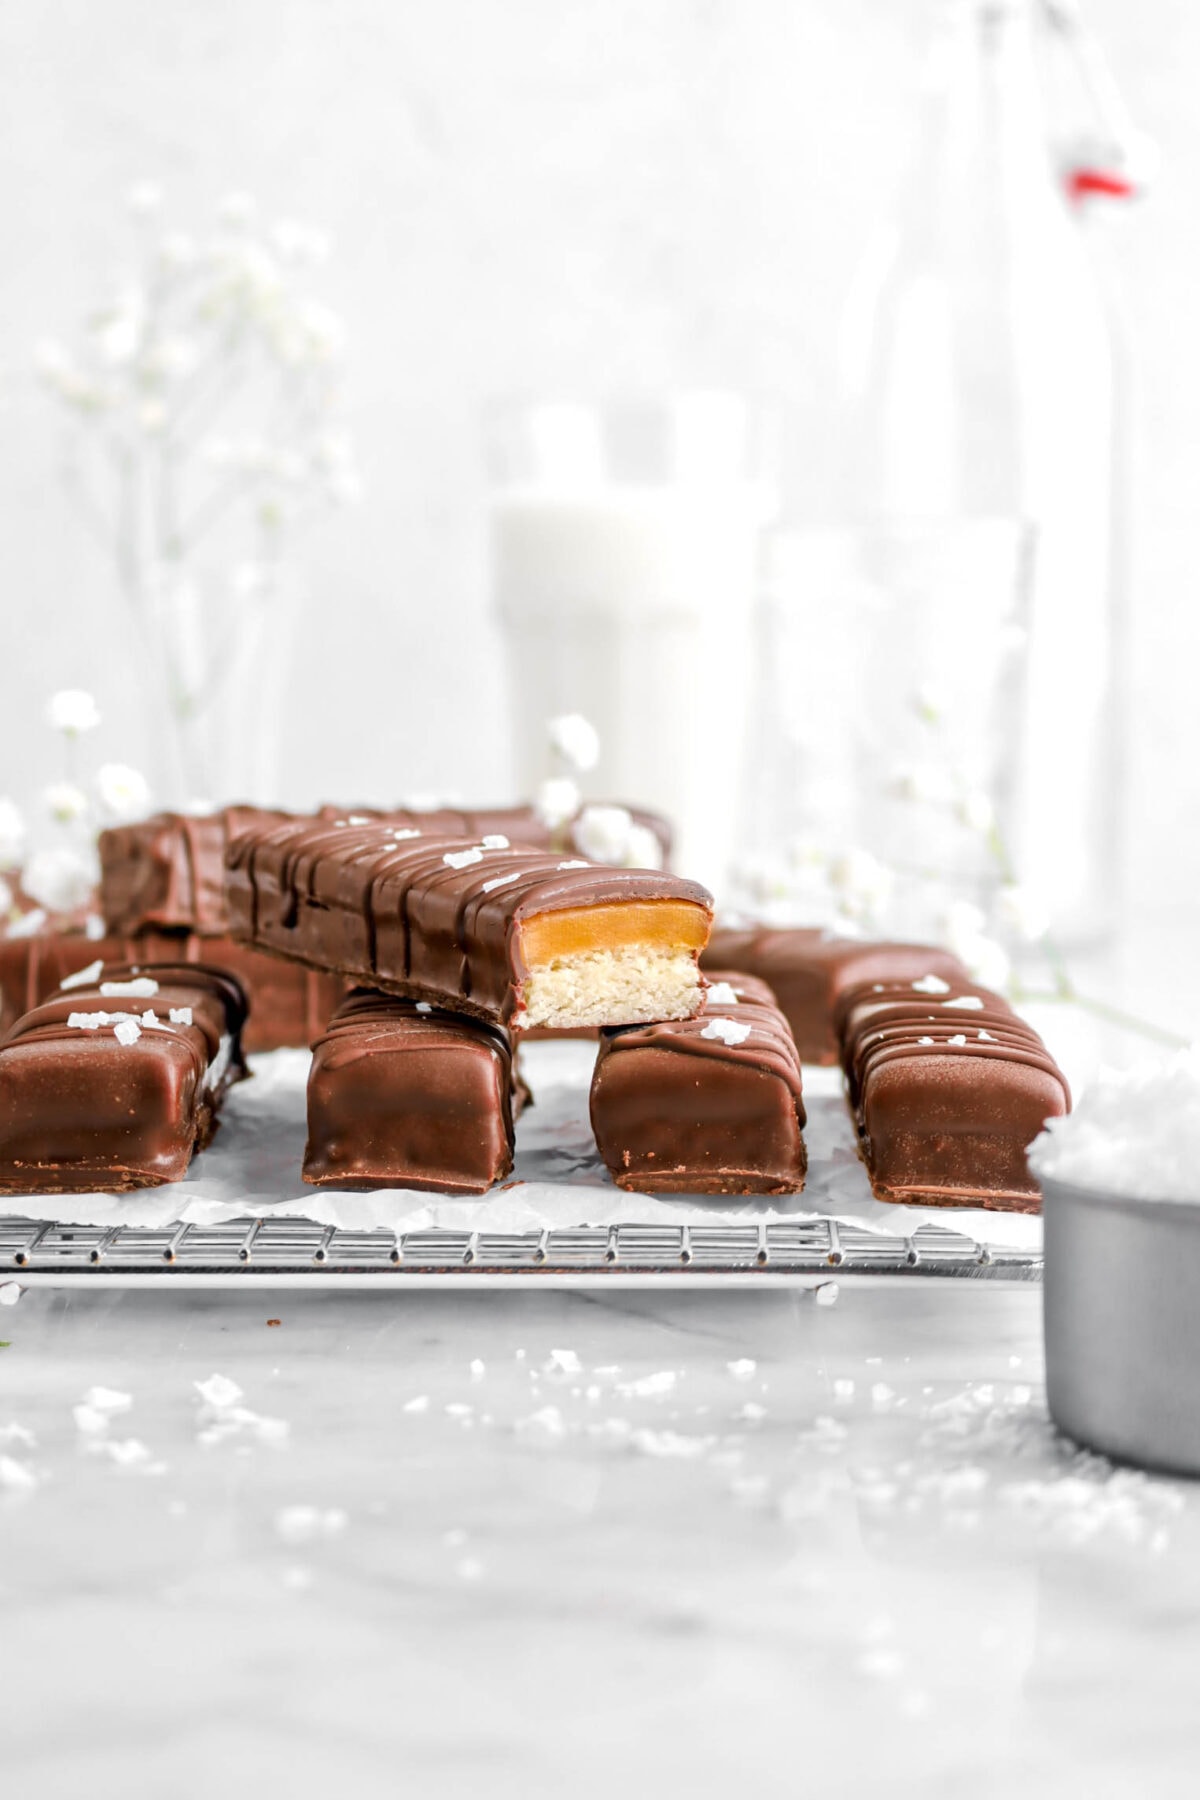
- Dip in dark chocolate and cover with cute sprinkles to have a delicious chocolate covered marshmallow!
FAQ’s
Some do, some don’t. This recipe, however, does not! I personally think that these taste better and are easier to make than ones with egg whites.
The main ingredients in marshmallows are simple – sugar, corn syrup, and gelatin. Granulated sugar makes these marshmallows sweet, while also helping trap air during beating, giving them their iconic fluffy texture. Corn syrup prevents the sugar from crystalizing which gives the marshmallows a smooth, soft texture. Finally, the gelatin provides their characteristic chewiness.
A terrific substitute for gelatin is agar-agar! It’s derived from seaweed and has a powerful thickening ability. When replacing gelatin with agar powder, follow the instructions on the packaging. Some are a 1:1 replacement; others are a 1:2 (1 teaspoon agar:2 teaspoons gelatin) replacement.
This is sort of a yes-no situation. You technically CAN replace the corn syrup with maple syrup, brown rice syrup, cane syrup, or golden syrup, but the flavor and color of these marshmallows will change. It may also affect the texture.
Homemade marshmallows, if stored properly, will keep for up to a week.
Yes! This marshmallow recipe is naturally gluten-free.
Of course! If you have small cookie cutters, such as hearts or stars, be sure to dip them in powdered sugar or cornstarch (or a blend of the 2) and cut the marshmallows as desired.
Looking for more recipes like this? Here are a few you may like:
When you make these Homemade Vanilla Marshmallows, leave a comment down below! We love hearing from you and answering any questions you might have! Also, be sure to tag us on social media and hashtag it #BakersTable.
Happy marshmallow making!
xo, Caylie
Homemade Vanilla Marshmallows
Ingredients
- 2½ Tablespoons unflavored gelatin
- 1 cup water, divided
- 1½ cups granulated sugar
- 1 cup corn syrup
- ¼ teaspoon salt
- 1 Tablespoon vanilla extract
- powdered sugar
Instructions
- Line a 9 inch x 13 inch glass baking dish with aluminum foil or parchment paper.
- Spray with cooking spray and coat heavily with powdered sugar. Set aside.
- In the bowl of a stand mixer, combine gelatin and ½ cup water.
- In a saucepan, combine remaining ½ cup water, sugar, corn syrup, and salt.
- Cook over medium heat, stirring constantly, until sugar melts.
- Stop stirring and let cook without disturbing until syrup reaches 240 degrees on a candy thermometer. (You can brush down the side a couple of times with a pastry brush dipped in warm water.)
- Remove from heat.
- Turn mixer on low and pour syrup slowly into mixing bowl with gelatin mixture.
- Increase speed to high and beat until thickened – about 15 minutes.
- Beat in vanilla.
- Pour out into prepared pan, smoothing the top with a spatula, if needed.
- Coat the top with powdered sugar
- Let sit at least 4 hours, but preferably overnight, to give the marshmallows time to set up.
- When marshmallows are set, lift out of pan.
- Use a sharp knife or cutter dipped in powdered sugar to cut into desired shapes.
Notes + Tips!
- Check the dates on your gelatin and make sure it’s not expired!
- Be sure your thermometer is accurate. You can check by inserting it in a pot of boiling water. (This called calibrating.) If it reads 212℉, it is accurate. If not, adjust up or down the number of degrees when you cook the syrup. For example: if your thermometer reads 210℉, you would need to cook the syrup to 242℉.
- Don’t skip lining, spraying, and coating the baking dish! It makes it so much easier to get the marshmallows out.
- Sift the powdered sugar over the baking dish and on top of the marshmallows.
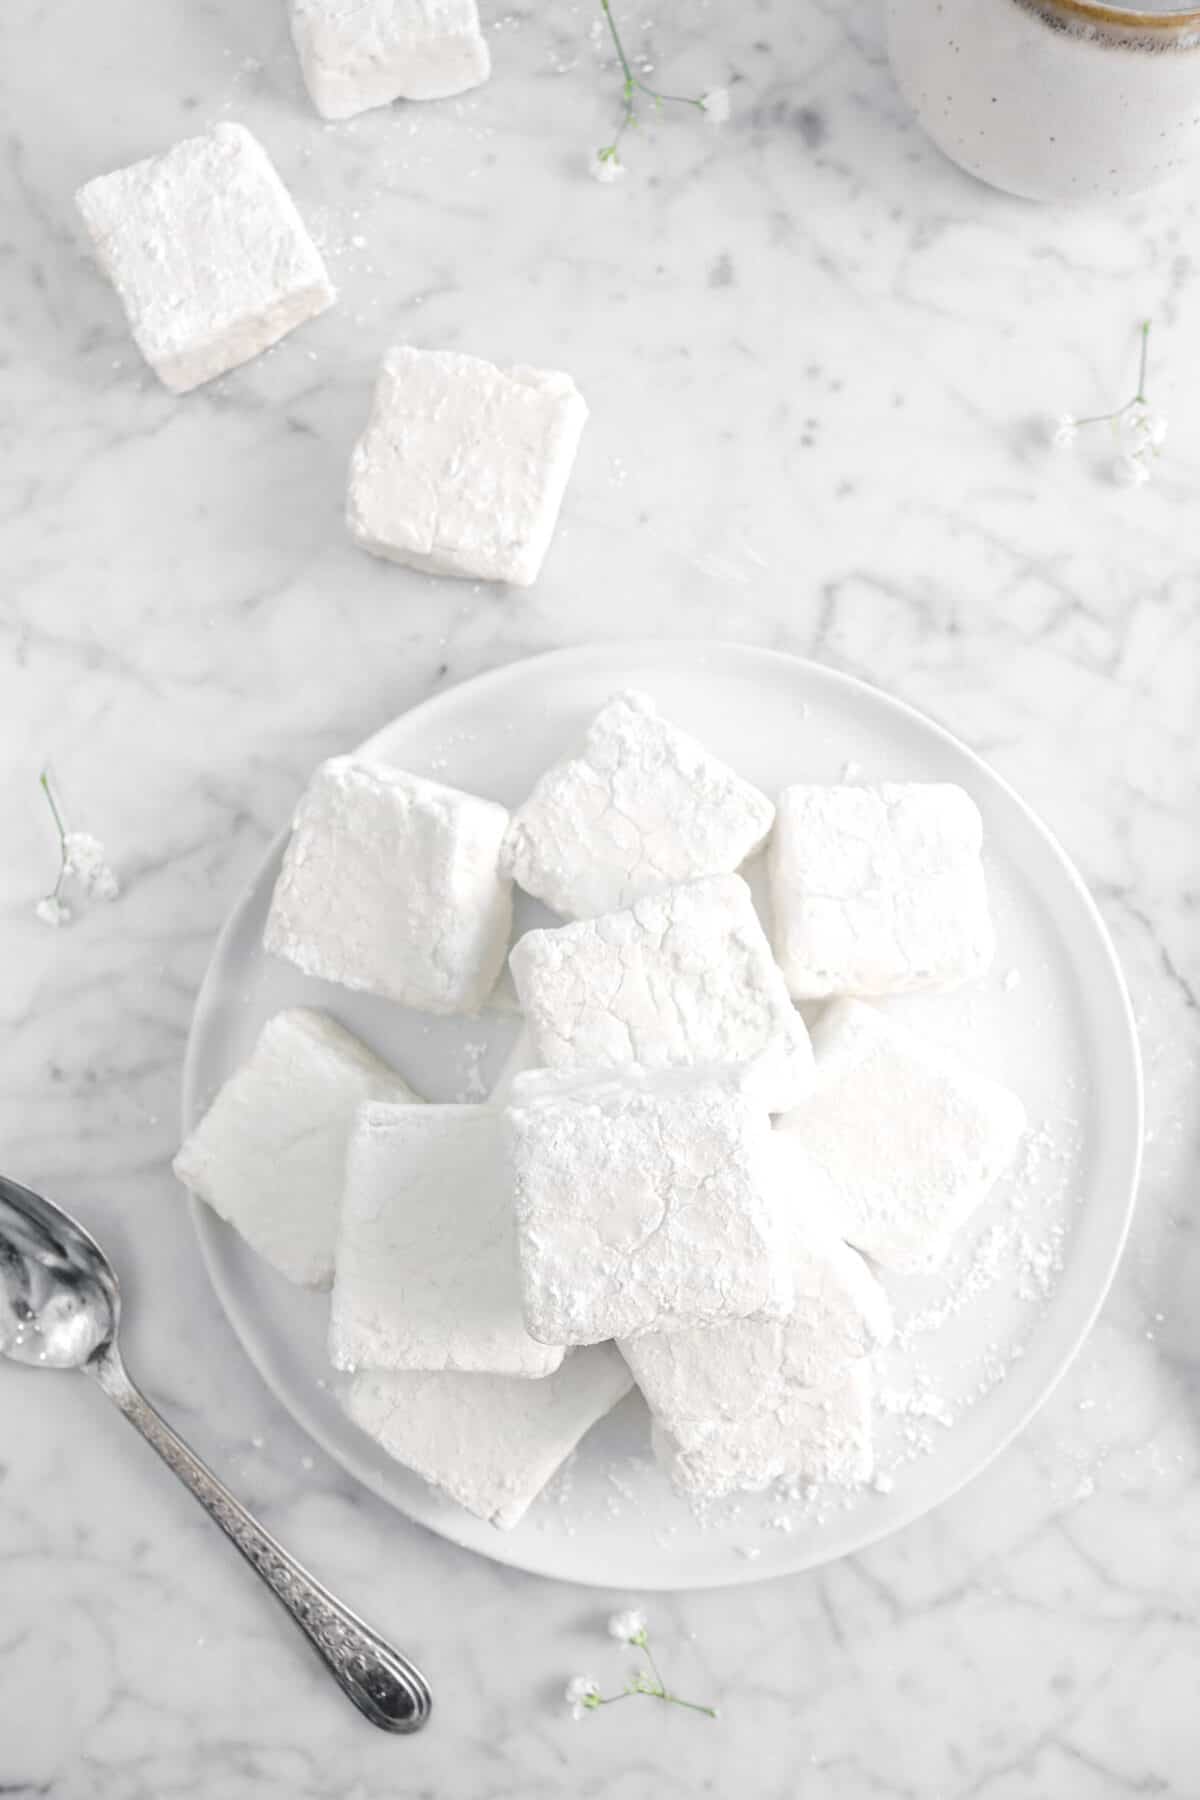
- You can cut them into large or small squares. You could also use biscuit/cookie cutters to cut them into shapes.
- Keep your hands and knife clean when cutting the marshmallows!
- Powdered sugar is the best way to keep everything from sticking.
Tools You May Need (affiliate links)
Nutrition
Nutritional information is only an estimate. The accuracy of the nutritional information for any recipe on this site is not guaranteed.
– Still Hungry? –
Here are a few recipes may like!